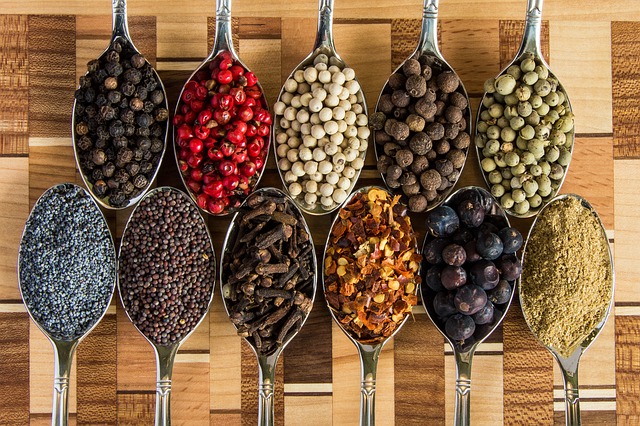
Spices are essential pantry ingredients to creating flavorful food. Spices could be as simple as salt and pepper or as exotic as something like sumac. Some of our pantries are dominated by single spices such cinnamon, cloves and nutmeg while others are full of numerous spice blends. In this Cooking Tip, I will be discussing some of the more exotic single spices and the next Tip will delve into unusual spice blends.
I have written before about spices in general terms as well as more in-depth discussions of certain spices. In this Tip, let’s take a trip around the world to discover the exotic. Since there are more spices than I could possibly mention, I will attempt to focus on ten that many of you will have heard of whether or not you have used them. I will note that some of these may actually be considered herbs, but we will still cover them in this Tip.
You may ask why you would want to know about these exotic spices. If you wish to venture into making ethnic dishes that call for one of these spices, you will not get the authentic flavor you are aiming for if you do not use that spice. Yes, you can try to substitute, but it will not be the same. Another reason is if you just want to experiment with different and exciting flavors. This discussion will help you decide how to use them in your kitchen.
Aji Amarillo
- Origin – Peru
- What it is
- A species of yellow chili pepper that turns to orange as it ripens.
- Aji means chili pepper and amarillo means yellow in Spanish.
- Forms
- Fresh
- Frozen
- Dried
- Paste
- Flavor
- Hot with a Scoville heat rating of 30,000 to 50,000 units.
- Heat is balanced with a fruitiness with hints of citrus and tropical fruit.
- Uses
- Considered part of the Peruvian “holy trinity” along with garlic and red onion.
- Spicy chilis, spice rubs, sauces.
Ajowan

- Other names – Ajwain, carom seeds
- Origin
- Native to South India.
- Cultivated in India, Iran, Egypt, Pakistan and Afghanistan.
- What it is – The seeds of an annual plant in the parsley family.
- Form – Grayish-green, oval seeds similar in size to cumin seeds.
- Flavor – similar to thyme but more pungent and slightly bitter, adds warmth with a smoky, spicy, bitter aftertaste.
- Uses
- Used in Indian bread, snacks and vegetarian dishes.
- Part of chaat masala and berbere spice blends.
Aleppo Pepper
- Other names – Halaby pepper
- Origin
- Originates from the city of Aleppo in Syria. Due to war, the trade of this spice was disrupted but Syrian refugees took it to Turkey, where most of today’s production happens.
- Cultivated in Syria and Turkey.
- What it is – A red pepper in the nightshade family.
- Form
- Whole chilis
- Coarsely ground pepper flakes
- Flavor – Mild heat, tangy, raisin-like flavor. Citrus notes.
- Uses
- Essential ingredient in Mediterranean and Middle Eastern cuisine.
- Typically used as a table condiment.
- A complex substitute for crushed red pepper.
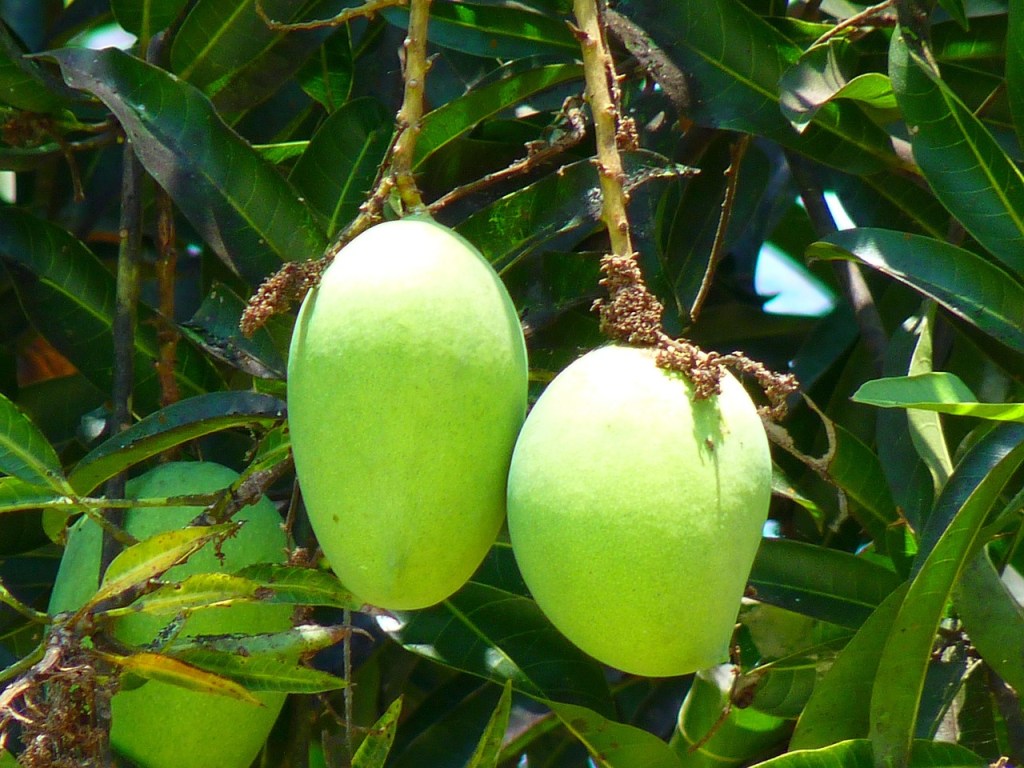
Amchur
- Other names – amchoor, mango powder
- Origin – Native to and cultivated in India.
- What it is – A powdered spice made from dried, green mangoes.
- Form – Powdered
- Flavor
- Sour, slightly sweet with herbaceous notes.
- Is used to add acidity without moisture.
- Use cautiously as can overpower other flavors.
- Uses
- Mango chutney
- Part of chaat masala spice blend
- Samosas
- Indian soups
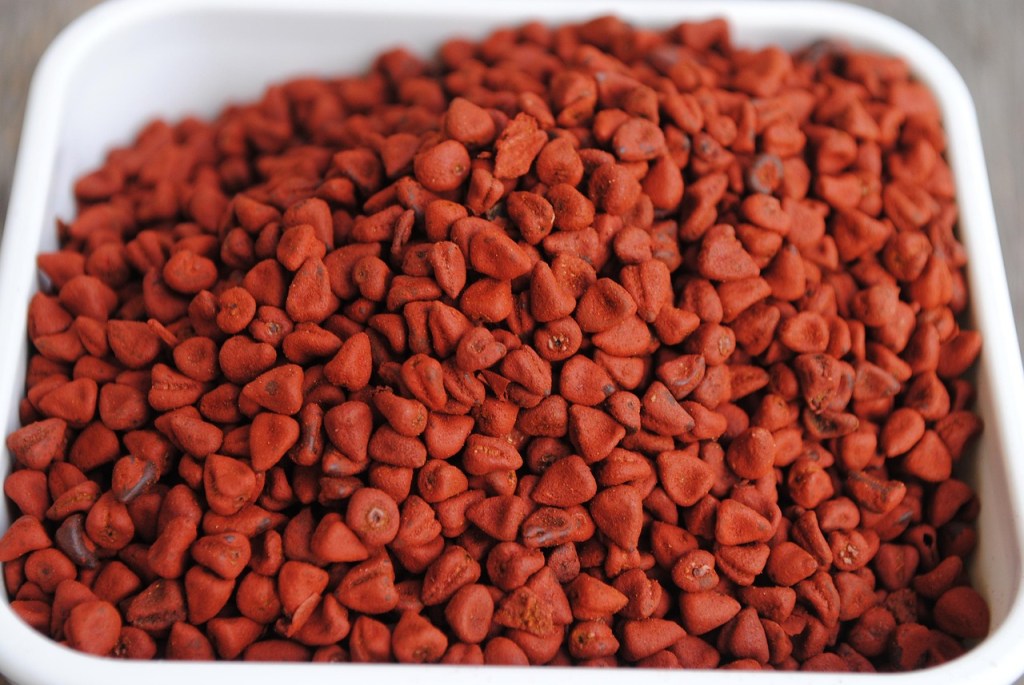
Annatto
- Other names – Achiote
- Origin
- Native to the tropical regions of Mexico, South & Central America and the Caribbean.
- Cultivated mainly in Africa, Asia, Central America and the Caribbean.
- What it is – Spice derived from the seeds of the Bixa Orellana tree.
- Form – Because the whole seeds are so difficult to grind, most people buy the ground product.
- Flavor
- Warm, earthy, sweet, peppery flavor
- Mild acidity
- Uses
- Adds a vibrant orange color to dishes.
- Achiote paste.
- Popular in Latin American and Caribbean cuisine.
Asafoetida
- Other names – Hing
- Origin – Native to Iran and Afghanistan.
- What it is – The dried resinous substance from the taproot of the Ferula plant.
- Form – Powdered and is often mixed with rice flour when offered for sale as it is very expensive.
- Flavor – Mimics the flavor of onions and garlic.
- Uses
- Strong, pungent smell and so used in small quantities.
- Adds a unique flavor to Indian vegetarian dishes.
- Part of chaat masala spice blend.
- Often used in some cuisines to replace onion and garlic.
- Just as salt brings out other flavors, asafoetida highlights the other spices in a dish.
- Keep tightly sealed so the aroma doesn’t fill your kitchen.
Epazote
- Other names – wormseed, Jesuit’s tea, Mexican tea and paico.
- Origin
- Native to Central and South America and southern Mexico.
- Cultivated in these areas along with parts of Europe and the US.
- What it is – The leaves of a pungent herb.
- Form
- Hard to find in fresh form as it is rarely imported from the growing regions of Mexico and Central America.
- Can buy in dried form.
- Flavor
- Notes of oregano, pine, lemon and mint.
- Strong, minty and slightly bitter taste.
- Uses – Mexican cuisine
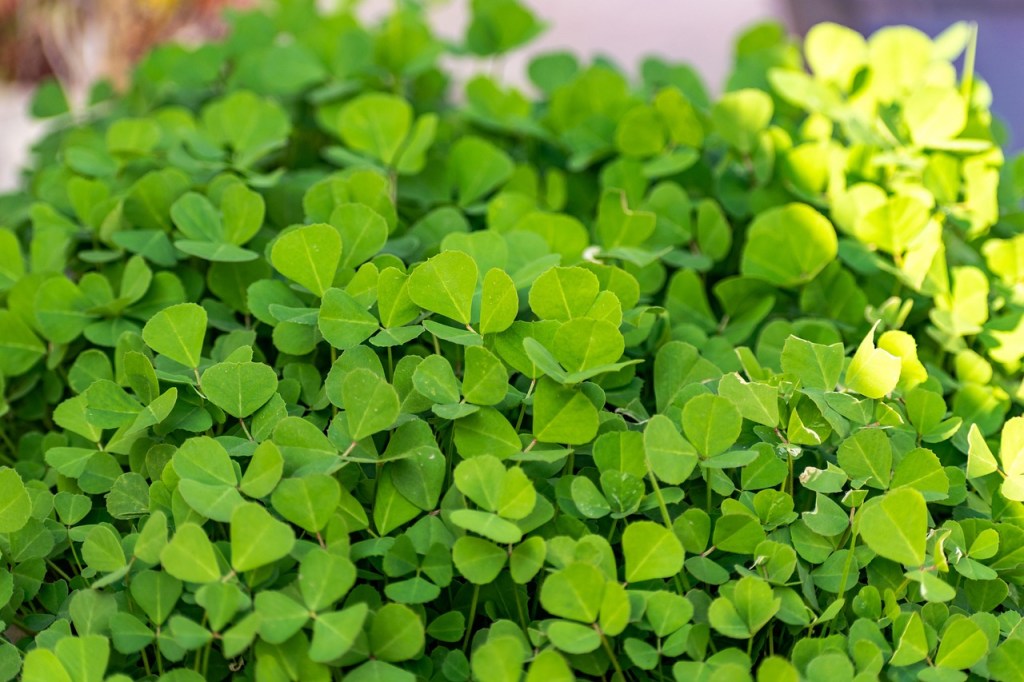
Fenugreek
- Other names – Greek hay, Greek clover, bird’s foot.
- Origin
- Native to southeastern Europe and western Asia.
- Cultivated in India, North Africa and the Mediterranean.
- What it is – a legume that is part of the pea family.
- Form – At times, the leaves can be used but more likely to use the seeds.
- Flavor
- Warm, musty, bittersweet
- Some say it has a flavor of pungent maple syrup or burnt sugar.
- Uses
- Often found in curry powders and Indian spice blends.
- Is able to thicken soups and stews due to its starch qualities.
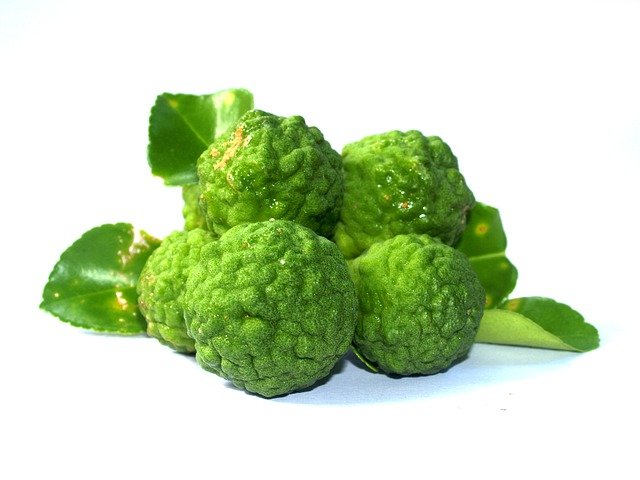
Makrut Lime
- Other names – Kaffir lime, Thai lime, Mauritius papeda
- Origin – Southeast Asia
- What it is – The leaves of a bushy citrus plant.
- Form
- Makrut limes are prized for their leaves and zest rather than juice, which is minimal in amount.
- Can also find in a powdered form made from the dried leaves.
- Flavor
- Have an intense citrus and floral fragrance.
- The flavor is more potent and bitter than a regular lime.
- Uses
- The leaves are often used in Thai dishes. If using as a garnish, remove the inedible central vein. If using just to impart aroma and flavor to soups or stews, leave intact but remove before serving.
- To impart flavor to cocktails.

Sumac
- Origin – Native to the Mediterranean and the Middle East
- What it is – Sour, red berries of the Thus coriaria plant.
- Form
- Dried berries
- Powdered sumac
- Flavor
- Tart, citrusy with floral notes and an astringent finish.
- Uses
- Prominent in Middle Easter cuisine such as kebabs, grilled meats, rice dishes.
- Adds brightness and acidity to dishes.
- Will add red color to the dish.
- A component of the spice blend, Za’atar.
There are many other exotic spices, but these are some of the ones you will most commonly come across. Have you used any of them? Are there others you have used? Stay tuned for a look at exotic spice blends.