I am not much of a donut fan. It seems as if most people are. According to NationalToday.com, 91% of Americans either like them or love them. Plus, there is not one but two National Donut Days. Read on in this Cooking Tip to learn more about donuts.
Special Donut Days
- National Donut Day – This is celebrated on the first Friday in June and again on November 5th. Most consider the June date the original. According to National Day Calendar, it was created in 1938 by the Salvation Army to honor the women who served donuts to soldiers in World War I. More on that below. It was a fundraiser for Chicago’s Salvation Army, aimed at helping those in need during the Great Depression. It is unknown how the November day came into existence. Some speculate it might have been started by a retailer who wanted the date close to Veterans’ Day because of the relationship between donuts and soldiers.
- Jelly-Filled Donut Day – June 8th
- National Cream-Filled Donut Day – September 14th
- Buy a Donut Day – October 30th
Names
You may have noticed that some people use the spelling “donut” while others use “doughnut.” Both are correct, and they are used interchangeably. The shorter “donut” is often the preferred one in the US.
Historians say doughnut is the older term. Many cite the 1809 Washington Irving book, A History of New York, from the beginning of the World to the End of the Dutch Dynasty. He writes “balls of sweetened dough, fried in hog’s fat, and called doughnuts …” Some claim this is where the spelling “doughnut” began, but not all agree. Some say it refers to nuts added to the dough. Others claim it goes back to the technique of tying the dough into a knot, called a “dough knot.”
Definition
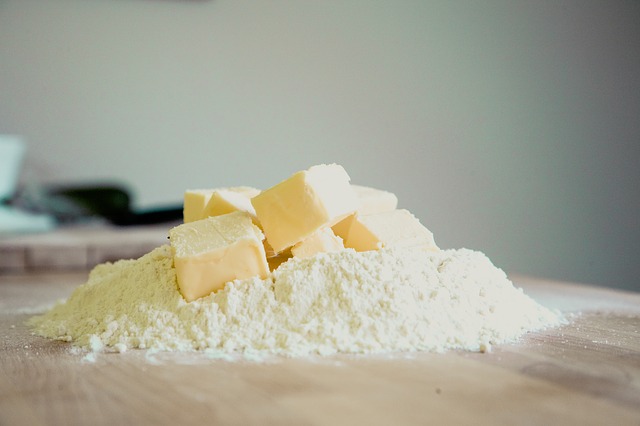
The dictionary definition of a donut is that it is a small ring of sweet fried dough. However, today we call other types of pastries donuts, despite them not being in a ring or fried.
History
Fried dough is a part of many different cultures around the world. This history generally traces back to Dutch immigrants in 17th- and 18th-century New York (then called New Netherland). These immigrants made dough balls stuffed with fruit and nuts, but not in today’s ring shape.
Part of the American history of donuts can be traced to wartime, especially World War I. Donuts were served to soldiers on the front lines by women called “Doughnut Lassies.” It is said that the women initially wanted to bake pies and cakes, but had minimal equipment. Doughnuts could be produced with only a kettle of hot oil.
The creation of the 1st automated donut machine is credited to Adolph Levitt, a Russian refugee and owner of a New York City bakery. This machine was called the “food hit of the Century of Progress” at the 1933-34 World’s Fair.
Let’s look at the history of two of the most-loved donut companies – Krispy Kreme and Dunkin’ Donuts.
According to the Krispy Kreme website:
Vernon Rudolph bought a secret yeast-raised doughnut recipe from a New Orleans French chef, rented a building in what is now historic Old Salem in Winston-Salem, North Carolina, and began selling its Krispy Kreme doughnuts on July 13, 1937, to local grocery stores. The delicious scents of cooking doughnuts drifted into the streets, and passersby stopped to ask if they could buy hot doughnuts. So, he cut a hole in an outside wall and started selling Original Glazed doughnuts directly to customers on the sidewalk.
Dunkin’ Donuts says the following.
In 1948, Bill Rosenberg opened a restaurant called “Open Kettle,” serving premium coffee and donuts. After brainstorming with some executives, he renamed his restaurant “Dunkin’ Donuts” in 1950. Why? Because what do you do with donuts? You dunk them in coffee! Through the years, the number of Dunkin’ Donuts restaurants grew and the menu expanded. Today, there are more than 12,000 Dunkin’ Donuts restaurants in 45 countries.
What about the hole in donuts?
This is another one of those historical items with a number of stories. Choose your favorite.
- One says that in 1850, an American sailor, Hanson Gregroy, was supposedly unhappy that the center of the donut was not cooked totally through and is said to have punched a hole into it and then taught the technique to his mother. Another version of the story is that his mother made fried dough balls for him to take on his voyages. He is said to have put one on a spoke of the steering wheel to keep his hands free during a storm, making a hole.
- Others say it was just because the center of the dough ball was harder to cook thoroughly without overcooking the exterior. Removing the center was an attempt to solve this problem.
- Still others say it happened during the time that bagels were becoming popular, and they were stacked on dowels for storage and customer viewing. Donut makers copied this.
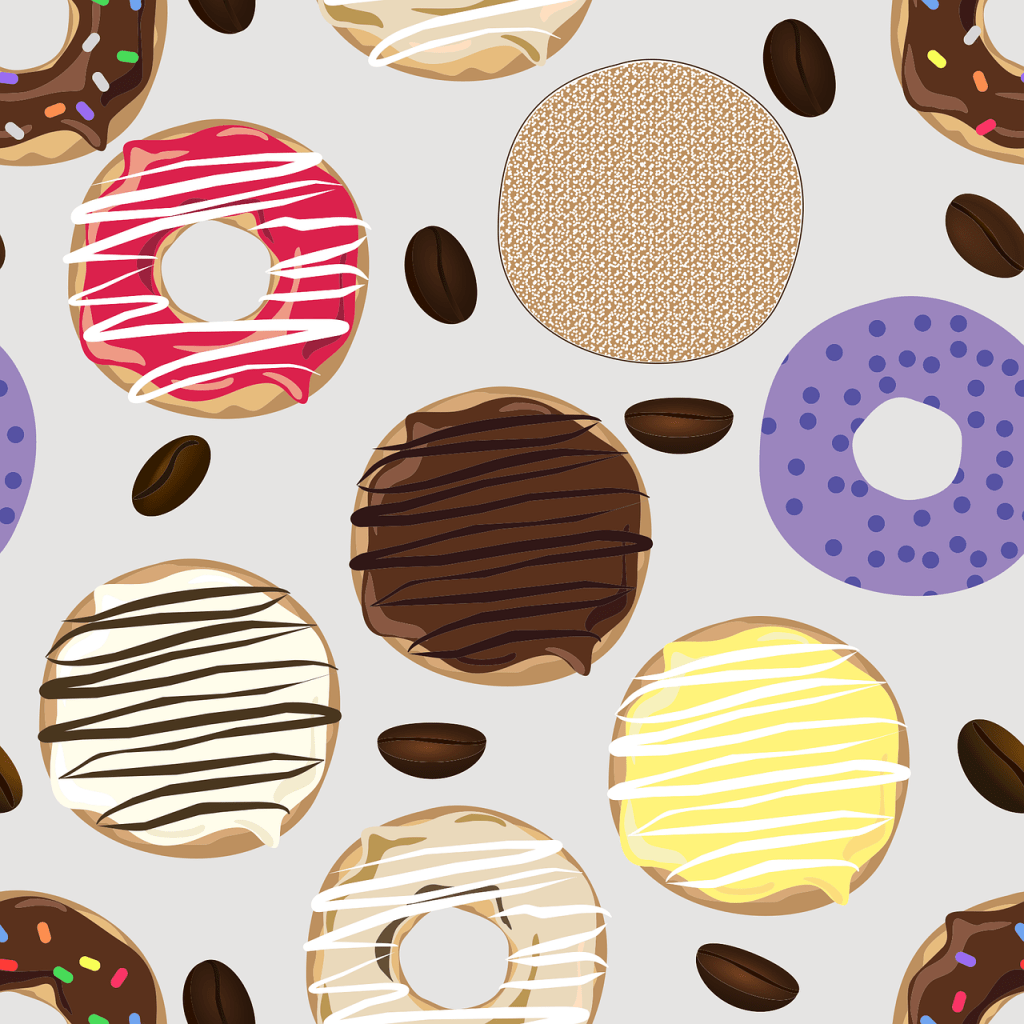
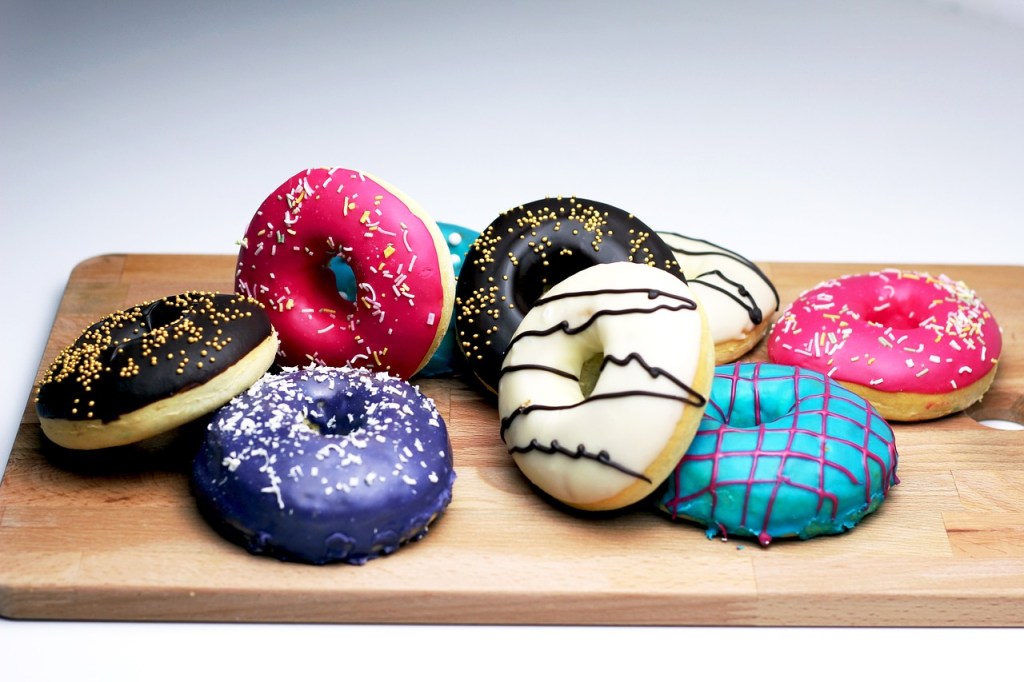
Types of Donuts
Yeast Donut– This type of donut is leavened with yeast, resulting in a fluffier product. Popular varieties of yeasted donuts include the following.
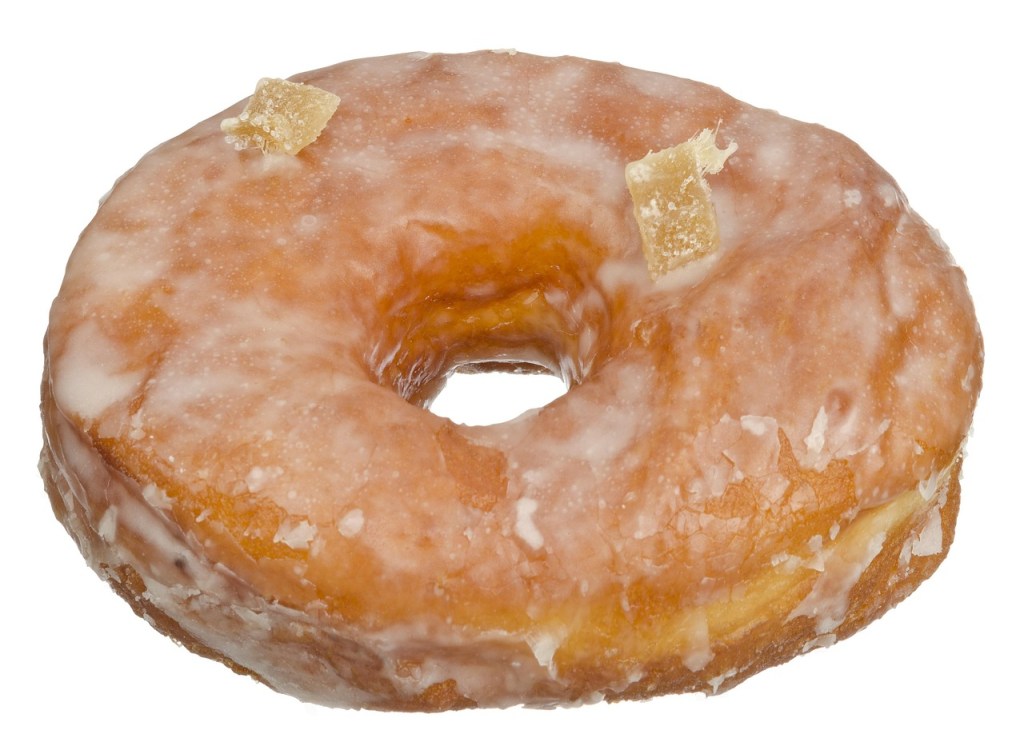
- Glazed donuts – These are covered in a sugary glaze that gives a shiny finish and a sweet flavor.
- Jelly-filled donuts – These are filled with jelly or jam and often coated in powdered sugar.
- Boston cream donuts – Just as with this popular cake, these donuts are filled with a vanilla custard and topped with a chocolate glaze.
Cake Donuts – Cake donuts use chemical leaveners such as baking powder and baking soda rather than yeast. These are the most popular kind of donut. They can be produced more quickly because chemical leaveners act more rapidly than yeast. Their texture is denser and more cake-like. They are often fried but can also be baked. A couple of the popular varieties are old-fashioned and chocolate.
- Old-fashioned donuts – These often have a golden brown, crispy exterior and a soft, tender interior. They are often glazed or dusted with powdered sugar.
- Chocolate cake donuts – This is a style of cake donut that is made from a chocolate batter. They are often topped with chocolate glaze or sprinkles.
Donut holes – These are small fried balls made from the dough removed to make the hole in the donut. However, many bakers just roll small pieces of dough and call them donut holes.

Beignets, known throughout New Orleans, are another French-style donut. They can be made with yeast dough or choux pastry.
Long John donuts are bar-shaped and have no holes. They are called donuts as they use the same dough and have similar toppings.
Filled donuts are, as the name suggests, filled with custard, fruit, jelly or jam.
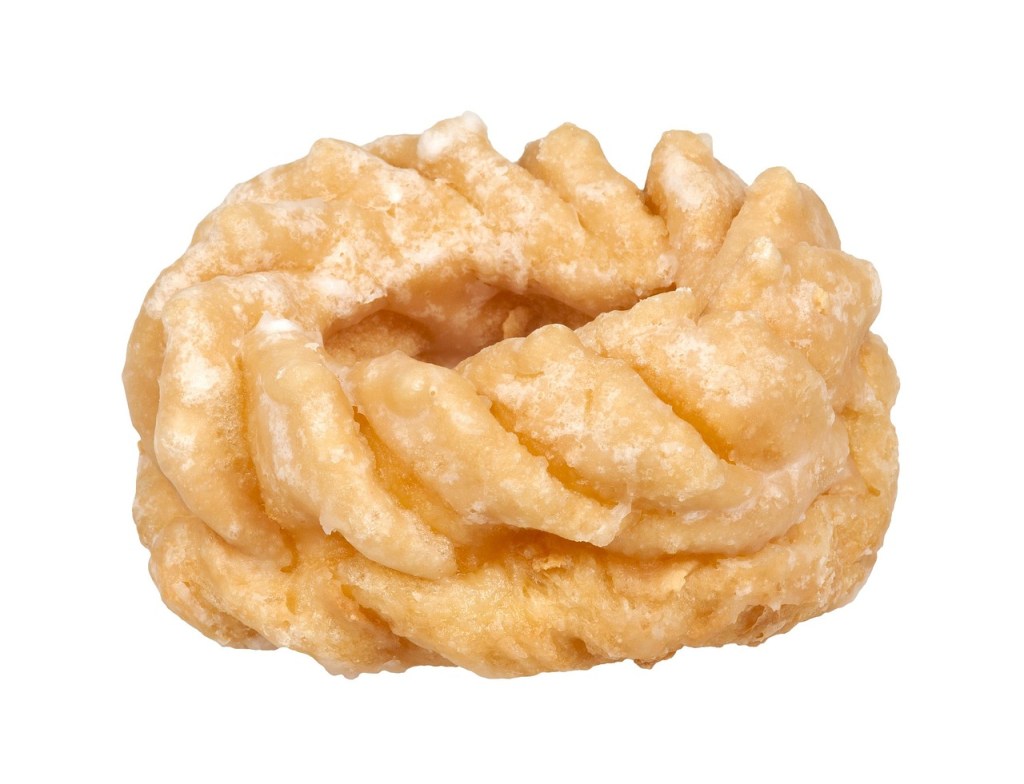
Crullers are French donuts made from twisted or curled dough, piped into the desired shape and deep-fried. They are meant to be crunchy on the outside but soft and moist on the inside.
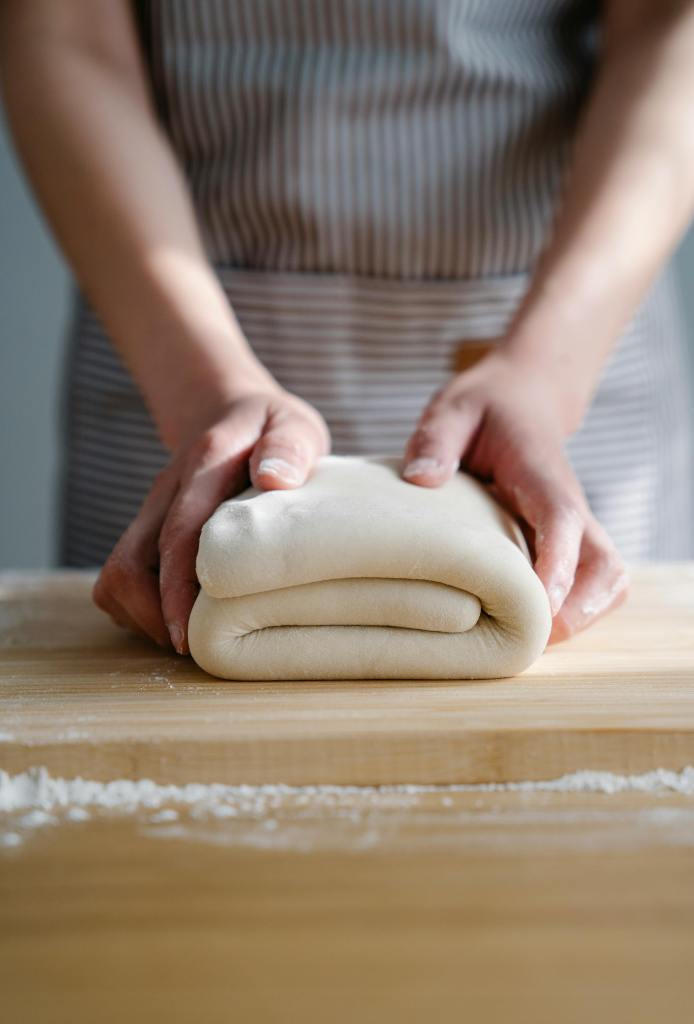
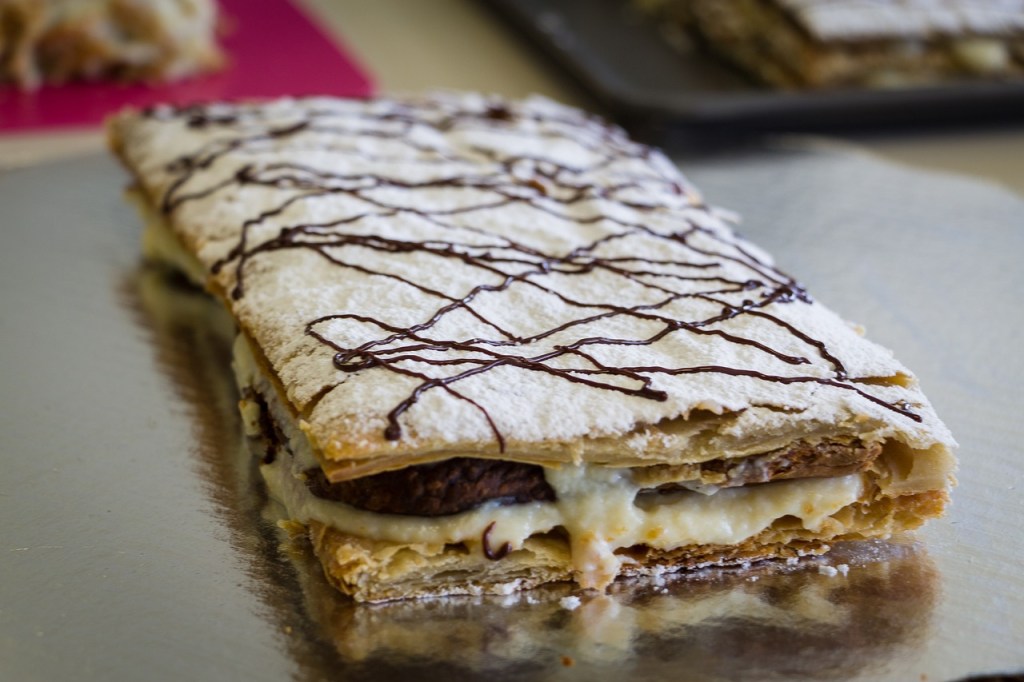
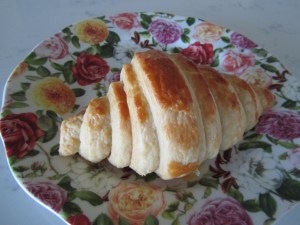
Cronuts are shaped like a donut but made with croissant pastry. They are baked rather than fried.Image by WikimediaImages from Pixabay
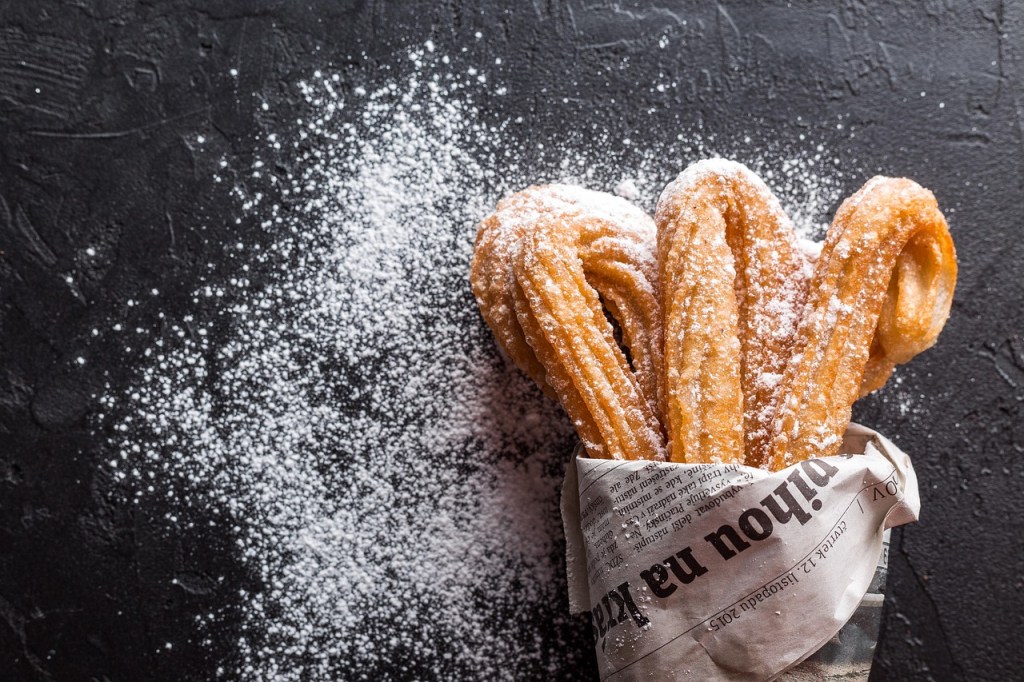
Churros – Popular in Mexican culture, these are long, deep-fried tubes of choux pastry.
If you are part of the 91% of Americans who like donuts, you can certainly make them at home. I am indeed a proponent of making things yourself whenever you can. However, donuts are somewhat labor-intensive, especially if deep-fried. So, you may be better off just visiting your favorite local donut shop for that occasional sweet treat.