It used to be that when you went to the grocery store to get potatoes, your choices were russets or red potatoes. Now, we have so many other choices (see this Cooking Tip for an explanation of potato types). One that has become very popular is the Yukon Gold potato. An interesting discussion that has arisen in recent years is whether or not the Yukon Gold is still a viable potato. That is the subject of this Cooking Tip.
In 1966, the Yukon Gold potato was bred by a researcher at the University of Guelph in Ontario, Canada. It became available to consumers in the 1980s. It was created by crossing a North American white potato with a yellow Peruvian potato. This researcher is said to have explained the name this way:
“I suggested the name Yukon (for the Yukon River and gold rush country) and [another researcher] suggested we add the word Gold, so it officially became Yukon Gold.”
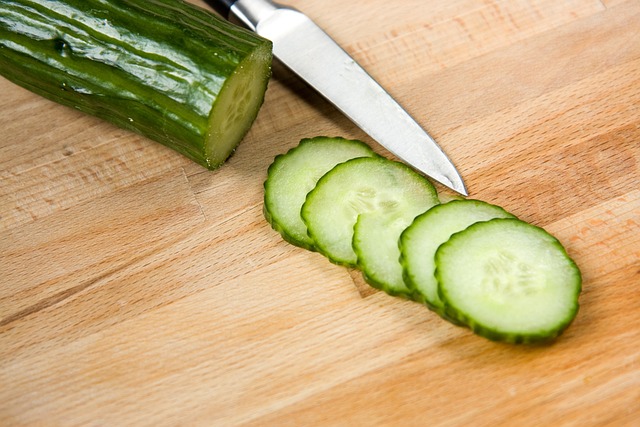
The Yukon Gold potato is a type of “yellow” potato, which means its flesh is more yellow or gold than white. It has a medium starch content and is considered an all—purpose potato suitable for many different applications. The Yukon Gold is known for thin skins and a creamy, almost buttery taste and texture.
Authentic Yukon Gold potatoes are hard to find today. This is because they are much more challenging to grow and store than other potatoes. Growers have therefore moved to different varieties of yellow potatoes that are easier to grow and store, and less prone to disease. This makes them more profitable for growers.
My husband can attest to this. He started growing actual Yukon Gold potatoes, but found they did not produce as well as he expected. When he switched to another variety of yellow potato (Yukon Gem), he saw that the plants did better and produced in larger quantities. Plus, they were much less expensive.
In the store, you will most likely only see the words “gold potatoes” or “yellow potatoes.” They will almost surely not be Yukon Gold. Although you will probably not see the name of the actual variety, some of them are Colomba, Soraya, Natascha, Golden Globe, Agata, Satina, Belmonda, Yukon Gem, Yellow Finn, Carola, German Butterball, and Michigold.
I looked at my local grocers. They all sold gold potatoes, but they were all just called “gold potatoes” and did not list the variety. The one exception was Whole Foods. They advertised a gold potato in the produce department, but the fine print said “Yukon Gold.” I wonder about that, as if those potatoes were truly Yukon Golds, I can’t imagine why they would not market them as such, as customers would quickly grab them up.
For the home cook, any of the non-Yukon Gold varieties will probably be equivalent. Plus, it is not like we are going to have much choice when going to the stores. If you grow your own, you will know which variety you are growing. If you have done so, do you have a favorite? Let me know.