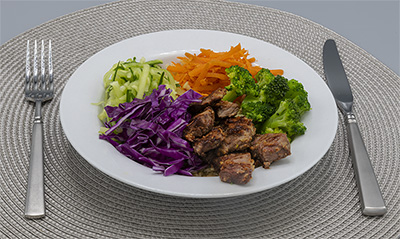
 A tasty Bulgogi Beef Bowl I recently made .
Have you noticed the popularity of so-called “Buddha Bowls” lately? Just what are they and why are they all the rage? This Cooking Tip will attempt to answer these questions.
Although “Buddha Bowl” is the most common term I see, they have also been called Grain Bowls, Hippie Bowls, Macro Bowls and other terms. They are basically very artfully arranged single-serving bowls of food. They are usually, but not exclusively, vegetarian.
There is no definite explanation for the term but according the authors of Buddha’s Diet: The Ancient Art of Losing Weight Without Losing Your Mind, it may have come from the way that Buddha ate. “Buddha woke up before dawn every morning and carried his bowl through the roads or paths wherever he was staying. Local people would place food in the bowl as a donation, and at the end he would eat whatever he had been given.”
The Urban Dictionary has a different idea. They define it as “a bowl which is packed so full that it has a rounded “belly” appearance on the top much like the belly of a buddha.”
No matter the origin of the name, they are generally considered healthy and they are composed of fresh and whole ingredients. There are certain elements that usually go into each bowl although the variations are only limited by your taste and imagination. Most bowls contain the following components: Whole Grains, Veggies, Protein, Dressing and Toppings.
Grains – Keep it interesting by choosing different grains, preferably whole grains. Try brown, black or red rice, farro, quinoa, bulgur, barely or millet. These can be made ahead and kept if the refrigerator for a few days.
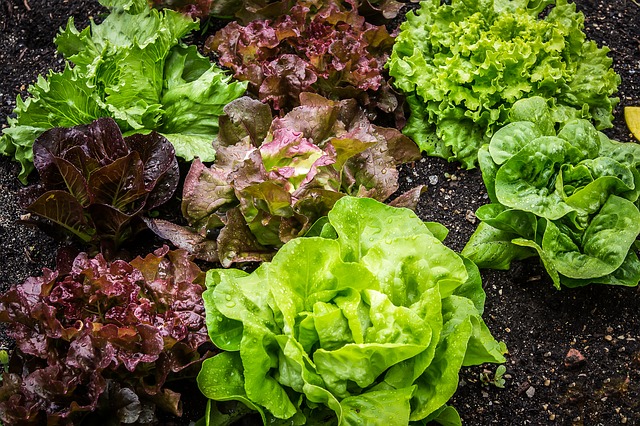
Veggies – There are a plethora of veggies out there that you can add either raw or lightly cooked. Not only do the veggies add nutrients, they also lend beautiful color to the bowl. Choose from greens, carrots, cabbage, cucumber, bell peppers, tomatoes, broccoli, cauliflower or zucchini. Roasting the veggies adds another dimension that can be very nice. How you prepare them is up to you – they can be chopped, shredded or sliced.
Protein – Since many Buddha bowls are vegan or at least vegetarian, the protein is often tofu, tempeh, chickpeas, beans, lentils and so forth. However, feel free to add a lean animal protein such as chicken or fish. Some bowls even feature pork or beef.
Dressing – A wonderful mixture of liquid flavor is typically drizzled over the bowl to make it complete. These may be homemade or store-bought and can include a vinaigrette, hummus, guacamole or even salsa.
Toppings – Sprinkle seeds or nuts on top. Scatter tender, fresh herbs such as parsley or cilantro.
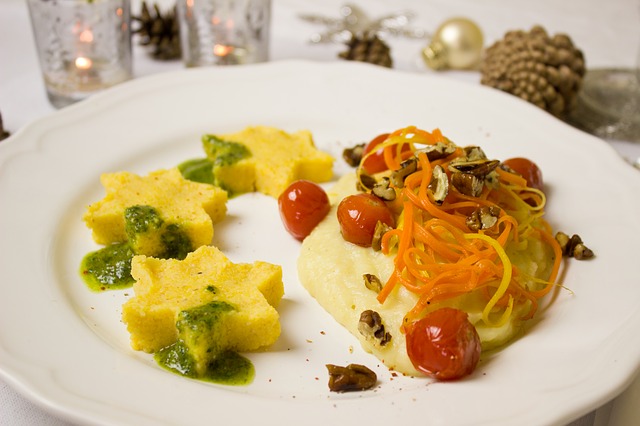
Your bowl should be not only visually attractive but full of flavor. Use different colors such as yellow, green, red, white and pink. Include a variety of textures so you have both soft and crunchy elements. Don’t cut everything in the same shape but have variety – cubes, sticks, grated, julienned, etc. Finally, balance the different flavor components of sweet, salty, acid, bitter & umami.
Although Buddha bowls have seen a definite uptick in popularity recently, the components are really nothing new. Just good, clean, healthy and flavorful food. What’s not to like about that?