Have you ever craved a loaf of homemade bread but had no time to make one? Or, do you not feel comfortable with the art of homemade bread-making? Enter the world of Quick Breads. In this Cooking Tip, we will explore quick breads- what they are and how to make them.
Quick breads are those breads made without yeast. Thus, they can be made more quickly as there is no rising time or prolonged baking time. In place of yeast, these breads use a type of chemical leavening. See this Cooking Tip for a discussion of this topic.
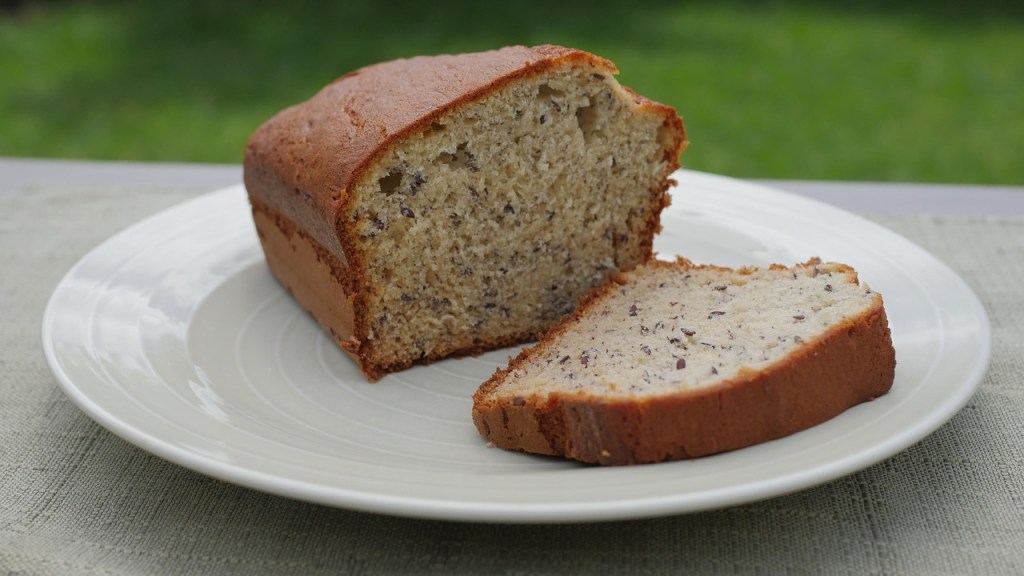
One of the most well-known quick breads is banana bread, but there are a myriad of varieties. This category would also include other non-yeasted items such as muffins, biscuits, scones, soda bread, cornbread and even pancakes.
Typical Ingredients
Although most of you will probably follow a recipe, quick breads are one of those items that you can create without a recipe following a proven ratio of ingredients. Use your preferred mixing method (see below), add desired flavoring ingredients, bake and enjoy.
- 1 part butter
- 1 part egg
- 2 parts liquid
- 2 parts flour
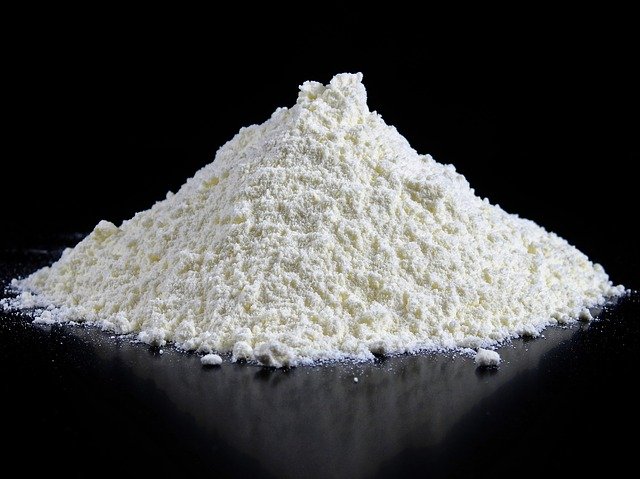
Flour
- Flour is the foundation of quick breads.
- It contains proteins that form into gluten. Gluten is what gives bread a sturdy structure that is able to expand when baked. As it does this, the gluten matrix traps the gases that develop due to the leavening agents. This is what allows the bread to rise.
- Cook’s Illustrated likes to add buckwheat to quick breads to impart a nutty flavor. Since buckwheat is not a grain, it doesn’t contain the proteins that form gluten. It does soak up quite a bit of moisture, though. So, do not substitute more than 25% (by volume) for the flour in the recipe. Otherwise, your bread may be dry.

Leavening agents
- These are what allow bread to rise. The usual chemical leavening agents are baking powder and baking soda. Review the differences between these two in this Cooking Tip.
- Whipped eggs can also achieve some rise in the baked good.

Salt
- Salt adds flavor to the baked item.
- Salt also strengthens the gluten structure.
Liquids
- Typical liquids used in quick breads are milk, buttermilk, sour cream, juice, and even fruit purees.
- Liquids are what activate the gluten and allow it to create the necessary structure.
- Liquids moisten the batter.
- Liquids also help to dissolve the sugars.
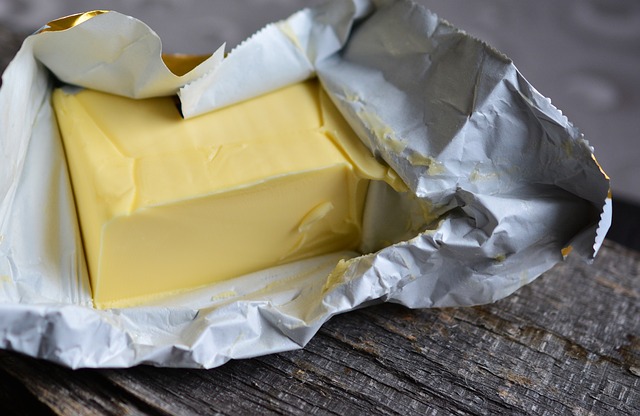
Fats
- Fats may be liquid, such as oil or melted butter.
- Fats may also be solid, such as with cold butter or shortening.
- Fats add richness and moisture.
- When creamed with butter, fats trap air and create a lighter batter.

Eggs
- Eggs help to bind the structure together.
- Eggs can add a bit of leavening.
- Eggs add moisture.
- Eggs add flavor.
Sugar

- Sugar adds flavor.
- Sugar increases the browning of the baked item.
- Sugar is hygroscopic in that it absorbs and holds moisture, and thus helps achieve a more tender item.
Types of batter
Some will divide quick bread into different categories based on the batter.

Dough
- This type of “batter” is more dough-like in that it must be rolled out and then formed into your desired shape/size.
- It is the closest in consistency and texture to yeasted bread.
- Examples are biscuits, scones, and soda bread.
Drop
- As the name implies, this batter must be dropped into the pan. Because of its consistency, it requires the help of a spatula to push the batter out of the bowl into the pan.
- Examples are banana and zucchini bread.
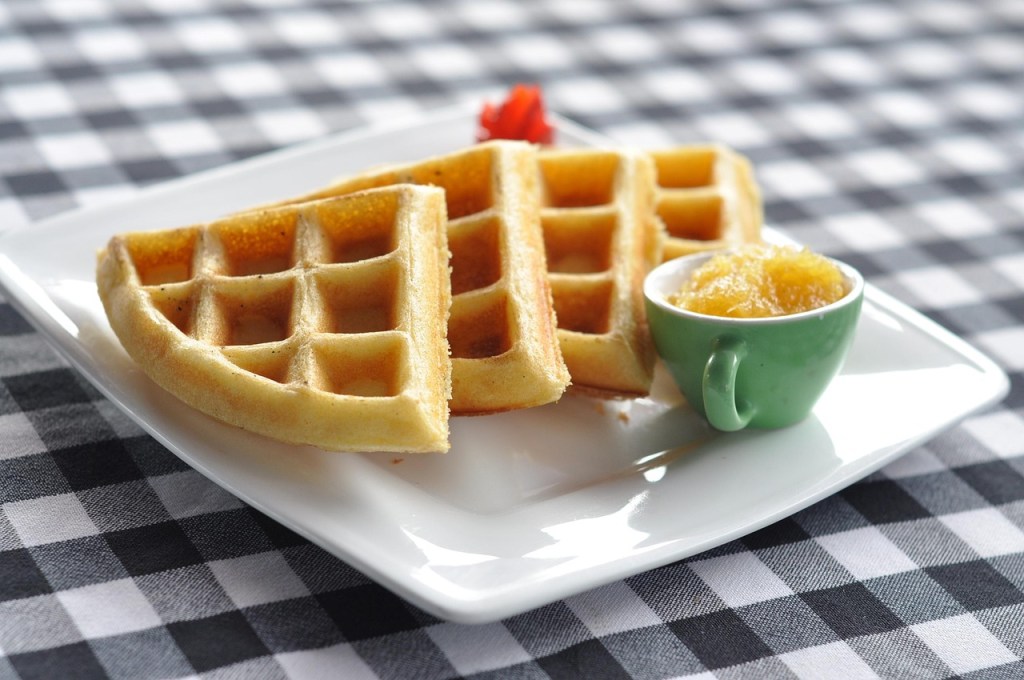
Pour
- This batter is thin and is meant to be poured out of the bowl.
- Examples include pancakes, waffles, and funnel cakes.
Mixing Methods
There are different mixing methods that can be used for quick breads. See this Cooking Tip for a more in-depth discussion, but here is an overview.
Muffin mixing method/Blending method

- In this method, the dry ingredients are combined in a bowl, and the wet ingredients are combined in a separate bowl. Then, the wet ingredients are poured into the dry ingredients and gently combined.
- Most experts will warn against over-mixing, which might produce excess gluten and make the item tough.
- Quick bread items using this method are muffins, pancakes, and loaf breads.
Creaming method
- In this method, softened fats (like room-temperature butter) and sugar are creamed together to create a light and fluffy texture. This is often done with an electric mixer, but it can be done by hand, although it will take longer. Next, the eggs are gradually added, followed by the rest of the ingredients.
- This method produces a moist and tender product with a texture that is more cake-like and less crumbly.
- This is the method used for some muffins & breads.

Biscuit method/Shortening method
- Here, solid fats (such as cold butter) are worked into the flour and other dry ingredients, followed by folding in the liquid.
- It creates a dense, flaky and crumbly dough.
- Examples include scones and biscuits.
Baking
Pans
- There are many different types of pans that one might use to bake quick breads.
- Examples include loaf pans, muffin pans, cake pans and baking sheets.
- Sometimes, people would like to take a recipe written for muffins and convert it to a loaf pan. Cooks Illustrated gives the following advice.
- Set the oven rack in the middle of the oven.
- Set the oven temperature 50° lower than in the muffin recipe.
- Bake until a toothpick inserted into the center comes out clean or with just a few moist crumbs.
The bake time will probably be about 60-70 minutes. - If using a sugary topping, like a streusel, tent the item with foil for the last 20-25 minutes to prevent burning the topping.
Judging doneness
- If your item is fully baked, it should bounce back when the center is pressed. If your finger leaves an impression, it needs to bake longer.
- Also, a skewer or toothpick inserted into the center should come out fairly clean. If not, bake it longer.
Cooling
- Quick breads should be cooled in the pan for a few minutes and then removed from the pan to a cooling rack.
- If your item sticks to the pan, run a thin-bladed knife or a small metal spatula around the sides before removing it.
Storage
- Most quick breads can be wrapped or put in an airtight container and stored at room temperature for up to three days.
- For longer storage, consider freezing.
- Make sure the bread is completely cooled before storage.
- To freeze, wrap in foil, freezer paper or place in a freezer bag for up to three months.
Do you make quick breads? How about a hearty loaf of Irish soda bread to serve with soup or stew? Maybe you wish to have a scone with your afternoon cup of tea. There are also classics such as banana bread or blueberry muffins. No matter your choice, have fun and enjoy a yummy result without an enormous amount of time!