If you have been paying attention to the news lately, you will realize that seed oils have become a subject of conversation. In this Cooking Tip, I will explain what seed oils are and give you the latest research on whether or not you should be consuming them. I wish I could tell you that seed oils are either healthy or unhealthy, but as with many health and nutritional questions, the answer is much more nuanced.
What are seed oils?
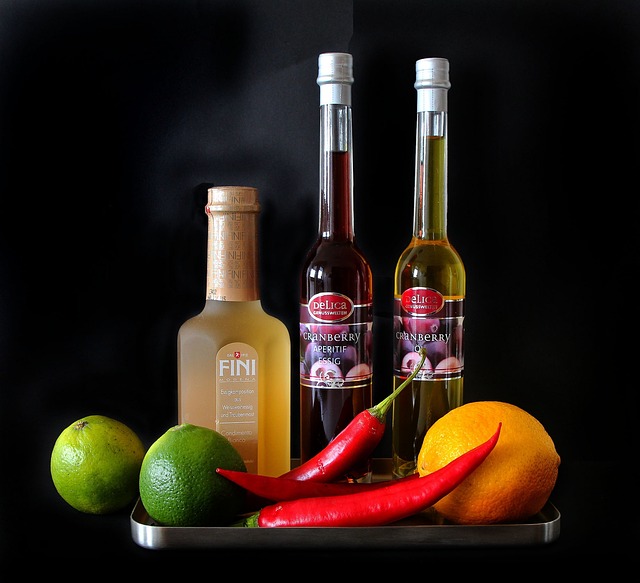
These are plant-based oils made from the seeds of various plants. Examples are canola, soybean and corn oil.
What is the criticism against seed oils?

Some have dubbed seed oils the “Hateful Eight” – corn, canola, cottonseed, soy, sunflower, safflower, rice bran, and grapeseed. Those who oppose the consumption of seed oils point to a couple of concerns.
First, seed oils are high in omega-6 fatty acids, which they believe lead to inflammation, weakening of the immune system, and are a contributing factor in the development of chronic illnesses.
The second is the processing method used to create most seed oils.
Omega-6 fatty acids
These are essential fatty acids for our bodies. We cannot produce these fatty acids ourselves, and therefore, we must obtain them from food. In the literature, there is some caution about omega-6 fatty acids based on the fact that the body can convert the most common omega-6 fatty acid, linolenic acid, into another fatty acid, and arachidonic acid. The latter is a building block for molecules that can promote inflammation, blood clotting and blood vessel constriction. However, the body can also convert arachidonic acid into other molecules that calm inflammation and fight blood clots.
Dr. Dariush Mozaffarian, professor and director of the Food is Medicine Institute at Tufts University, states that controlled trials have found that omega-6 fatty acids do not increase inflammation. He says, “New research shows that omega-6 fatty acids give rise to unique natural molecules, like lipoxins, that have powerful anti-inflammatory effects in the body.”
Another type of essential fatty acid is omega-3 fatty acids. These are felt to be more anti-inflammatory than omega-6s. Where some go wrong is by assuming that since omega-3s are more anti-inflammatory, omega-6s are pro-inflammatory. This is not true. Many state that it is not the omega-6s themselves that are the problem, but rather the over-consumption of them. What most medical professionals will tell you is that we need an optimal balance of these two fatty acids. Unfortunately, that optimal balance has not been definitively determined.
We do know that Western diets are significantly higher in omega-6 fatty acids than in omega-3 fatty acids. It is estimated that people consume 15 times more omega-6 fatty acids than omega-3 fatty acids, which is partly due to the increased consumption of seed oils. One reason given for this is the increased use of seed oils in processed and ultra-processed foods. The increase in consumption of ultra-processed foods is strongly suspected to be related to the rise in obesity, heart disease and other chronic illnesses. However, this cannot all be laid at the feet of seed oils. Ultra-processed foods contain many unhealthy components. See this prior Cooking Tip for a more in-depth discussion of ultra-processed foods.
Processing of seed oils

As discussed in this Cooking Tip, oil can be obtained through either the expeller method or chemical processes. Extra-virgin olive oil is obtained by pressing olives to extract the oil. Seed oils are generally extracted with the aid of the chemical hexane. The latter raises health concerns for some people. On the plus side, these more refined oils have a higher smoke point, a longer shelf life, a neutral flavor, and are less expensive. On the other hand, the refining process does remove some important nutrients.
You can find pressed seed oils, although you will have to diligently search for them, and they will be more expensive.
One interesting observation is that many of those who are warning about the ill health effects of seed oils are also trying to sell their alternatives. The industry that promotes products such as omega-3 supplements, antioxidants, detox kits, or seed-oil-free alternatives is valued at over $1 trillion. If you are a skeptic, you may appreciate the old adage, “Follow the money.”
What to do?
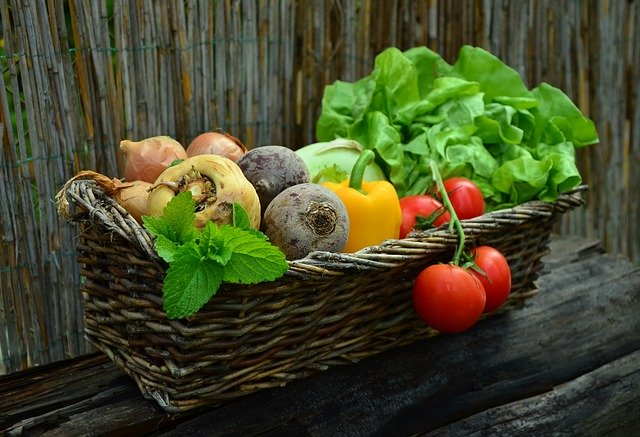
What should you do with this information since it is far from conclusive? First, you need to do what is best for you. The Western Diet certainly has room for improvement, as I have discussed in many prior Cooking Tips. Should those improvements include removing seed oils? Most medical professionals would rather have you focus more on reducing or eliminating the consumption of ultra-processed foods and increasing your intake of whole foods. That includes relying less on takeout and dining out and more on cooking at home with whole ingredients.
If you do want to address your intake of omega-6s, the best thing you can do is to read labels and try to stay away from those processed foods that contain them. To help you have a better ratio of omega-6s to omega-3s, here is a list of foods that can help you.
Omega-6 fats
- Oils – safflower, sunflower, corn, and soybean
- Seeds/Nuts – sunflower, pumpkin seeds and walnuts
Omega-3 fats
- Oily fish such as salmon, tuna, herring, mackerel, and sardines
- Nuts such as almonds, pecans and walnuts
- Seeds such as flax seeds and chia seeds
- Oils such as olive oil and flaxseed oil
When possible, choose unrefined (expeller- or cold-pressed) seed oils over refined seed oils. As I mentioned above, they are harder to find and more expensive, but they will be higher in some healthful nutrients. If you choose to use unrefined oils, review this chart on Smoke Points.
As I mentioned at the beginning, I wish I could provide you with definitive answers, but I cannot. Arm yourself with accurate knowledge and make informed decisions about what is best for you and your family. Overall, cook more at home!!