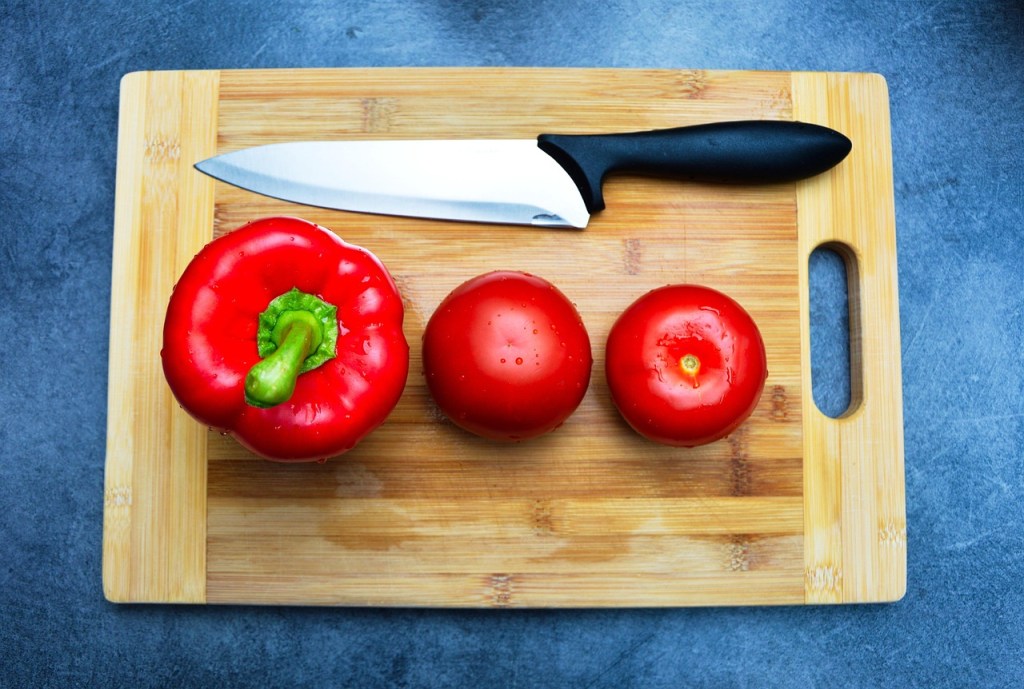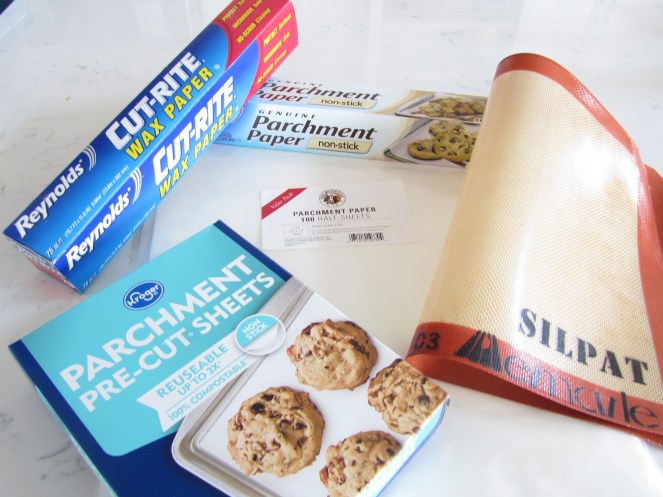
I have a drawer in my kitchen that contains plastic wrap, wax paper, aluminum foil, plastic storage bags and beeswax food wraps. I also have parchment paper, although that is stored in another drawer. Most of you probably have a similar collection of these items. Do you need them all? Read on in this Cooking Tip to understand the differences and the best uses of each. One related item that I am not going to cover is silicone. I have written about this before, and I refer you to this prior Cooking Tip.
Parchment Paper
- This is a paper that has been treated with silicone, and it can be bleached or unbleached.
- Due to the silicone, the paper is nonstick, heat-resistant, and water-resistant.
- It can be used both in the oven and the microwave.
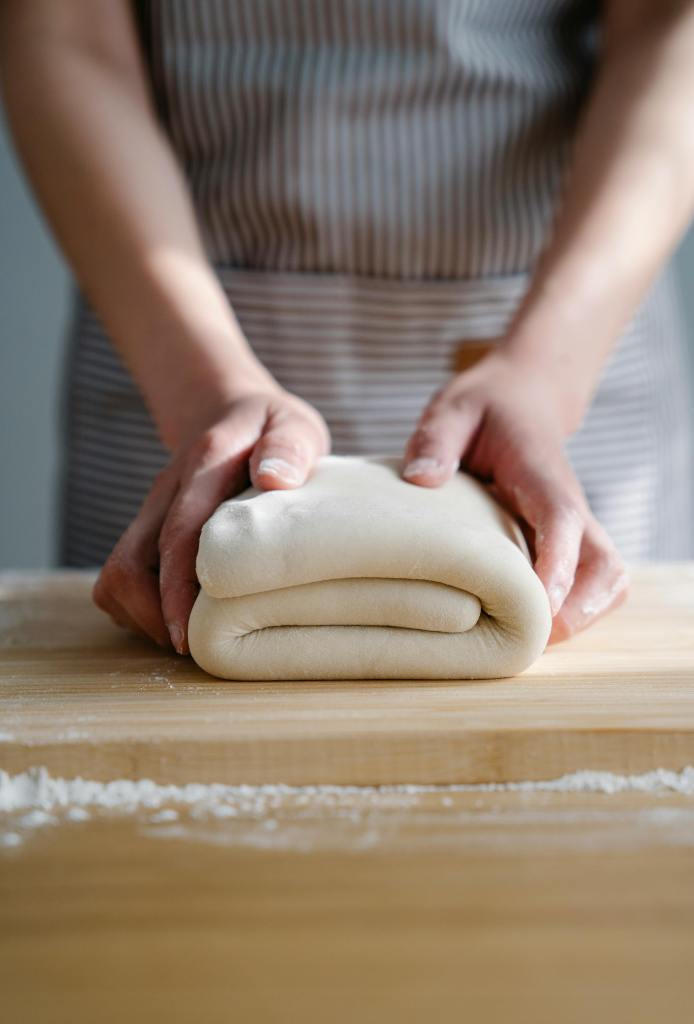
- It is a very versatile product. Although most cooks probably use it to line baking pans before adding cookies, batter, or dough, it has many other uses. It can be used for layering between food items and covering your work space when you do messy things (rolling out dough, working with chocolate and candy, etc.). Many chefs roll it into a parchment cornet for piping purposes. It can be bent into a funnel. It may also be used for cooking “en papillote,” a method of cooking food items (often chicken or fish) wrapped tightly in parchment and baked.
- Parchment paper can be reused as long as it is not too greasy or dirty.
- It cannot be recycled, but it can be composted.
- It comes in different forms. It is often sold in a roll similar to foil or plastic wrap. It can also be found in flat sheets, which are more convenient but also more expensive. You can even find cooking bags made of parchment.
- You can certainly buy parchment in regular stores. The most common type is a box containing a roll of parchment. The downside of rolls is that it can be hard to get the paper to stay flat on your pan. It is becoming more common to find sheets in stores, although they are often folded. Whereas it is easier to stay flat, the creases can cause ridges or indentations in the baked item. You can buy flat sheets of parchment, which most chefs prefer. The brand often at the top of the rankings is King Arthur Parchment Paper sheets. The downside of this great product is the price, and it must be ordered online.
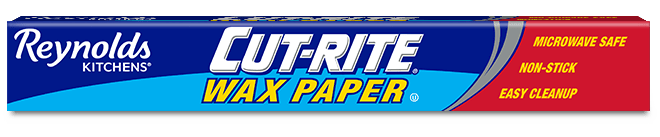
Wax paper
- This is a paper that has been coated with a thin layer of wax.
- Wax paper is moisture-resistant and non-stick. It is not, however, heat resistant. When exposed to heat, the wax can melt and the paper can catch on fire.
- While it has many of the same uses as parchment paper, baking with it is not one of them.
- Although it is not oven-safe, it can be used in the microwave.
- Wax paper is less expensive than parchment.
- It is not recyclable. Nor can it be composted.
Aluminum foil
- As the name implies, this is a very thin piece of aluminum.
- It has many uses in the kitchen, including lining baking dishes, steaming food, keeping food warm, and wrapping food before freezing.
- It is not nonstick. That is why many recipes will have you spray the foil with food spray before using it. Reynolds does make a non-stick version that does not have to be sprayed.
- If it is clean, it can be recycled if your provider allows it.
- America’s Test Kitchen found that all foil brands were equivalent in performance. They did, though, find differences in the boxes. Boxes that were sturdy and had metal serrations were preferred. They also found that boxes with a secure closure helped to prevent cutting oneself on the cutter part.
- Makers of aluminum foil warn against using foil when cooking with highly acidic foods such as citrus, vinegar, or tomatoes. They warn that the metal might leach into the food.
- You will often see regular and heavy-duty foil in the store. The latter is slightly thicker and often wider. America’s Test Kitchen put it to the test to see if this more expensive foil was worth the price. They found that it was a bit more resistant to tearing and was better for enclosing items such as wood chips that might poke through, but not significantly so. There was no difference for basic tasks such as lining a baking sheet or making a sling for baked goods. They found that a double layer of regular foil was actually stronger than a single layer of heavy-duty foil.
- Many people wonder why there is a shiny side and a dull side. This is solely due to the manufacturing process. Either side can be put next to the food as there are no performance differences.
Freezer Paper

- This type of kitchen paper is coated with plastic on one side.
- It is more durable than wax paper and is better for freezing foods.
- Freezer paper is more moisture-resistant than wax paper.
- It is not safe for use in either the microwave or oven.
Plastic wrap
- Plastic wrap can be used to store food as well as to freeze food.
- It is also useful for tasks such as pounding meat, making logs of cookie dough or compound butter, and covering bowls of food.
- It is not recommended for use in the microwave.
- Higher-rated plastic wrap is better at clinging to dishes. It is also thicker and wider, and it is easier to tear.
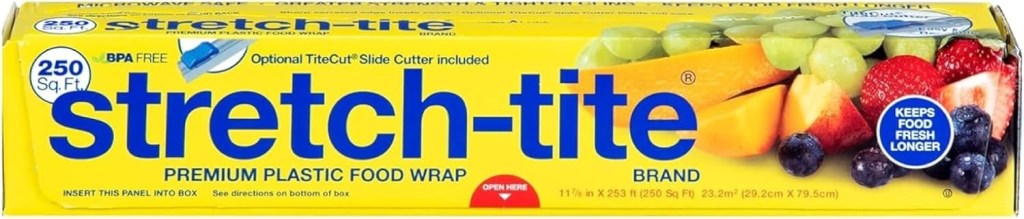
- The highest-rated plastic wraps are Freeze-Tite Clear High Cling Freezer Wrap and Stretch-Tite Premium Plastic Food Wrap.
- For many people, plastic wrap is a necessary evil. Many people want to cut down on their use of plastic, and also find tearing off a piece from the roll to be a frustrating exercise. Today, one can find the typical box of plastic wrap with a row of teeth and boxes with a slide cutter. Many find the latter to be much easier to use.
- America’s Test Kitchen prefers placing the rolls of plastic in a separate dispenser. These boxes are designed to stay on the counter better, which frees up your hand from having to hold the box. They felt these dispensers were much better than the boxes with built-in cutters. There was a difference in quality. Their recommended brand was Stretch-Tite Wrap’n Snap 7500 Dispenser. The downside of this item is that it is harder to store as it is almost 5 inches high.

Reusable food wraps
Reusable food wraps are sheets of cotton or hemp cloth dipped in a layer of beeswax or soy wax. Although many recommend these for environmental reasons, there are pros and cons.
Pros
- They are reusable and can last up to a year with proper care.
- After they have run their course, they can be cut up and composted.
- They are easy to clean with a bit of soap/water.
- They can do a good job of keeping food fresh if they completely cover the food in an air-tight manner.
- They are attractive.
Cons
- They do lose their clinging ability over time.
- The wraps can melt if left in the sun.
- They cannot be washed in very hot water. Most makers recommend using cool water and dish soap.
- They can only be used to wrap cold and room-temperature foods. They should not be used for hot items. Nor are they recommended for freezer use.
- They are not meant for raw meat.
- They are expensive.
- They can leave a residue on your hands and dishes as you use the wraps. The residue will wear off, but it takes some work to get it all off. This problem decreases as you use the wraps more.
- Over time, the coating can wear down, allowing water into the fabric. This could lead to mold development unless you keep the wraps clean and dry.
- They can stain.
- They can absorb smells.
- Some brands are too stiff to wrap tightly. The softer ones work better.
If you are interested in trying food wraps, look for ones that are clingy and easy to mold. In testing, a couple of brands at the top of the list were Abeego Food Wraps and Akeeko Food Wraps.
What is in your food storage drawer? Do you have an assortment as I do? Or, are you more of a minimalist? I would like to tell you that you only need one of the above products. Depending on what you do in your kitchen, only one item will not be practical. I trust this discussion will help you decide what you need and can live without.