As we grew up, we learned about the different tastes: sweet, salty, sour and bitter. More recently, people have begun talking about another taste – umami. That is the subject of this Cooking Tip – what is umami and how do we get umami in our foods.
Umami is a savory taste. It is actually a Japanese term that roughly translates to “good flavor” or “good taste”. It has also been thought of as a full-bodied, meaty flavor.
Umami was first studied in 1907 by isolating a compound thought to be responsible for this savory flavor. It was later identified as monosodium glutamate, a sodium salt that produces a strong savory taste. For a discussion on MSG, see this Cooking Tip.
MSG has often been added to foods to boost the umami flavor in foods. However, there are many foods that inherently have this taste, specifically those that contain a high level of the amino acid glutamate. Although not totally comprehensive, here is a list of many such foods.
- Meat has high levels of glutamate
- Soy sauce (to be forwarded a Cooking Tip on soy sauce, email me.)
- Tomatoes, including sun-dried tomatoes
- Miso
- Anchovies
- Mushrooms
- Potatoes
- Cheese with the more aged and stronger having more umami. For example, an aged parmesan.
- Seaweed
- Worcestershire sauce
- Fish sauce
- Coconut aminos (see this Cooking Tip)
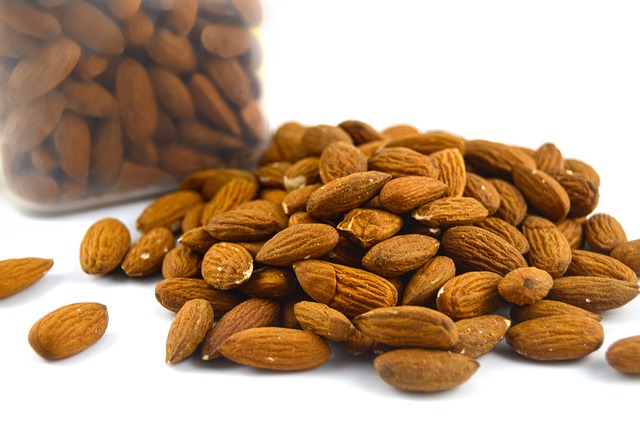
- Tree nuts such as walnuts and almonds. These are especially helpful to adding umami to vegetarian meals.
We know what most of these items are but I would like to elaborate on just a few.
Worcestershire sauce – each manufacturer has its own recipe but a typical list of ingredients is fermented anchovies, onions, garlic, vinegar, molasses, tamarind paste, salt, sugar, and a seasoning mixture that often includes coriander, mustard seed & cloves. It adds an umami punch to marinades, meat dishes, soups/stews.
Miso is a Japanese fermented paste and is typically fermented soybeans, a grain, salt, and koji (a mold). It can be fermented from a few weeks to several years. The most common use of miso is in Japanese-style miso soup, but also adds its unique flavor to marinades, ramen, or vegetable and tofu dishes.
Anchovies are a fatty fish that are most often served cured. After removing the head and inner parts, they are coated in salt, pressed and held in a temperature-controlled environment. During this time, chemical reactions occur which lead to flavor development. Being high in glutamic acid, they are full of umami. They are essential to a traditional Caesar dressing and are often added to Mediterranean dishes, meat dishes and pizza sauces.
Fish sauce is one of those ingredients essential to Asian (especially Thai) dishes. It is made from fermented (at least 12 mos) fish, typically anchovies. The fish breaks down and the salty liquid that forms is collected and filtered before bottling. It is both a condiment and an ingredient. Again, it is full of glutamates that result in a rich, savory taste and a brininess that brings out depth and flavor in everything from dipping sauces and soups to stir-fries and marinades.
Many recipes will call for some of the umami rich ingredients. However, you may also want to experiment on your own. Add a bit of soy sauce to that pasta sauce. Chop some anchovies and throw them in your beef stew. How do you up ramp up umami in your dishes? Let me know.