Most of us are beginning to see glimmers of Spring. Part of Spring is Easter, which is a time filled with favorite Easter foods. One of those foods that many people enjoy only during this time is Hot Cross Buns. This Cooking Tip is dedicated to explaining the history of this beloved bread item along with advice on how to make the best batch possible.
Any history source that discusses hot cross buns will mention this childhood nursery rhyme that street sellers sang out in the 19th century.
Hot cross buns! Hot cross buns!
One a penny, two a penny—Hot cross buns!
If you have no daughters, Pray give them to your sons,
But if you have none of these little elves,
Then you must eat them all yourselves.
Once a year, the sellers would start hawking these sweet and spiced soft buns with a cross-scored into the dough. Later, the cross was added using a flour paste or icing.

Although there is much debate about the origins and their historical context, it is generally believed that the cross has always held a religious significance and eventually became associated with Good Friday. English Heritage notes that in a 1733 edition of Poor Robin’s Almanac, a writer said:
Good Friday comes this Month, the old woman runs.
With one or two a Penny hot cross Bunns.
Even today, some will associate the hot cross bun with the communion wafer. The spices represent those used in Christ’s burial, and the cross is a reference to the crucifixion.
Enough of history! How do you make a delicious hot cross bun?
Ingredients
The ingredients are very simple. Although you might see some variation among recipes, you will generally have the following ingredients:
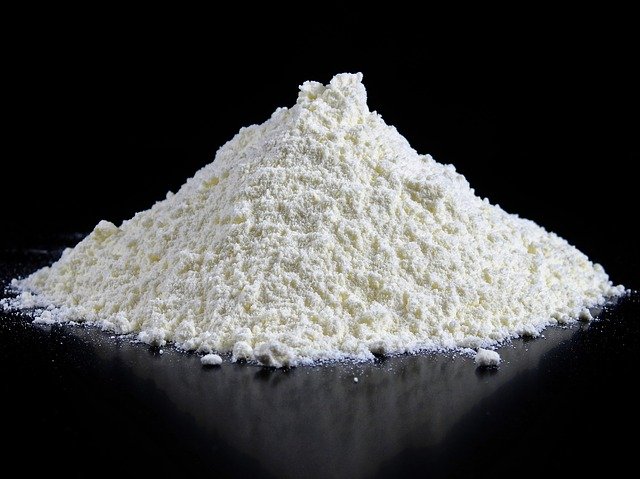
- Flour
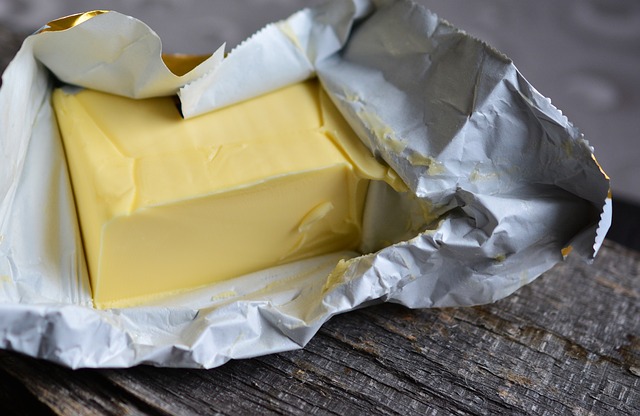
- Butter
- Milk
- Eggs
- Yeast
- Sugar
- Spices
Making the dough
- Hot cross buns are meant to be light and fluffy. Achieving this requires taking care not to either under- or over-knead the dough, as well as not using too much flour.
- When combining the ingredients, do not add all the flour at once. Hold back a bit of the flour and add it only if needed. Too much flour can make the buns dense and hard.
- Most people will use a stand mixer to make the dough, but it can also be done by hand.
- Knead into a soft, smooth, and sticky dough. You can use the dough hook on a stand mixer or knead by hand, although the latter will take much longer. Additionally, it is easy to over-knead when using a stand mixer. If your hot cross buns turn out hard, it may be because you over-kneaded them.
- You do want a sticky dough as this will result in softer and moister buns. If the dough is difficult to work with due to its stickiness, try putting a bit of oil on your hands rather than using flour.
Adding fruit
- Some recipes will instruct you to simply add the dried fruit as it is.
- Others recommend soaking the fruit in warm water, apple juice or your preferred spirit. This softens and plumps up the dried fruit. If you do this, allow the mixture to cool before adding the fruit to the dough.
- Another point of contention is when to add the fruit. There are three methods.
- Add fruit along with the rest of the ingredients.
- Add the fruit only after achieving a soft dough. Since the dough should be sticky, oil your hands and knead the fruit into the dough right in the bowl.
- Add the fruit after the first rise. If you find it hard to incorporate the fruit at this time, try stretching the risen dough into a rectangle. Sprinkle the fruit pieces over the dough, roll into a log and fold in half. Continue with a few more folds until the fruit looks evenly distributed. Those who recommend this think that the fruit can inhibit gluten development during the kneading process.
- The classic fruit used is currants or sultanas. Others use raisins, dried cranberries or diced, dried apricots.
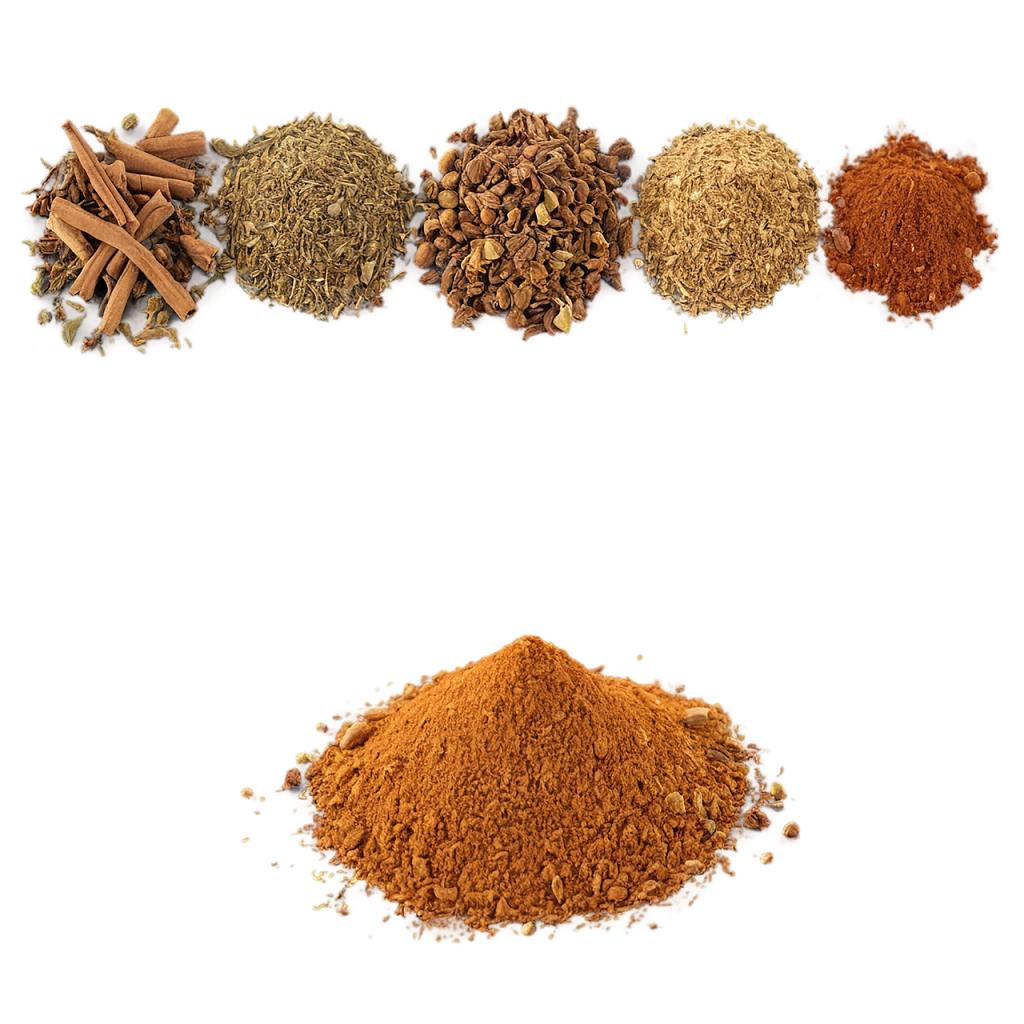
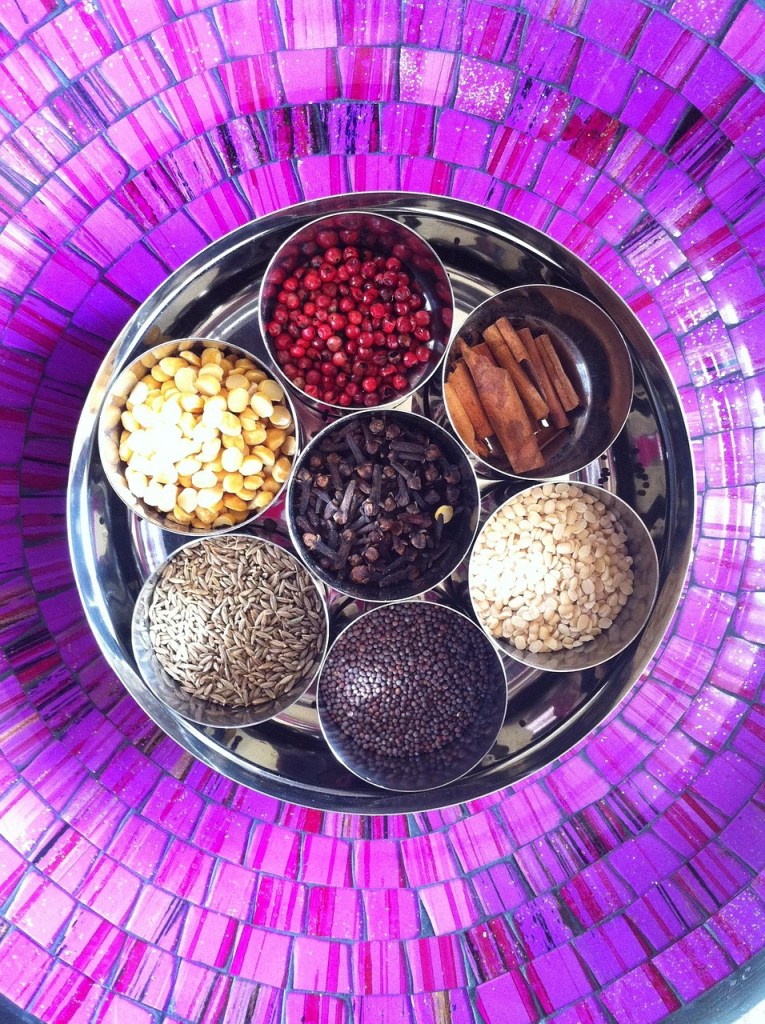
Spices
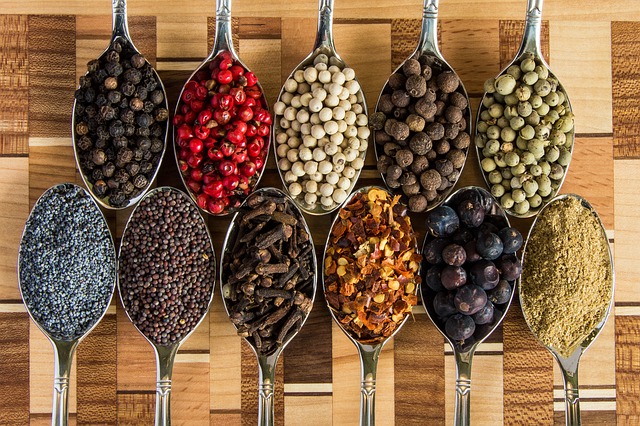
- Warm spices are typically used. For example, allspice, nutmeg, cloves, mixed spice and/or cinnamon.
Some chefs feel that cinnamon can inhibit the rising of the dough. So, use the cinnamon lightly.
Rising
- For the best and fluffiest result, the dough should rise twice. The first rise happens after you have kneaded the dough.
- The second rise is after you have formed the dough balls and before placing them in the oven.
Portioning & shaping dough balls
- You will achieve a more aesthetically pleasing result if your dough balls are as uniform in size as possible.
- Some people prefer to portion them out using a muffin scoop, ensuring a consistent amount of dough in each scoop.
- For the best result, weigh the dough balls.
- Take each portion and form it into a ball. Take some time to make nice spheres and tuck the seams underneath.
Forming the cross
- The simplest method is to just cut a cross into the risen balls before baking. Where you cut the cross, it will appear paler after baking.
- Flour paste – an older method involves making a flour paste from water and flour. This is then piped onto the buns before they are baked. Some will cut the cross into the dough first as it gives a guide for applying the flour paste. You may need a bit of trial and error to get the right consistency for the flour paste. If it is too thin, it will spread as it bakes and lose its cross-shape. If it is too thick, you cannot pipe it easily.
- Bo Friberg, author of The Professional Pastry Chef likes to use pastry cream instead of a flour paste. Now, I think that sounds incredibly yummy!
- Others like to make an icing from powdered sugar, milk and vanilla. This is piped onto the baked and cooled buns. Once again, some will cut the cross into the unbaked buns to provide a guide for the icing.
Baking
- Be sure not to over-bake the buns, as they will dry out and lose their light and fluffy texture
- Many like to apply a glaze as soon as the buns come out of the oven to give them a shiny appearance.
- A common glaze is made by heating apricot jam and a small amount of water and then brushing it on baked buns.
Storage
These are one of those baked items that you want to eat sooner rather than later. You can freeze them for longer storage. To do this, bake the buns and allow them to cool. Place them in an airtight container and store them in the freezer. To serve, allow to come to room temperature and then warm in a low oven.
Are Hot Cross Buns a tradition for you? Do you have any secrets to share? I must say they are not something that I make each Easter, but after writing this Tip, I am eager to grab my yeast and get started!