People often ask me if I like to bake or to cook. I always find this question hard to answer as I love to do both. If I was forced to pick one, I just couldn’t do it. Many people, though, find themselves gravitating towards one or the other. If you consider yourself an avid baker, you probably have heard of Japanese Milk Bread. If you shy away from baking, you may not have heard of it. It is a delicious creation, and what it is and why you might want to try it are the subjects of this Cooking Tip.
If you love artisan bread with its thick, chewy crust and interior full of holes, milk bread is not for you. If you only want to eat bread made with whole grains, milk bread is not for you. If, however, you love the guilty pleasure of soft, creamy, slightly sweet white bread, read on.

According to Bon Appetit, Japanese milk bread may have been invented by a British baker who opened a bakery in Japan in 1862. If you have never tasted milk bread, the closest thing you may recognize is white supermarket sandwich bread, although that is not as flavorful or as fluffy as milk bread.
Japanese milk bread is an enriched bread, meaning it contains more than just flour, water and yeast. Enriched breads also contain fat, dairy, eggs and/or sugar.
Other names you may see are Hokkaido milk bread or Shokupan. The latter Japanese term means “food bread.” It is a general term for a loaf that you slice and toast into sandwiches. It has a soft interior with a mild flavor and minimal crust. As it has evolved, today’s shokupan contains more fat than the original.
The key to making this bread is something called Tangzhong, which is a Chinese technique. It is a warmed roux usually made with milk and flour, although some recipes use water and flour, and others use all three. This tangzhong is said to do a couple of things. According to MasterClass, it allows the flour to absorb more liquid, yielding a moister result. The warm liquid also starts activating the gluten in the flour, aiding in trapping the liquid and achieving the final soft texture. It also helps to give milk bread a slightly longer shelf life than other breads.
As a sideline, not all bakers agree that tangzhong is the key to milk bread. Read this post from Epicurious for more information. Since the large majority of recipes use the tangzhong method, I will discuss that.
Besides the tangzhong, the other ingredients are flour, yeast, milk, sugar, butter, eggs and salt. Some recipes will add nonfat dry milk powder, saying it improves the bread’s tenderness and flavor.
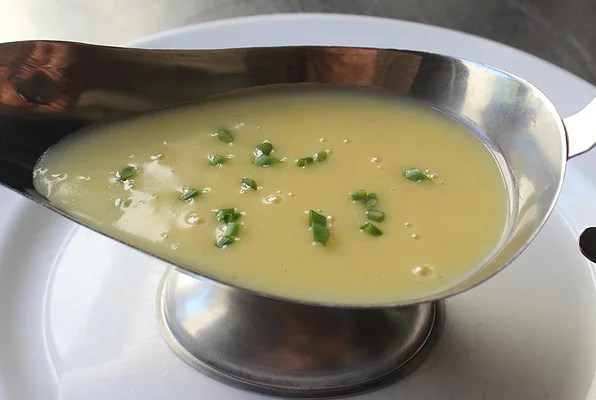
- Tangzhong – This is made by mixing the flour, milk, and/or water together over low heat until it thickens to a pudding-like consistency and reaches 150°F. It is then set aside and allowed to cool slightly before continuing with the recipe.
- Flour – Most recipes use bread flour, although some have developed recipes using all-purpose flour.
- Sugar – This gives the bread a sweeter flavor than other breads. Most recipes call for about ¼ cup.
- Butter – As with all baking, use unsalted unless salted is specifically called for. Some recipes just have you soften it, while others will melt and cool it before adding it to the mixture.
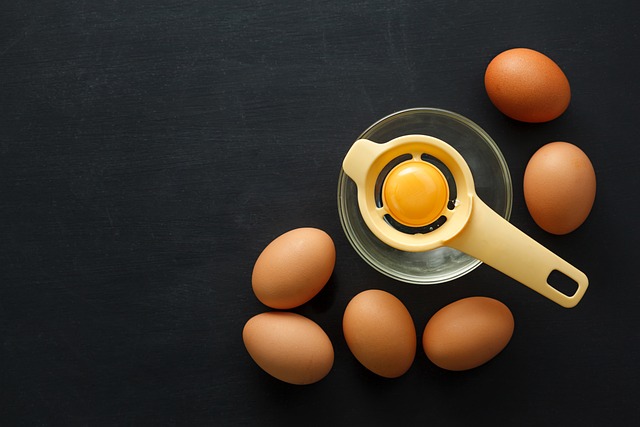
- Egg – Another enriching ingredient that increases the fat content.
- Folding/Shaping – After the dough is mixed sufficiently and allowed to rise, most recipes require you to follow a folding technique for shaping followed by a second rise. The folding technique will vary depending on the recipe, so consult the one you are using for their recommendations. The classic baking method is in a Pullman pan, but you can also use a loaf pan or even shape the dough into rolls.
Although most recipes are similar, they can vary somewhat. As with all baking, it is best to follow your specific recipe carefully and use weights rather than volume measurements, if possible. Here are three recipes to try—all from reputable sources. The first two give measurements in weight and volume, while the third is volume only.
Have you made milk bread before? Did you like it? If you haven’t made it, I encourage you to try it. Although it is not the healthiest bread, it is delightful on the palate!