Have you seen those tubes of herbs in your market? Have you ever tried them? Should you try them? Read on as this Cooking Tip breaks down this subject. For more information on fresh herbs, see this prior Cooking Tip.

The leading brand of these herb pastes you will see in the stores is Gourmet Garden. They have several varieties, including basil, garlic, ginger, cilantro, Italian herbs, jalapeno, lemongrass, parsley, Thai seasoning and lemon. The company says they are “the perfect substitute for fresh herbs or spices.” The only information about how these pastes are made is
“The herbs and spices are harvested at a time that maximizes their flavors. This crop is then washed, chopped and cold blended for you to discover the fresh chopped taste when you open the tube in your home.”
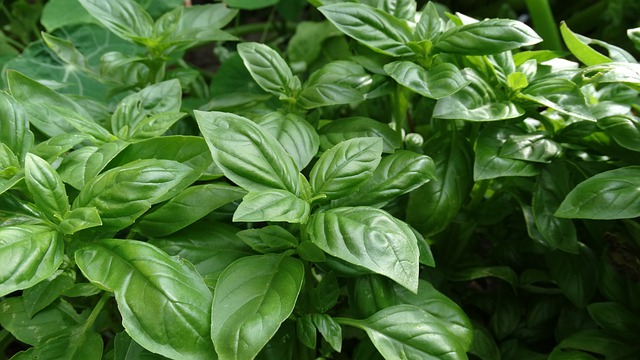
When you buy (or grow your own) fresh basil, the only ingredient is basil. In contrast, the ingredient list on a tube of Gourmet Garden Basil is:
“The herbs and spices are harvested at a time that maximizes their flavors. This crop is then washed, chopped and cold blended for you to discover the fresh chopped taste when you open the tube in your home.”
When asked about these other ingredients, the company says the following.
“Gourmet Garden products do not contain artificial colors, flavors or preservatives. There are a few simple food ingredients included in the product, though their role is about creating an environment where harmful bacteria cannot grow. These ingredients are kept to a minimum and it’s about having a product which is fresh and safe for people to consume and still deliver the fresh taste of herbs and spices to you in a convenient pack.”
If this is a concern for you, the herbs are grown and processed in Australia and then shipped to both Australia and North America.
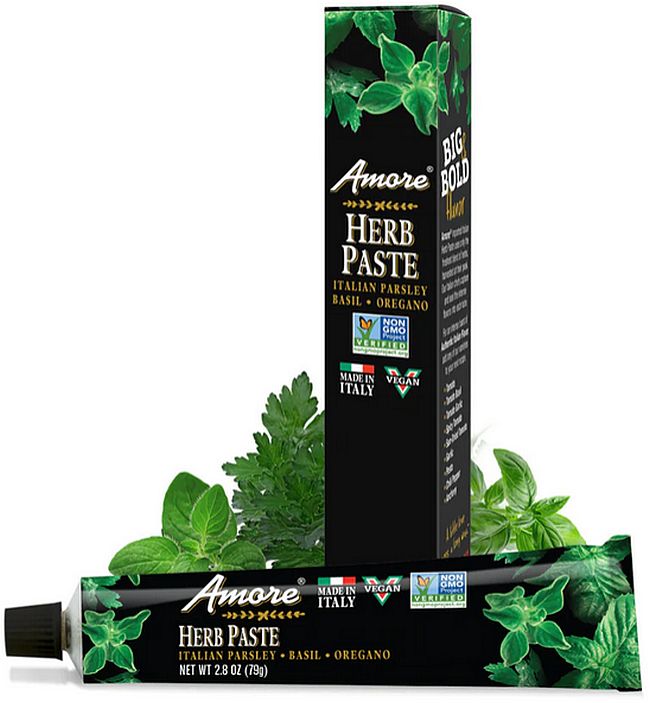
Another company that sells herb/spice pastes is Amore. This company is based in Italy and is most known in the US for its tomato paste, but they also sell Pesto, Anchovy, Garlic, Herb, Chili pepper and Sundried Tomato. Unlike Gourmet Garden products, which are displayed in a chilled display in the produce section, Amore products are displayed on the shelf, often in a specialty food section. They do require refrigeration after opening.
There may be other companies producing herb pastes, but Gourmet Gardens and Amore are the two you are most likely to find.
What do these products taste like, and should you consider using them? I was surprised that there were not that many reviews of these products. Those that I did find were mostly positive in terms of taste. There were some cautions, though.
Fresh vs. cooked
- They are better in cooked dishes such as soups, sauces, pasta and meat dishes.
- Where you want the fresh basil flavor to shine through, as in pesto and other uncooked dishes, stick with fresh basil.
Shelf life
- Although the shelf life of these tubes is longer than fresh herbs, it is still only about three weeks (for Gourmet Garden) in the refrigerator after opening.
- They also caution you against leaving the tubes out of the refrigerator for more than a half hour.
Other ingredients
- All of these products contain other ingredients to aid in packaging and shelf life. They generally include some type of sugar, oil and salt. Be sure to look at the nutritional labels, as they vary from brand to brand. Let’s first remind ourselves of dietary advice.
- Sugar – The American Heart Association recommends limiting added sugar to 25 grams for women and 35 grams for men.
- Salt – The current dietary recommendation is to limit our salt consumption to 2300 mg or less daily.
- Oil – Dietary guidelines instruct us that our saturated fat intake should be limited to less than 10 percent of daily calories. We should, instead, use unsaturated fats, particularly polyunsaturated fats. For more on fats/oils, see this Cooking Tip.
Let us compare these added ingredients for these two brands.
Gourmet Garden’s Italian Herbs
- Ingredients – basil, dextrose, oregano, canola oil, sodium lactate, whey (milk), parsley, glycerin, sea salt, ascorbic acid (to protect color and flavor), rosemary, xanthan gum, acetic acid, citric acid.
- Sugar – You will see that the second ingredient is dextrose, a type of sugar. A serving size of 1 teaspoon contains 1 gram of sugar, about ¼ teaspoon.
- Salt – One teaspoon contains 125 mg of sodium.
- Fat – Total fat in one teaspoon is 0.5 grams. From the ingredient list, it is all in the form of canola oil.
Amore’s Herb Paste
- Ingredients – basil, sunflower oil, Italian parsley, oregano, extra virgin olive oil, salt, citrus fiber, citric acid.
- Sugar – 0 grams
- Sodium – 55 mg
- Fat – 1.5 grams and is a mixture of sunflower and extra virgin olive oil.
I have used several Gourmet Garden’s products although only in cooked applications. I find them quite suitable for that purpose. The only Amore product I have tried is their Tomato Paste, which is very nice. In a test of tomato pastes done by America’s Test Kitchen, they recommended this product alongside others in a tube, such as Cento and Mutti.
As I was researching this Cooking Tip, I found the difference in ingredient lists illuminating, and it may also help you to choose as you are in the store.

If you have fresh herbs that you won’t use up, you can make your own herb pastes. Just combine your herb(s) of choice in a food processor with a bit of olive oil until you get a paste consistency. Freeze in an ice cube tray, remove to a bag and stow in your freezer.
Have you tried Herb Pastes, and what do you think?