Risotto is a dish many people consider a “restaurant” dish. While you can get some excellent and creative risottos in a restaurant, you can also easily make them in your kitchen. Read on in this Cooking Tip to learn how.
A simple risotto has very few ingredients – rice, liquid (usually broth), and seasonings. Let’s dive into these first and then follow up with the technique.
Rice
Risotto cannot be made with any type of rice due to differences in starch type and content. (To brush up on types of rice, see this Cooking Tip.) The best kind of rice for risotto is sometimes called short-grain rice, while others call it medium-grain rice. Do not use long-grain rice, as you will not achieve the wonderful creamy texture associated with a good risotto.
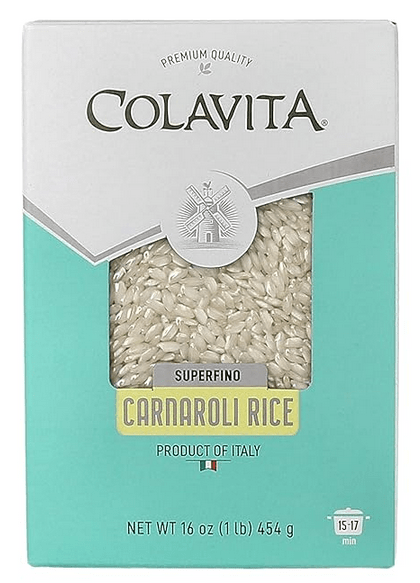
The most common varieties of rice you will see recommended for risotto are Arborio, Carnaroli, Bomba, and Vialone Nano.
- Arborio rice is the easiest to find in supermarkets, but it does have its drawbacks. It is easily over-cooked, resulting in a mushy risotto. It also often results in risotto that’s too thick.
- Carnaroli or Vialone Nano rice gives you a good balance between creaminess and not being too soft. They are also more forgiving, meaning they are less likely to overcook.
- Bomba (Valencia) rice is a Spanish rice used in making paellas, but can be used for risotto.
- You will also see dishes made with other grains, such as farro or barley, termed “risotto.” Although these can be very tasty, they are not traditional risotto.
Liquid
- A classic risotto will use a small amount of wine, usually a dry white wine, early in the cooking process and allow it to evaporate before moving on to adding other liquid.
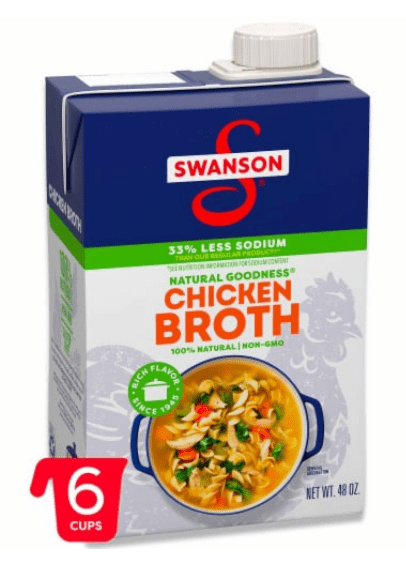
- The main liquid added is broth. Since the broth is where much of the flavor comes from, use good stock. This might be store-bought or homemade. If using store-bought, use a low-salt version so you can control the dish’s salt content. The type of stock can vary depending on the desired end flavor.
- For a shrimp risotto, use the shells to make a quick shrimp stock to use in the risotto.
- If you do not have any stock, TheKitchn.com recommends using salted water. Bring 6 cups of water and 1 tablespoon of salt to a boil until the salt dissolves. Reduce to a simmer and use just as broth.
Seasonings
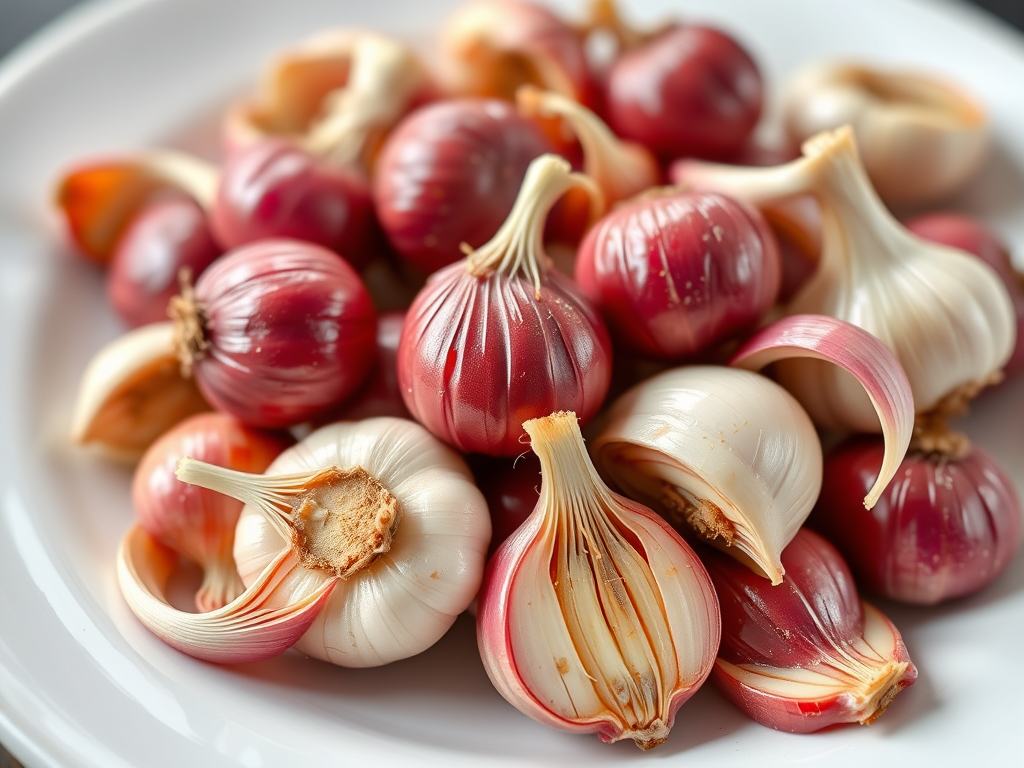
- Many risottos start the cooking process by sauteing an aromatic ingredient such as shallots, onion, and/or garlic.
- Other than salt, some recipes may add other seasonings depending on the flavor profile they wish to achieve.
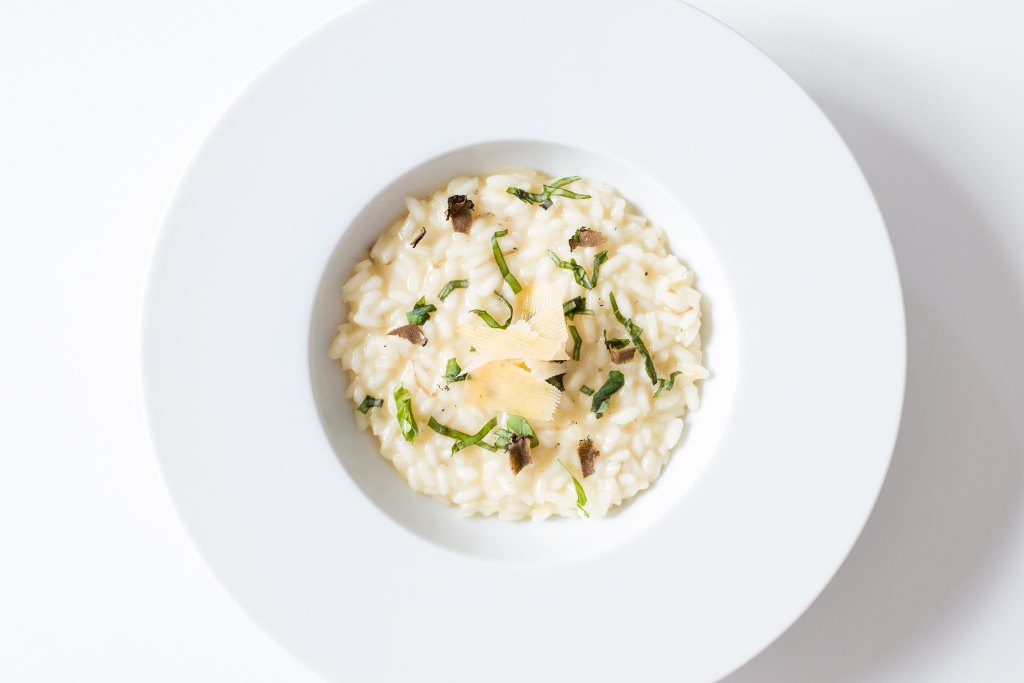
- Cheese, Parmesan or Grana Padano, is classic and is added at the end of cooking.
- A small amount of butter is also often added at the end, increasing the creaminess.
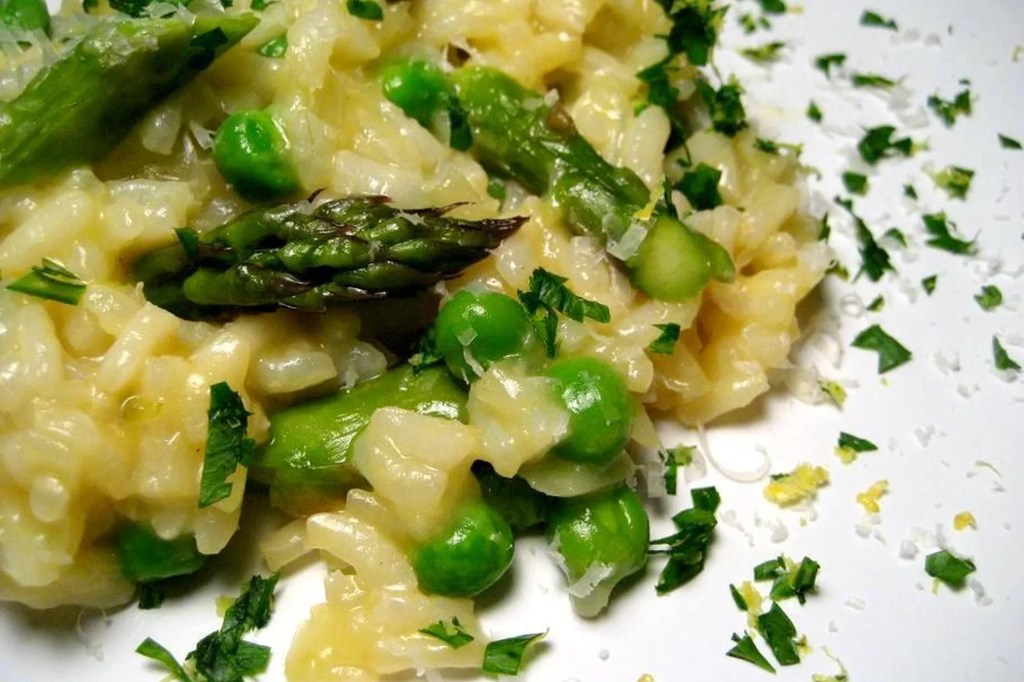
- Other ingredients that you might see in risotto recipes are mushrooms, corn, asparagus, red bell pepper, squash, etc.
Pan
It is best to use a broad, wide pan with sloping sides. This allows for more even cooking of the rice.
Now that we understand the ingredients, let’s move on to the technique of making risotto. We will discuss both the classic method and an alternative method.
Classic method
- Start by sauteing onion or shallot, if using, until softened but not browned.
- Add the rice and sauté until the rice grains become translucent around the exterior and smell toasty. This contributes a nutty flavor to the final dish.
- Add the wine and cook until it is almost evaporated.
- While doing the above, heat the stock to a simmer and keep warm. Some will say you can use cold stock. With cold liquid, the cooking process will take longer.
- Add the broth in small increments, allowing it to cook down between additions. This is said to allow the rice grains to retain an “al dente” texture while the overall dish remains creamy and flowing.
- Finish by adjusting seasonings, adding butter and/or cheese, etc., off heat.
- Judging doneness
- For many home cooks, this is the hardest part. You want a creamy, not too thick texture. Italians say it should be like la onda, which means like a wave rolling slowly to shore.
- Some recommend taking a grain, putting it on a plate, and then smearing it with your finger. It is undercooked if it is rough and chunky with a large white center. If it is very smooth and has no white center, it is over-cooked. Correct doneness will show a relatively smooth smear with a bit of white in the center.
- When you taste it, it should be al dente, meaning it will have a slight bite to it.
- It is important to note that you may or may not use all of the broth called for in the recipe. Cook to the correct doneness level, without concern for using all the liquid.
- Preheat your serving bowls before putting the finished risotto in them. Cold dishes can cause your risotto to cool down and thicken too much.
Alternative method
- Some cooks find the classic method a bit tedious since you have to give your attention to your pot throughout the cooking process. I do not find the classic method that tedious, but if you do, you can try this alternative method, which some term “almost hands-off.” The following method is advocated by J. Kenji López-Alt, culinary consultant for Serious Eats. America’s Test Kitchen recommends a similar method. Note that both methods (classic and alternative) take about the same total time, about 20-30 minutes.
- It mainly departs from the classic method in how you add the liquid. It starts by putting the rice in a bowl or measuring cup with the broth and agitating the rice to remove the starch. Drain through a fine-mesh strainer, but do not discard the liquid; you will add it back as you cook.
- Toast the rinsed rice in the pan with butter and/or oil. The reasoning behind this rinsing step is that toasting the rice with heat can break down the starch, which is essential to a good risotto. By rinsing the rice, the starch stays in the water, and then toasting the rinsed rice eliminates this concern.
- Next, sauté the aromatics until fragrant.
- Now, add all but one cup of the starchy broth. Heat until simmering, cover and then reduce to a low heat. Cook for 10 minutes without stirring. At the end of the 10 minutes, stir, cover, and continue cooking until most of the liquid is absorbed, about another 10 minutes.
- Remove the lid, add the final cup of stock, and increase the heat to high. Cook, stirring constantly until the risotto is thick and creamy.
- Finish as in the classic method.
Making risotto in advance
- Risotto should, ideally, be served as soon as it is finished. If you wish to make it ahead, try this method that restaurants use. Start as normal by sauteing the onion, toasting the rice, and adding the wine and broth. Stop cooking when the rice is about ½ to ¾ of the way cooked. Scrape the risotto onto a rimmed baking sheet and spread it out in a thin layer. Let the risotto cool, transfer to an air-tight container and refrigerate.
- To finish, return the partially cooked risotto to a pan and continue to add broth until cooked to the al dente stage.
Storage
- To store cooked risotto, put it in an airtight container and refrigerate. Use within a few days. It does not do well with freezing.
- To reheat, put ¼ cup of stock for each cup of risotto in a pan and bring to a boil. Reduce to a simmer and add the risotto. Stir for 2 to 3 minutes to heat through.
- You can also reheat in a microwave. Some recommend adding one tablespoon of butter and a splash of white wine or water. Microwave on medium heat, stirring every minute until heated.
Risotto is a lovely, comforting dish of Italian goodness when done well.
With the above tips, you, too, can serve risotto as good as any restaurant.