Does it feel like you are spending more and more on groceries? Do you shake your head at the prices of some items in the store? Are you cutting back on what you buy or trying to implement more cost-saving strategies? This Cooking Tip is about what you can do and how grocery stores attempt to sabotage you.

Let’s first look at how grocery stores deliberately try to get you to spend more money. Just this knowledge can help you resist their tactics and, hopefully, save money. When I shop for cooking classes, I tend to be on a budget. I often have to work to find the best deals, and I can attest that the following ploys are real, but you can repel their efforts.
Experts will tell you that grocery stores are designed to boost consumer spending. That should not come as a surprise, as they are a business. Here are some of the things they do.
They promote certain items on end-caps.
These displays are meant to capture your attention. However, they are not always the best deal. Even though those items may be on sale, compare their prices to those of other similar items in the regular aisle to determine which is best for you. I am one of those people who rarely look at the end-caps, but if you are, approach with caution.
Much of what stores do is encourage impulse purchases.
Grocery stores do not want you to stick to your grocery list. One way they do this is to make you walk through aisles of items that are not on your list to get to the essentials you need, such as milk and eggs. This is also why they periodically rearrange items. When you cannot find what you want where it is usually located, you must now walk around the store looking for it. As you do, the stores hope you will find other items to add to your cart, whether you need them or not.

Shelf placement
We naturally look at items at eye level first. In stores, this is where the most expensive item will be. We tend to look left and right, but often fail to look up and down, where the lower-priced items are typically placed. So, train yourself to look all over to find the best deal.
Stores offer samples not just to be nice.
Once you eat a sample of something tasty, you tend to get hungrier, and it can lead to you buying more. Studies have shown that not only are you likely to buy that sampled item, but this tendency to buy more can even extend to non-food items.
The music is intentional.
Studies have found that playing slower music resulted in a significant increase in average sales. The theory is that the slower music will make you feel less rushed and more likely to spend more time and money. I don’t know about you, but I rarely even notice the music unless it is too loud or too obnoxious. However, is it there in a subliminal manner? I am not sure.
The produce misting system can work against you.
The stores will tell you that the water misting system helps to keep the produce fresher. That is debatable, but it can also add water weight to the produce, thus costing you more at checkout. You can’t avoid the mister, but some recommend giving the produce a good shake before putting it in a bag.
Not updating sales signs.

Consumer Reports sent shoppers into 26 Kroger and Kroger-owned stores in 14 states and the District of Columbia in March, April, and May of 2025. The shoppers discovered expired sales labels, resulting in overcharges on more than 150 grocery items. Although Kroger has since pledged to address this issue, you should still be vigilant about checking price signs. I had a similar experience not long ago at a Kroger store. Fresh peaches were advertised as $3.99 per pound on the sign. I bought four of them. When the cashier ran them up, they rang up as $3.99 per peach. This led to an outrageous cost. Despite my asserting that this was incorrect, the cashier said there was nothing he could do. I had him take the item off my order. As there were people in line behind me, I finished checking out and then returned to the produce section to take a photo of the “per pound” price. When I showed it to the cashier, he still refused to take any action. I had to take the items and the photo to the customer service department. They eventually made it right, but not without a fair amount of work on their part.

Cart size
Grocery stores have begun using larger carts intentionally. They know that people tend to want to fill up the cart and thus, buy more. So, if possible, use a smaller cart. Studies have found that people tend to buy less when they do so.
One-way doors
You enter a grocery store and then recall that you forgot something, so you need to go back to the car. However, when you try, you often cannot exit the same door that you entered. That is purposeful, and it is not just to prevent theft. By making you walk around and past other displays to exit the door, they hope you will see something that makes it into your cart.
Enticing aromas
Stores often have bakeries up front, and even if they don’t, they might pipe in the smell of freshly baked goods. That will stimulate your appetite, and they hope you will buy more.
Good deals
When you find a great deal advertised by the store, it will often be placed next to other, more expensive products. The store wants you to buy those other, more expensive products.
Having items in more than one place.

Let me give you an actual example of this. I was buying a carton of eggs, and I picked out the one I thought was the best deal and put it in my cart. As I was walking away from that section, I accidentally noticed another display of eggs on an end-cap a few aisles away, which were about half the price of the ones I had in my cart. I switched the eggs out, but it made me wonder if the store was purposely trying to hide these better-priced eggs.
Aside from avoiding the above tactics, what else can you do to save money on your groceries?
Loyalty programs

The majority of stores offer loyalty programs, and you won’t be able to get that special deal unless you load it to your loyalty card. This can lead to significant savings. The downside is that the store is collecting info on you. Your shopping habits are being tracked and are often sold. You have to determine if it is worth it for you.
Nonfood items
Although it is convenient to buy items like foil, sponges, and dish soap during your regular grocery shopping, these items tend to be less expensive at other stores, such as big box retailers.
Stores charge for work done.
Yes, precut fruit and veg is convenient, but the stores are not doing that for free. You end up paying more for the same item that you could cut up yourself at home. For example, in my store, cantaloupes were on sale for $3.50 each. However, a 2-cup container of pre-cut cantaloupe was $5. Not only is the overall price higher, but I will also get more than 2 cups from my whole cantaloupe, making it an even better deal.
Track down the discount section.
These tend to be hidden in unusual places, but they often have great buys. Search them out.
Resist buying a lot of processed foods.
Not only are these items a potential health hazard (See this Cooking Tip), but they also generally cost more than a homemade version of the same item.
Buying snack packs
These are more expensive than buying larger sizes. However, if you are doing it to limit consumption, that is your choice. I recall someone once saying they would buy a pint-sized version of ice cream rather than a larger size, which was a better deal per ounce, because it helped her limit her consumption of that ice cream. As long as that is a conscious decision on your part, there is nothing wrong with that.

Shopping without a list
It is so easy to buy more when we are not following a list. That list helps you to avoid impulse buys. A corollary is to check what you have before leaving home, so you do not buy something you already have. Along with this is the dreaded task of meal planning. For those who dedicate themselves to doing this, it has been shown that they save money on their groceries.
Store brands
Check out the store or private label brands. These are typically made in the same factories as the name brands, but they sell for less.
Buying in larger sizes or in bulk
This can be a double-edged sword. Only buy items in bulk that won’t go bad before you use them. Additionally, not all larger sizes are cheaper when considering the price per ounce. In the past, we were all taught that larger sizes were a better deal. I sincerely believe that stores are now using this to increase their profits, as sometimes the larger sizes are more expensive per ounce than the smaller ones.
I just checked the price per ounce of Cheerios at two local stores. They sell boxes in the following sizes: 9 ounces, 12 ounces, 18 ounces and 20 ounces. At one store, the best price per ounce was the 9-ounce box. At the other store, it was the 18- and 20-ounce boxes, which were both the same price.
Watch for special deals.
These money-saving deals may come in the form of coupons or special discount days, such as those offered to seniors, military personnel, and teachers. Some stores also offer “Cash Back” options for buying certain items or specific quantities. This cash back typically appears as a credit on a future purchase.
Rebate apps
Many people use rebate apps or receipt apps, which allow you to accumulate points that can be redeemed for gift cards. These may or may not work for you.
Warehouse membership stores
Many people swear by these stores. They do not work for me as they often do not have the item or the particular brand I am looking for. As most people know, they are also known for selling larger sizes. As discussed above, just be smart when purchasing these. You also need to factor in the cost of the membership fee.
A review of Costco’s website reveals that the basic membership costs $65 per year. This is over $5 per month. Sam’s Club is less expensive, but also carries a different selection of items and brands. Ensure it aligns with your shopping preferences and needs.
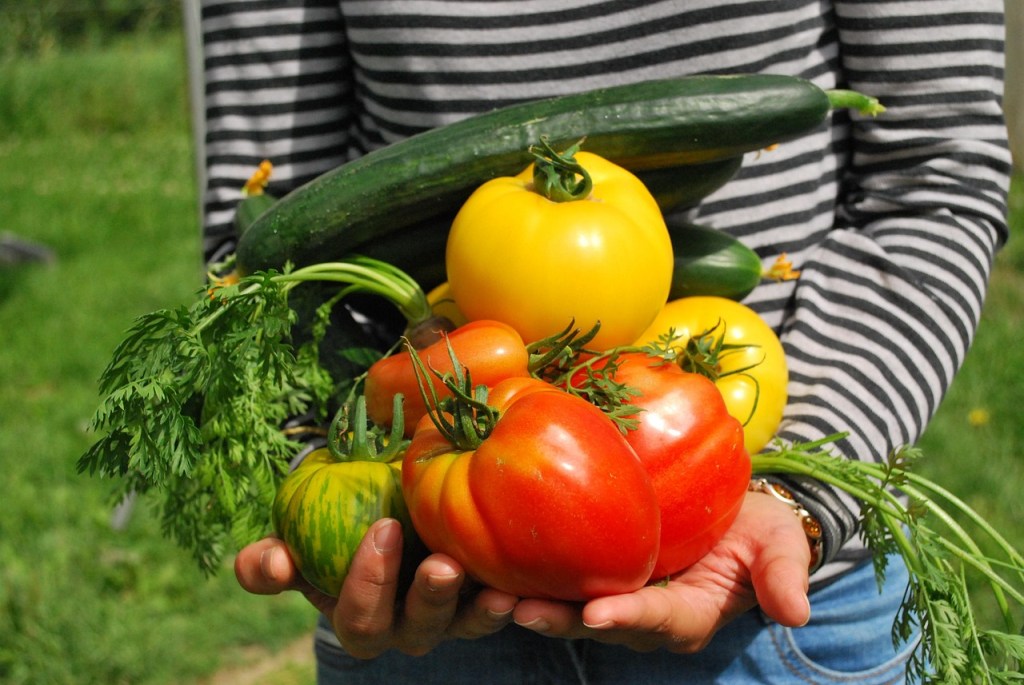
Grow your own food
This piece of advice may not be suitable for everyone. If I had to grow my own food, I would be in trouble, as I am not a gardener and have no desire to become one. I am blessed, though, to have a gardener husband, and I admit it is so nice not to have to buy lettuce for months at a time. If you’d like to garden but don’t have space, check if there are any community gardens in your area.
Do some of these money-saving tips cost you time? Yes, they do. For example, finding and clipping coupons (whether paper or electronic), checking sales flyers, taking photos of in-store signage, and dealing with the consequences if the prices are incorrect, as well as looking for the best price-per-ounce, all take time. As with many things in life, it is a matter of balance. What works for me and is worth it for me might not be for you. However, I hope this Tip gives you some things to think about as we try to keep our food bill under control.