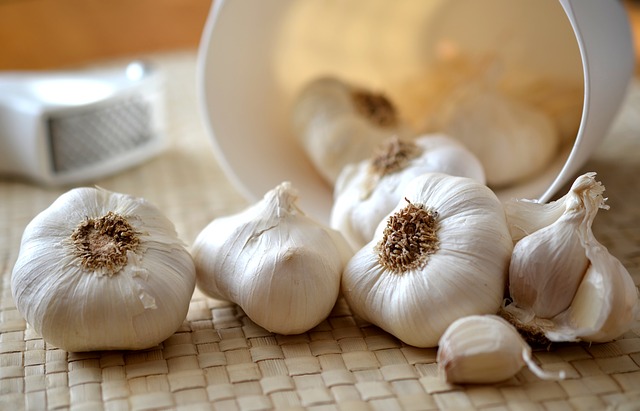
Garlic is probably one of the most used seasoning ingredients in our kitchens. I have written a prior Tip on fresh garlic and how it compares to the bottled variety. In this Cooking Tip, I want to discuss the dried and powdered garlic products you can find on the shelves of your supermarket.
Many culinary legends, including James Beard and Julia Child, despised these powdered versions of garlic. In an introduction to a recipe for Garlic Soup, James Beard states:
“The robust and beautiful flavor of this soup is something that could never, ever be achieved with garlic powder. So leave those substitutes on the shelf, look at them once in a while with distaste—and then forget about them.”
Is that true? Is there no place in our kitchens for these items? Let’s look at what these products are and if and how they might be used.
Garlic Powder
- Garlic powder is made from fresh garlic bulbs that have been dried and then ground into a fine powder.
- It is not as potent as fresh garlic but is suitable for when you want a milder garlic flavor dispersed throughout. Fresh garlic doesn’t stick as well and doesn’t spread as evenly as a powder, which makes the powdered version useful in a spice rub. It adds a warm flavor without the pungency of fresh garlic.
- It should not be considered a replacement for fresh garlic but a separate garlic-flavored product.
- Cooks Illustrated recommends hydrating garlic powder in an equal amount of water and then sauteing it in fat before adding to the dish.
Garlic Salt
- As its name implies, this product combines garlic powder and table salt. It is generally made with three parts salt and one part garlic powder.
- The garlic flavor is much milder than either fresh or garlic powder.
- The primary consideration is the salt content. If you use this product, you must decrease the amount of other salt you add to the dish. This is also why, although you can use garlic powder in place of garlic salt, you should not do the reverse due to the salt content.
Granulated Garlic
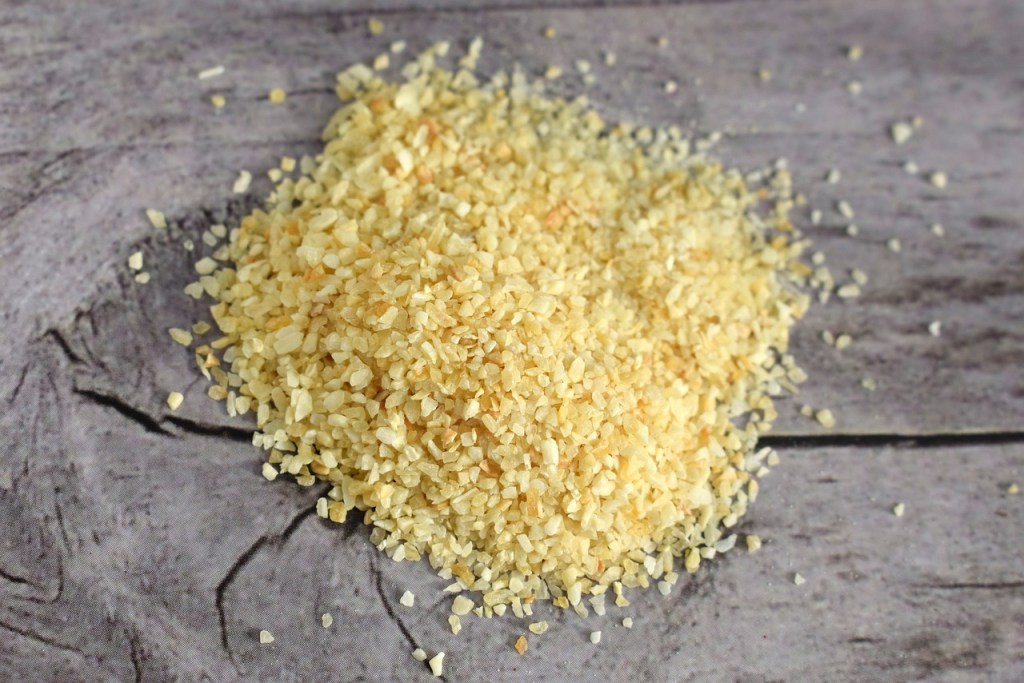
- Like garlic powder, this is made from fresh cloves that have been dehydrated and ground up. What makes it different is that it has not been ground as finely as garlic powder.
- Because it is less likely to clump than garlic powder, it is better than garlic powder in various liquid dishes such as soups, stews, and salad dressings.
- It is also better in longer cooking dishes as there is more time for the granules to hydrate.
Minced Garlic
- This product is minced while fresh and then dehydrated and packaged.
- The garlic pieces will be larger than granulated garlic.
- Once again, it is better when cooked in a dish with enough liquid and time to rehydrate the granules.
Roasted Garlic
- Besides the other products, some companies also offer a roasted variety.
- It might be in the form of a powder or granulated dried garlic.
- Roasting garlic tames the pungency of fresh garlic and adds a sweet note.
Cooks Country compared fresh garlic to dried garlic products in a Caesar salad and garlic bread. They found minimal differences in the salad, probably due to the other strong ingredients in the dish. There were more notable differences when used for garlic bread. Fresh garlic had the strongest flavor while the others were felt to be muted and artificial. Garlic salt was especially disliked. They concluded that if you want the garlic flavor to be predominant, go for fresh. If it is just a background flavor, you can use powdered garlic, just not garlic salt.
Favorites among taste testers varied.
- America’s Test Kitchen liked Morton & Bassett.
- The Kitchn preferred Trader Joe’s.
As mentioned above, none of these products are a great substitute for fresh garlic. However, here are some recommendations for those who do want to substitute when they do not have fresh garlic.
- For one fresh clove, the recommendation for the amount of garlic powder to use varies from ⅛ teaspoon to ½ teaspoon.
- Because of the larger sizes of granulated and minced garlic, you will want to use more of those products.
- If you want to substitute granulated garlic for garlic powder, use double the amount called for.
- Do not use garlic salt in any of these substitutions as it will not only provide less garlic flavor but could lead to an overly salty dish.
If you wish, you can make your own garlic powder. Here is the basic method.
- Separate the fresh cloves and remove the skins.
- Cut the cloves into thin slices and place them in a food dehydrator in a single layer.
- Alternatively, place the slices on a cookie sheet and put them in a 150°F oven.
- When the garlic is dry, you can crush it in your hands, and it will crumble.
- Allow the dried garlic to cool, and then grind it in a spice grinder or mortar/pestle.
- Store in an airtight container.
Do I have dried garlic powder in my spice rack? Yes, but I must admit I rarely use it. I do like it in a couple of recipes, but other than that, I do not reach for it. How about you?