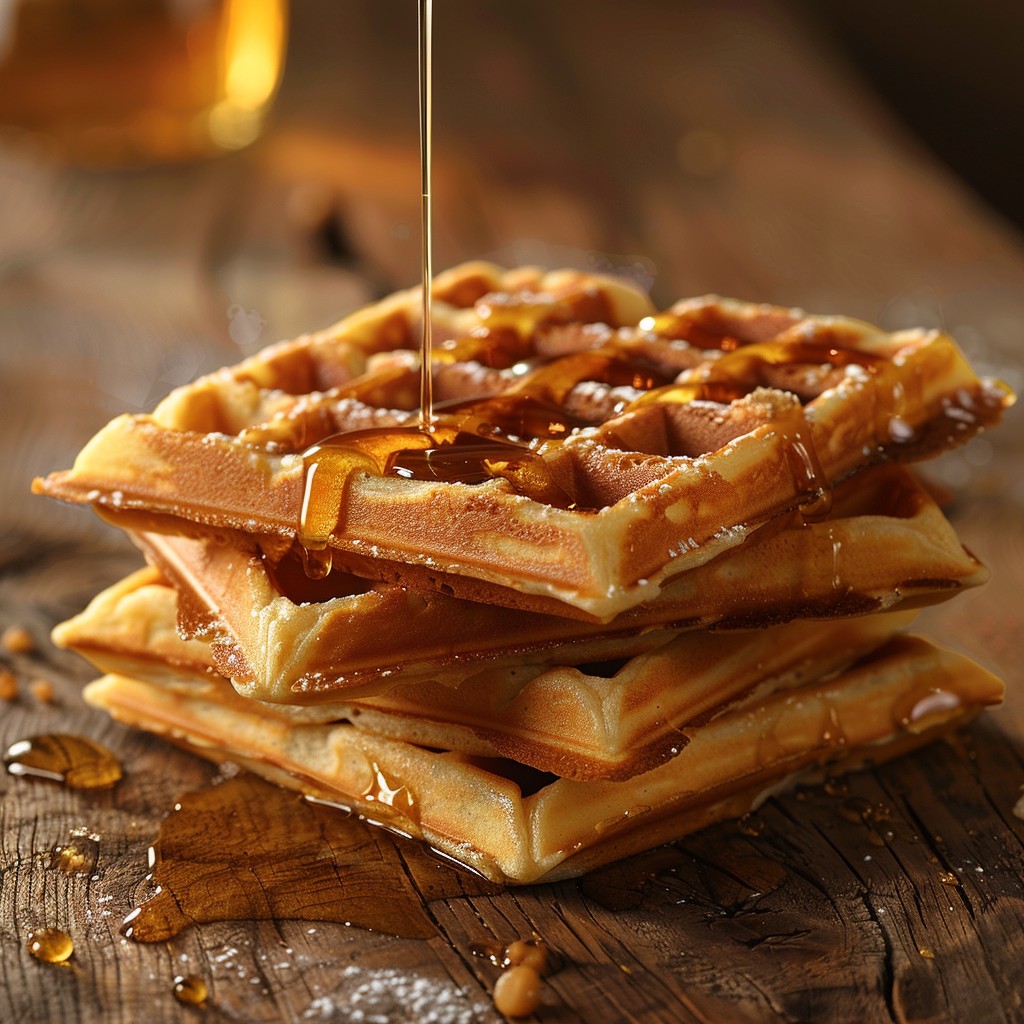
I made Belgian waffles for dinner the other night. They were delicious, and it caused me to wonder how many of you make your own waffles. Don’t tell me if all you do is put frozen waffles in the toaster! In this Cooking Tip, I will discuss the different types of waffles and offer tips for making a great waffle from scratch.
The first thing you need to decide is what kind of waffle you wish to make. There are many kinds of waffles, but the two major categories are Belgian-style and American-style waffles.
Belgian waffles
- What Americans call Belgian waffles originated in Belgium and were introduced to the US during the 1964 New York World’s Fair. However, you won’t find the term “Belgian waffle” anywhere in Belgium. There are what are called Brussels waffles and Liege waffles.
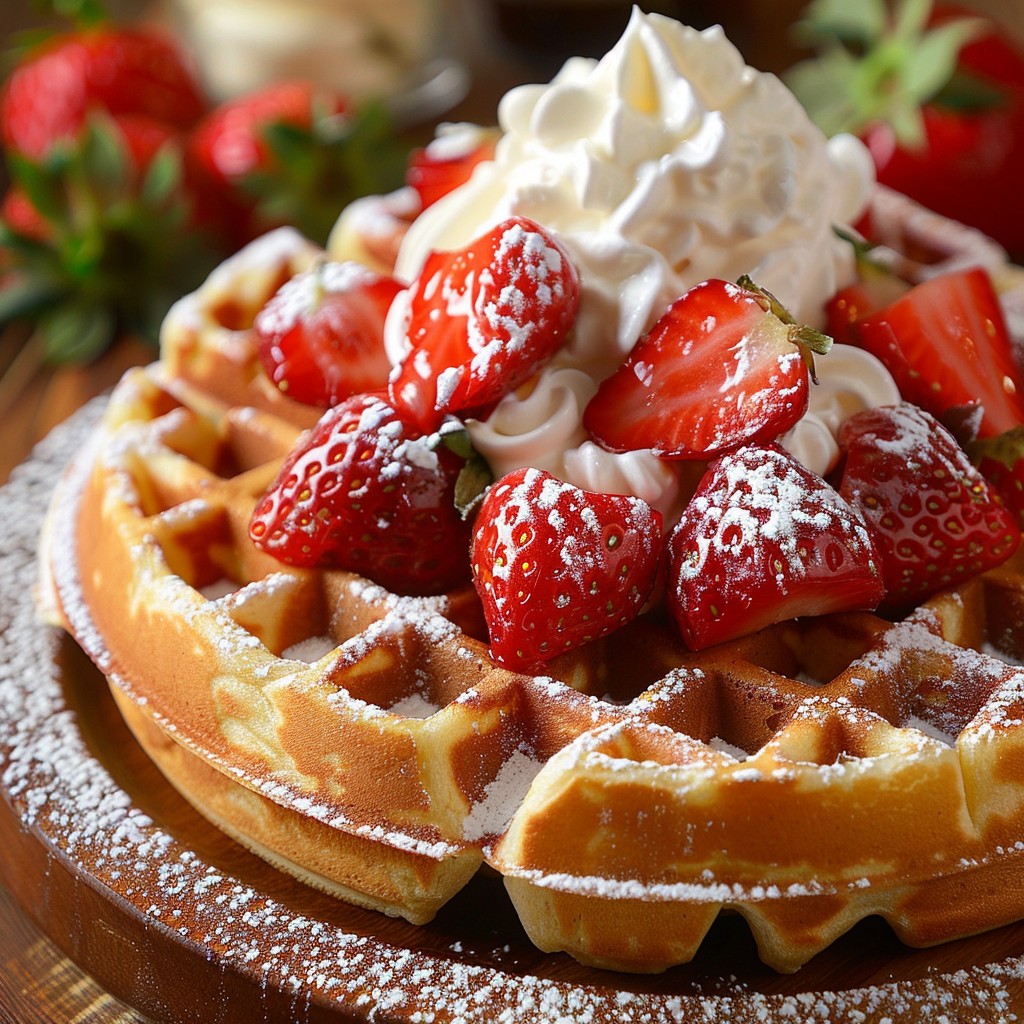
- Brussels waffles are larger in size than American-style waffles. They also have deeper pockets for all the toppings.
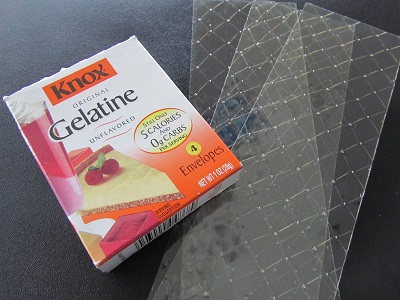
- What makes these waffles unique is that yeast is used in the batter. This produces a light and fluffy waffle with a crispy exterior.
- Many recipes for Belgian waffles also call for separating the eggs, whipping the whites into peaks and then folding them into the batter, giving an incredible lightness and airiness.
- You will find Belgian waffles in America that forgo the yeast and instead use baking powder. However, it is the yeast that gives this waffle style its characteristic form and slightly tangy taste.
- They are traditionally cooked in a rectangular or square waffle maker.
- Liege waffles differ in that the batter is thicker and they have pearled sugar baked into them. This gives a lovely crunch. They are typically cooked in a round shape.
American waffles
- These waffles are thinner and denser than the Belgian waffles.
- They are leavened with baking powder rather than yeast.
- The batter is much closer to a pancake batter, although a pancake batter will not work in a waffle maker.
Tips for Great Waffles
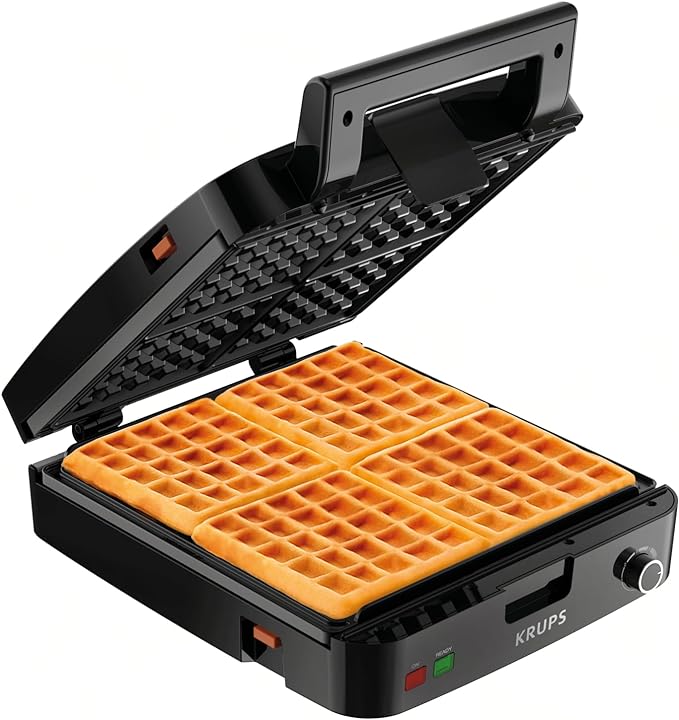
Waffle Maker – Great waffles not only require a good recipe but also a waffle maker. If you make waffles regularly, you may want to invest in a higher-end model. For most of us, though, a more moderately priced one will do just fine.
- Instructions – Be sure to read the instructions of your waffle maker so they are cooked as your appliance calls for.
- Preheating – Be sure to properly preheat the waffle maker. Most waffle makers indicate they are ready after about 4 minutes of preheating. America’s Test Kitchen (and others) recommends preheating for 10-20 minutes to ensure the entire surface is thoroughly preheated.
- Oil – Unless you know your waffle maker is very non-stick, it is best to brush a small amount of oil on both sides of the waffle maker before adding the batter.
- Portioning batter – It will take some practice to know how much batter to add to the waffle machine. Once you know, measure each time to ensure consistently sized waffles.
- Judging doneness – Do not open the waffle maker until the appliance tells you it is ready. It will not cook properly if you do. Many experts say that you should not open your waffle maker until the steam has stopped seeping out its sides.
Ingredients
- Flour – It is fine to use all-purpose flour. Some prefer cake flour because it gives a lighter texture.
- Leavening agents – For the best Belgian waffles, use yeast. For American-style waffles, baking powder is used.
- Eggs – Eggs are crucial for structure and richness. Some recipes use whole eggs, while others use yolks and whipped egg whites. There are many advocates of the “whipped egg whites”. However, some say this is a waste of time. See this article from Epicurious. Even if you opt for just using whole eggs, whisk them until they are nice and fluffy. Adding air to the eggs, whether whole or separated, gives the waffles a light and airy texture. If you desire an eggless waffle, try using buttermilk for acidity and baking soda for leavening. This batter shouldn’t sit for very long, as the leavening reaction may die. Therefore, make small batches and once the batter is ready, start cooking. Do not allow it to sit for too long.
- Milk – Many use whole milk, but buttermilk will give a tangier flavor.
- Butter – Butter certainly adds richness and flavor. For crispier waffles, though, try vegetable oil in place of the melted butter. A waffle study published in Food Science & Nutrition showed that waffle batter made with oil browned more than batter made with butter. They attribute this to the fact that, unlike butter, oil doesn’t contain water. The water in butter adds moisture and can hinder the formation of a crispy crust.
- Cornstarch – King Arthur Baking considers this a secret ingredient to producing a crispier exterior in a non-yeasted waffle. Try starting with ¼ cup of cornstarch and work up to ½ cup to get the desired result.
Making the Batter
- Sift the dry ingredients to aerate them and to ensure there are no lumps.
- Warm your liquid ingredients. This will prevent your melted butter (if using) from coagulating and forming small bits of solid butter when stirred into cold dairy. Also, the liquid ingredients will blend better with the dry ingredients if they are all at a similar temperature.
- Do not overbeat the waffle batter. You want to minimize the gluten development, which can lead to tough waffles. Just stir until everything is combined, and leaving a few lumps is perfectly acceptable.
- Allow the batter to rest for at least ten minutes and up to an hour to ensure good hydration and to increase flavor.
Keeping Waffles Warm and Storing Waffles
- As you are making waffles, you will want to keep the cooked ones warm until you have enough cooked for everyone. Place a wire rack inside a rimmed baking sheet and put it on the middle rack of a 200°F oven. As you cook, simply transfer each finished waffle from the waffle maker to the wire rack. The rack helps to prevent sogginess.
- To store, place cooled waffles between layers of wax paper and place in an airtight container. They can be refrigerated for a few days.
- To rewarm waffles, place them on the oven rack in a 200°F oven. Microwaving isn’t ideal, as the waffles can get soggy.
- To freeze, cool and place wax paper between them. Place them in a freezer bag and freeze for up to 3 months. When ready to eat, allow them to defrost at room temperature for about 10 minutes. Then, heat in a 300°F oven.
Troubleshooting
- To prevent soggy waffles, ensure the waffle maker is fully preheated and cook thoroughly until done.
- To prevent tough waffles, do not overmix and allow the batter to rest before cooking.
- If your waffles are sticking to the waffle maker plates, be sure to grease the plates before each batch. If sticking persists, you may need to thoroughly clean the waffle maker according to the appliance instructions.
I cannot share my recipe for the Belgian waffles I mentioned, as it is a friend’s secret family recipe. If you want to make some delightful Gingerbread waffles (non-yeasted), check out this recipe. Just recall the advice from above and adjust the instructions to ensure success.
I much prefer yeasted waffles. What about you? Do you have a favorite recipe? Before reaching for that carton of frozen waffles, try making them yourself. They are so much better!