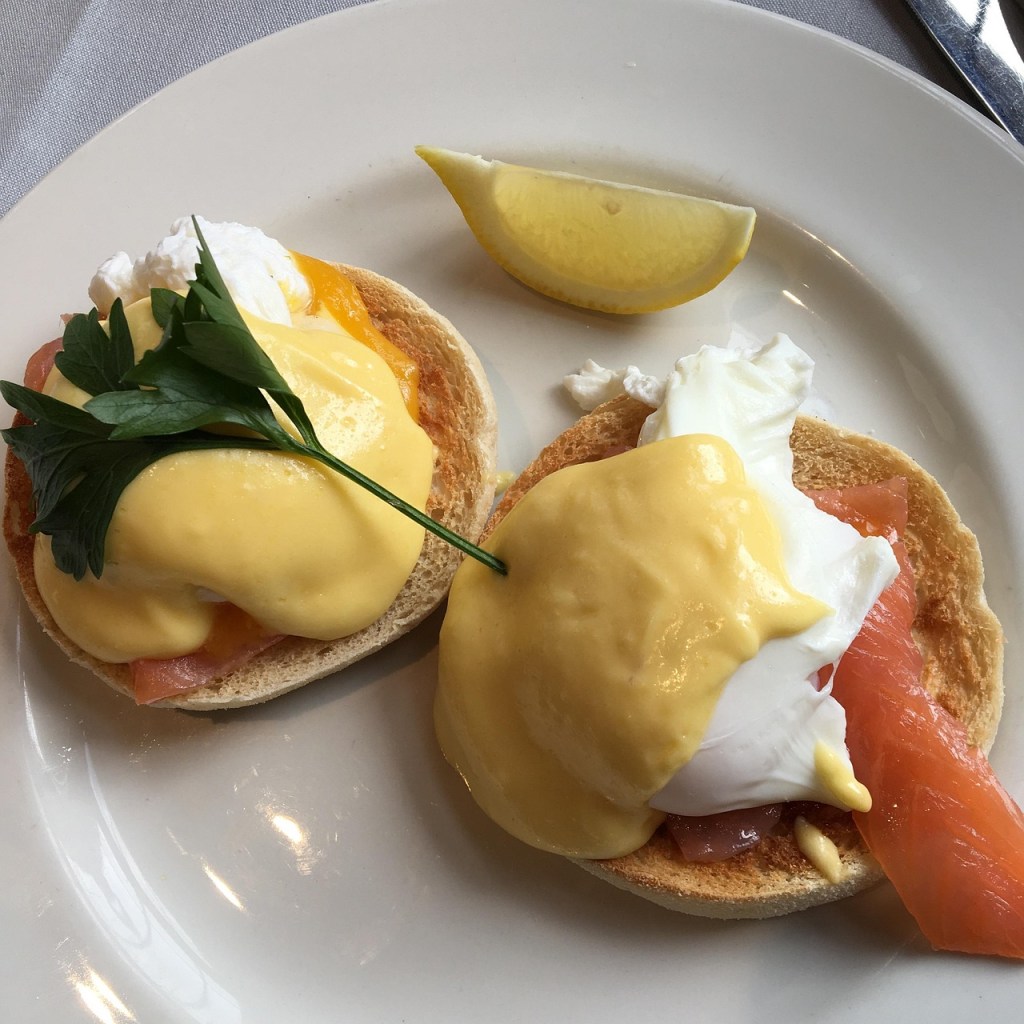
Did you know that April 16th is National Eggs Benedict Day in the United States? I did not know that, but thanks to a friend, I do now. As I am writing this, we are approaching that day. Eggs Benedict is one of those dishes that people think they only get at upscale brunches. You can easily make this dish at home, and that is the subject of this Cooking Tip.
There are three components to this dish – English muffins, poached eggs and hollandaise sauce. I will only discuss the latter two as I assume you will be using purchased English muffins. You can certainly make your own, but it is a labor of love. Stay tuned for a future Cooking Tip on that subject.
Poached Eggs
The only ingredients you really need to poach eggs are water and eggs. Some will tell you that you also need an acid. Let’s delve into these items more.
Ingredients
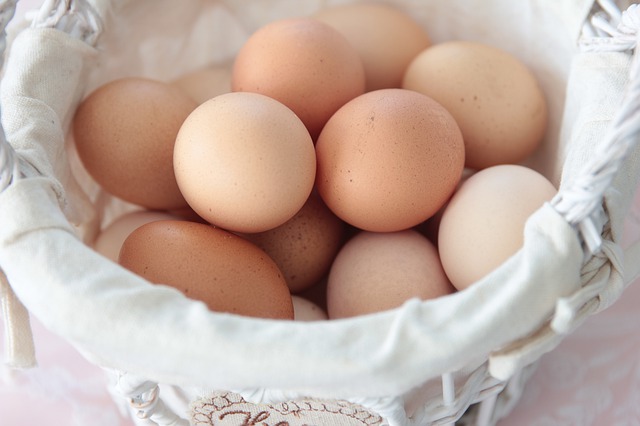
Eggs – The fresher the egg is, the better the result you will get. Fresher eggs have tighter whites and yolks, resulting in a much prettier dish. If you do not have your own chickens or friends from whom you can get fresh eggs, you need to rely on the Julian date.
This date represents the day of the year that the eggs were packed, from 1 to 365. So, if the Julian date is 280, you can easily tell that the eggs were packaged on October 7. If you are buying them on November 1, your eggs were packaged 25 days prior.
Another test you can do is to put the eggs into a glass of water. The older the egg is, the larger the air pocket will be at the fatter end. This keeps getting bigger as more time passes. This air pocket will make the egg stand upright or possibly float. You want an egg that sinks and lies flat on the bottom.

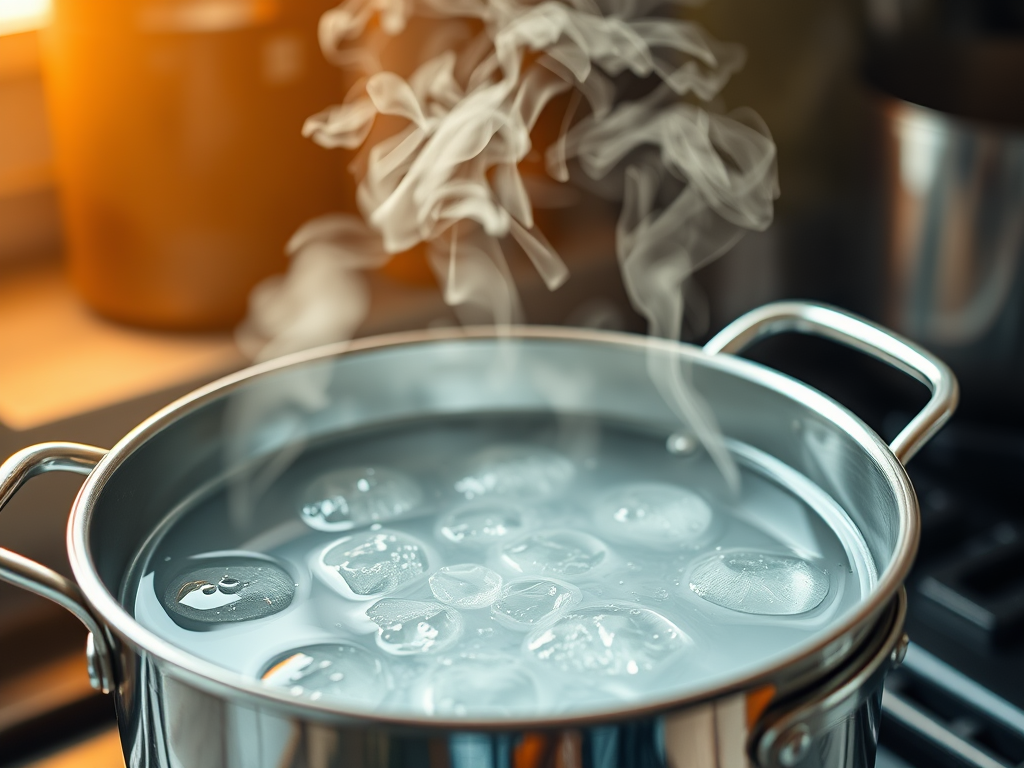
Water – It is not so much what water you use as the temperature of the water. When you poach eggs, you want the water at just a slight simmer. If you like using a thermometer, aim for 180°F. Another method is to bring the water to a boil, reduce to a simmer, add the eggs, cover, remove from the heat, and finish cooking off the heat.
Acid – The classic instruction you hear is to add an acid, normally vinegar, but it could also be lemon juice, to the water. The proponents will tell you that the acid helps the egg white to coagulate. Many, though, say the vinegar is unnecessary. They say that for the acid to have an effect, you would have to add so much that the taste would be offensive. Some experts who advise against using vinegar are Serious Eats and Food52. Even America’s Test Kitchen agrees that you would have to add excessive vinegar for it to work, but that would adversely affect the flavor. They found that using a small amount of vinegar, along with some salt, worked well. They recommend using 1 tablespoon of vinegar, 1 teaspoon of salt, and 6 cups of water.
Technique
Pot/Amount of Water
Some people like to use a large Dutch oven and add up to 6 cups of water. Others prefer a wider, shallower pan because the shorter sides make it easier to add the eggs. Use whichever you prefer. As noted above, the water temperature is more important than the pan or the amount of water.
Creating a Vortex
Some like to recommend creating a vortex by swirling the water. According to them, the swirling water helps to wrap the egg whites around the yolk, creating a pretty poached egg. Almost everyone agrees this works, but only if you poach one or two eggs at a time. More eggs than that, and it is not effective.
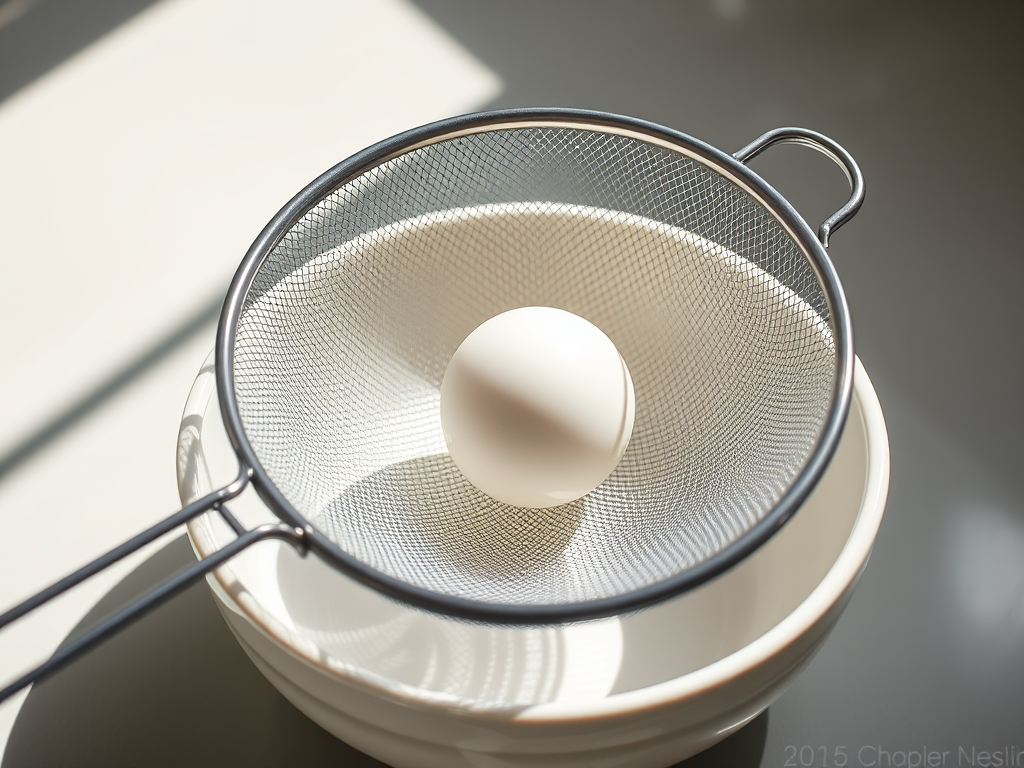
Fine Mesh Strainer
The use of this tool was first recommended in The Curious Cook by Harold McGee, published in 1992. British chef Heston Blumenthal has also popularized it. It involves cracking the eggs into a fine-mesh strainer and allowing the loose, watery whites to drain off. You are left with the thicker, firmer egg whites, which help you achieve that great poached egg shape.
Turning Eggs
J. Kenji López-Alt (formerly of Serious Eats) and author of The Food Lab, uses a slotted spoon to gently turn the eggs intermittently to ensure even cooking.
How to Add Eggs to Water
You should add the eggs to the water one at a time. Some recommend adding them in a clock pattern so you know which one(s) you put in first and, therefore, which ones will be done first.
Many chefs like to crack the eggs into small bowls or ramekins and then tip them into the water. Some recommend putting the eggs in a liquid measuring cup and using the spout to add them one at a time to different areas of the pot.
If you choose to try the fine-mesh strainer, it’s also great for adding the eggs to the water. Crack the egg into a small bowl, put it into the strainer, allow the loose whites to fall through, then use the round-bottomed strainer to roll the egg into the water gently.
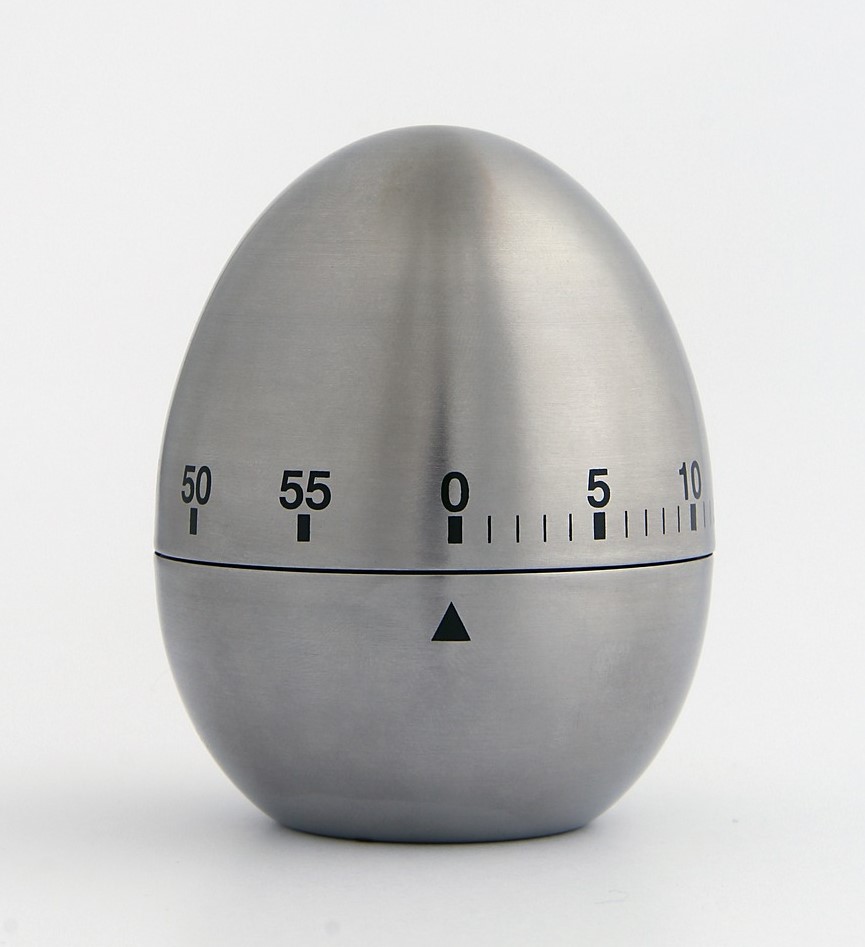
Cooking Time
You want to end up with a runny yolk, like a soft-cooked egg, and silky, but set, egg whites. This should take about three to five minutes, depending on your preferred level of doneness. After they are done, remove from the heat, allow to drain, and place on the English muffin.
Storage
Poached eggs are best served immediately, but they can be made ahead. After cooking, transfer the eggs to a bowl of cold water and refrigerate for up to two days. When you are ready to serve, put them in a bowl of hot water and let them reheat for 2 minutes.
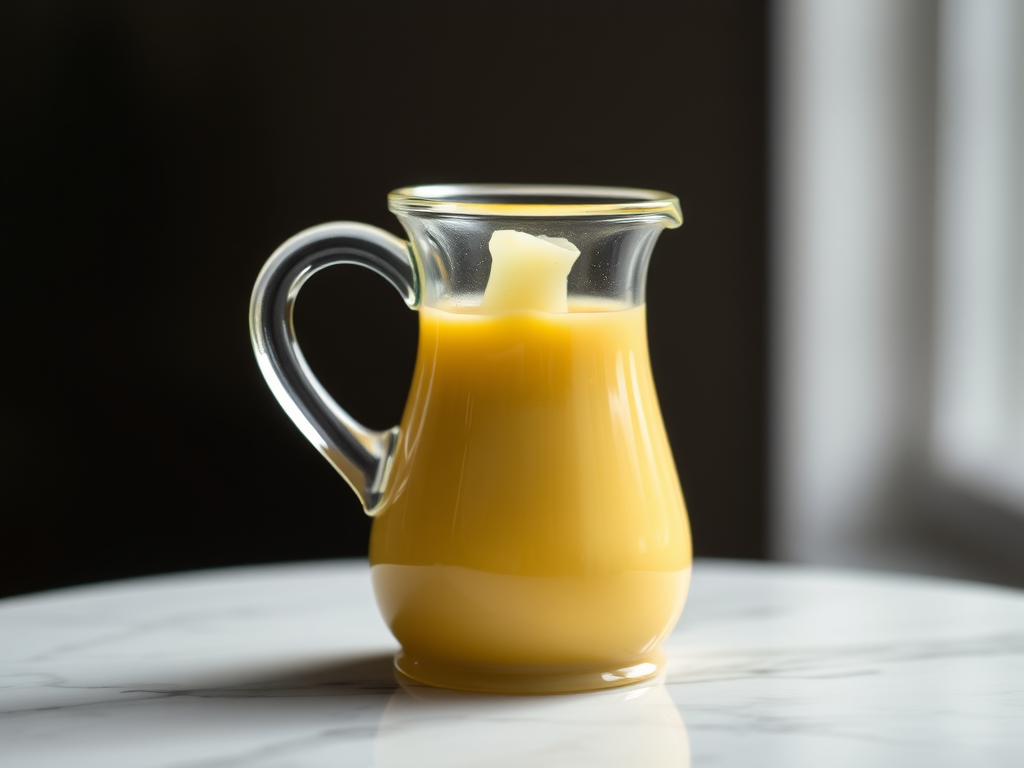
Hollandaise Sauce
Hollandaise sauce is one of the so-called “mother sauces.” It can strike fear into the hearts of cooks as they fear overcooking, splitting, and otherwise ruining the sauce. Let’s discuss the classic method for making this sauce, along with other methods that some consider more foolproof.
Classic Method
This sauce is an emulsion of eggs, butter & acid. The recommended ratio of egg to butter varies from 1 yolk for every 2-3 ounces of butter to 3 yolks to ½ cup butter. The acid is traditionally either a vinegar reduction or lemon juice, included for flavor and its effect on the yolk. It also provides the water necessary for an emulsion.
Here is the classic method that I was taught in culinary school.
- Whisk the egg yolks and the acid together.
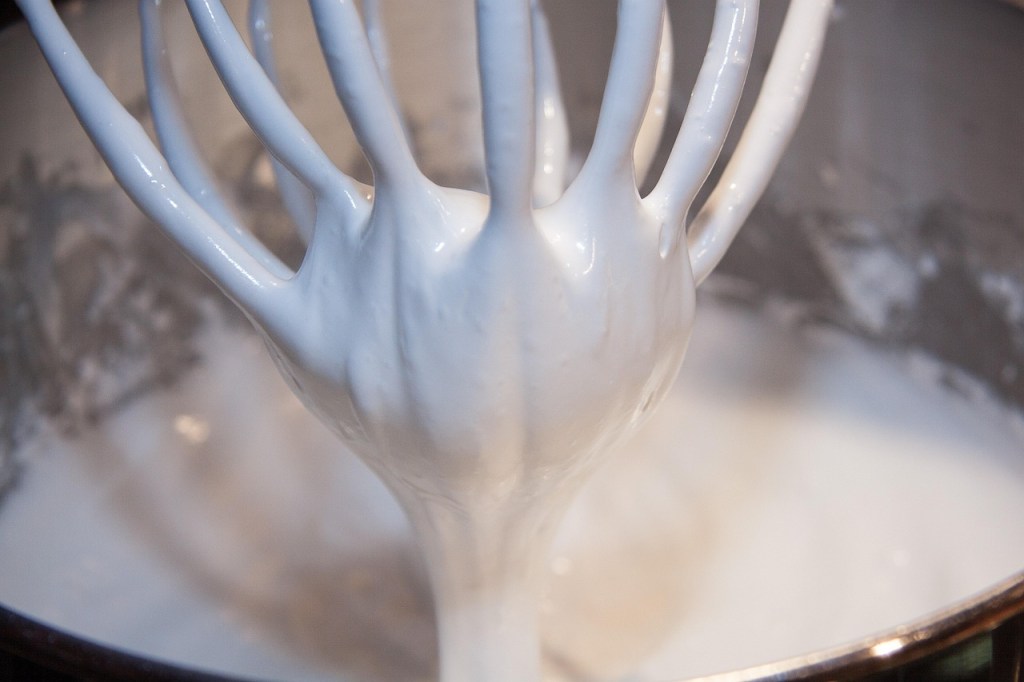
- Put the bowl over a bain-marie and continue whisking until you get a thick ribbon and the mixture doubles in volume.
- At this point, start to drizzle in warm butter, whisking to get a nice emulsion.
- Taste and adjust seasonings.
Blender Method
- In the blender, combine the egg yolks, lemon juice and seasoning for a few seconds.
- Melt the butter.
- With the blender still running, slowly pour the hot butter into the egg mixture. The sauce should be thick and creamy but still pourable.
Immersion blender
- Place 2 egg yolks, 1 teaspoon of water, 1 teaspoon of lemon juice, and a pinch of salt in a tall, narrow cup that fits the head of an immersion blender.
- Melt one stick of butter, swirling until the foaming subsides. Transfer it to a 1-cup liquid measuring cup.
- Place the head of the immersion blender into the bottom of the cup and turn it on. With the blender constantly running, slowly pour the hot butter into the cup in a thin stream to emulsify the egg yolks and lemon juice.
- The resulting sauce should be creamy and thick. It should coat a spoon but still be thin enough to fall from the spoon.
- Season to taste.
Troubleshooting
- If the sauce breaks (separates), stop adding the butter, add cold water and keep whisking/blending. If this works, start adding the butter again.
- If it doesn’t work, strain the curdled egg out of the liquid. Take another egg yolk and re-emulsify with the strained liquid.
- If the sauce becomes too thick, add a small amount of cold water or lemon juice, 1 tablespoon at a time.
- Egg safety – In the blender methods, you are not heating the egg yolks. Therefore, you may want to consider using pasteurized eggs. If you are using the bain-marie method, you can bring the eggs to a safe temperature.
Plating
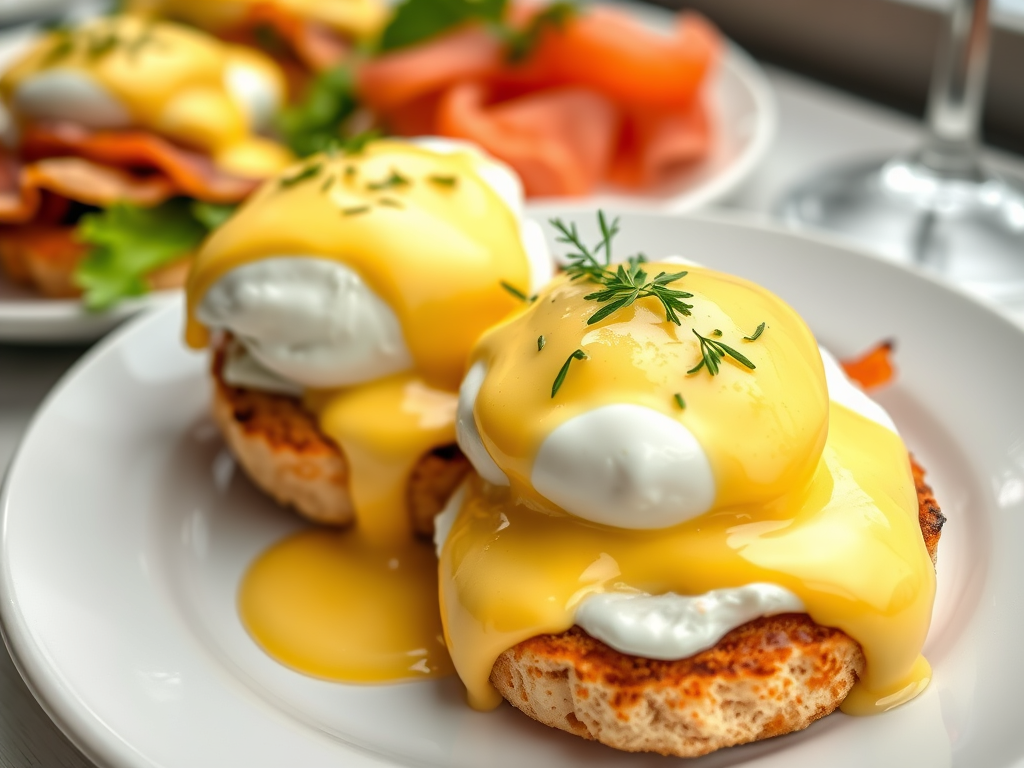
Now that you have your perfect poached eggs and your delicious hollandaise sauce, it is time to build your Eggs Benedict.
- Toast or broil the English muffins until golden.
- If desired, place a piece of cooked bacon (Canadian or regular) or smoked salmon on top of the English muffin.
- Follow with one poached egg.
- Spoon hollandaise sauce over the egg.
- Enjoy!
I do not know about you, but just writing about Eggs Benedict makes me want to serve them for dinner tonight!