Is Gingerbread part of your holiday tradition? Do you make cookies or a gingerbread house? How about a gingerbread cake? This Cooking Tip is all about what gingerbread is and how to make the best you can.
In today’s world, Gingerbread can be either a noun or an adjective. As a noun, gingerbread is a moist, spiced cake made with ginger and molasses. As an adjective, we see it used in phrases like ‘gingerbread cookies,’ ‘gingerbread house,’ etc. In reality, gingerbread is a somewhat broad term for many baked goods that use ginger and molasses, though some recipes use honey or treacle instead.
Since gingerbread typically uses certain spices, we also tend to use the word as a flavor, similar to how we talk about Pumpkin Spice. What does it taste like? Ginger is a major flavor in gingerbread along with other warm spices such as cinnamon, cloves, allspice and even pepper. Sweetness usually comes from molasses’ unique flavor.
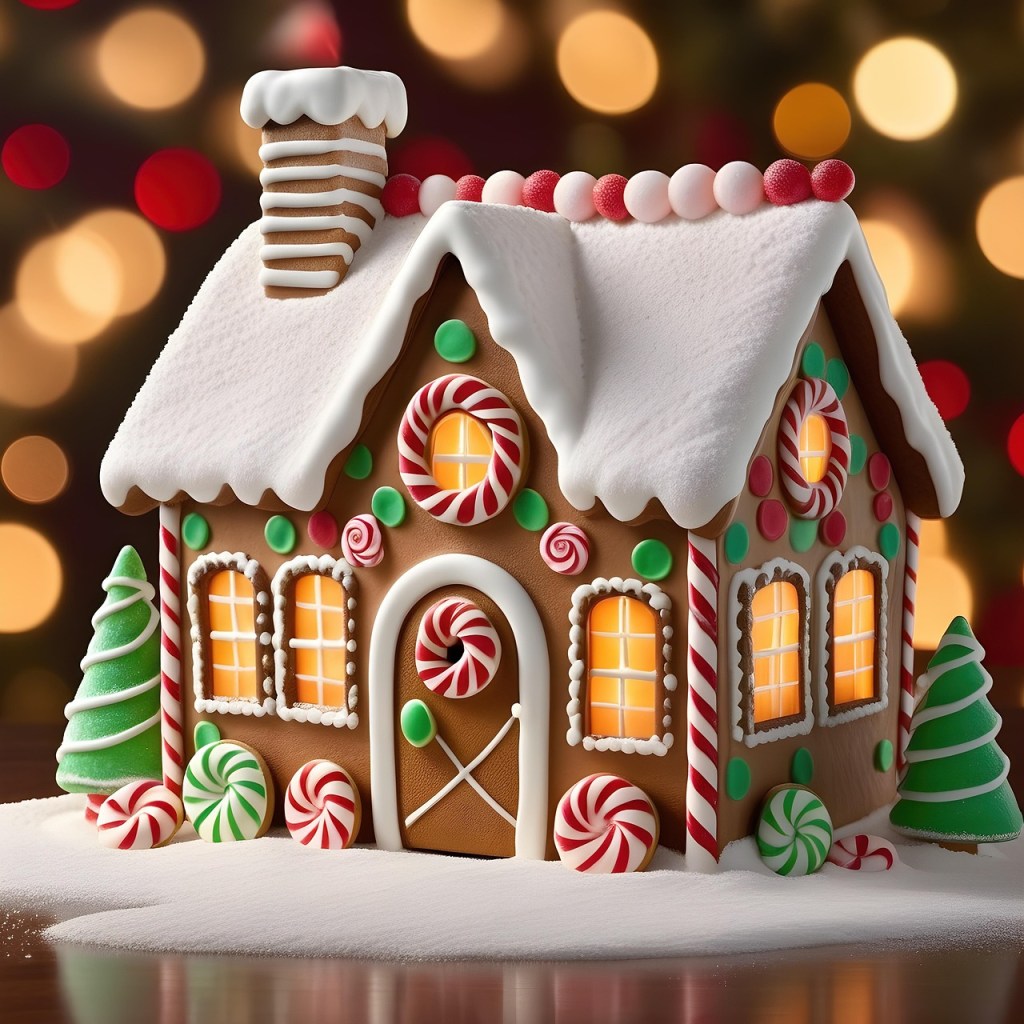
Picking out an appropriate recipe depends on which type of gingerbread baked good you wish to make. A recipe for gingerbread cake will be somewhat different than that for gingerbread cookies. And a gingerbread house requires a recipe adapted to create a much sturdier product that will stand up to the house form. Some call this Construction Gingerbread.
A gingerbread cake will have a higher liquid-to-water ratio, making for a very moist cake. The cookies will have more flour compared to the liquid, and the construction gingerbread will have even more flour. Take a look at this chart of basic recipes from King Arthur Baking as an example.
| Flour | Sugar | Butter | Molasses | Eggs | Other | |
| Cake | 2 cups | ¼ cup | 8 Tbsp | ¾ cup | 1 | Buttermilk – 1 cup |
| Cookies | 3¾ cups | ¾ cup | 12 Tbsp | ¾ cup | 1 | |
| House | 5 cups | 1 cup | 6 Tbsp | ½ cup | 1 | Buttermilk – ¾ cup |
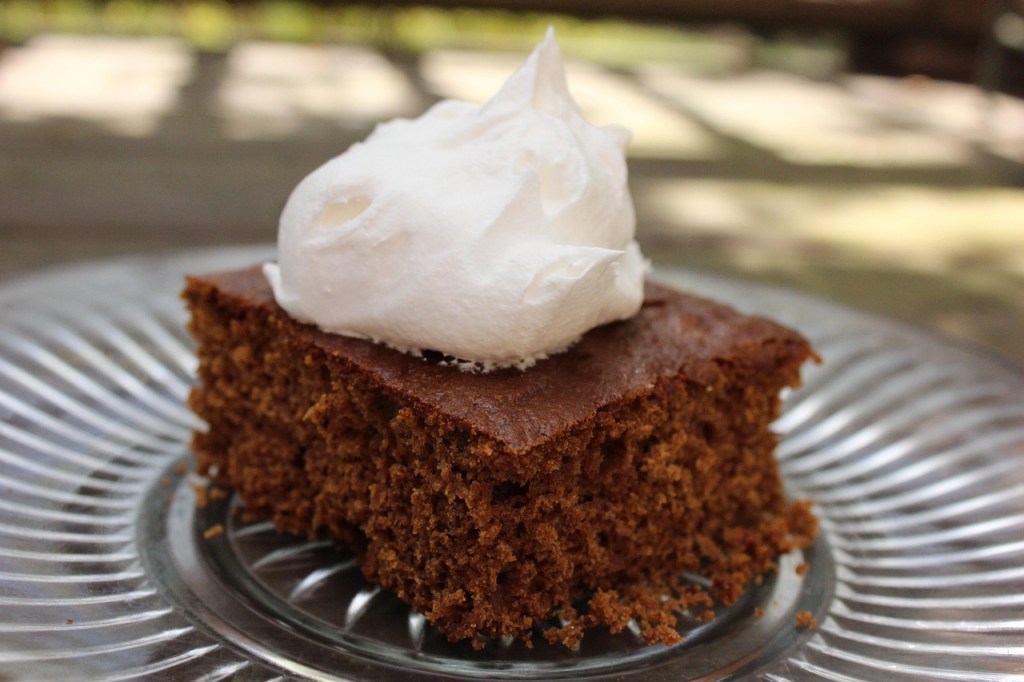
Making a gingerbread cake (more correctly called just gingerbread) is fairly simple. It is a type of quick bread. It can be as simple as mixing the dry ingredients, mixing the wet ingredients, combining them, and baking. It is often enjoyed with whipped cream or ice cream.
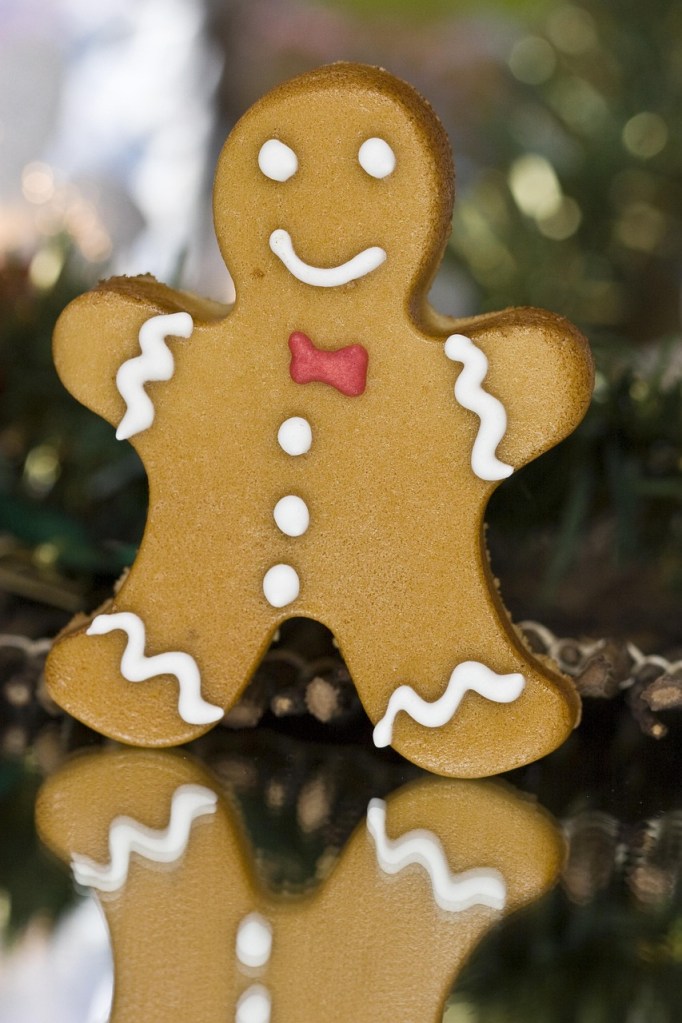
Gingerbread cookies and gingerbread houses take a bit more effort. Here are some tips for success.
- Refrigerate the dough
- Refrigerate the dough for at least an hour before rolling it out. Many recommend longer, and some advise chilling it overnight. This will make the dough less sticky and easier to roll out.
- Rolling the dough
- To get evenly-shaped cookies, take time to roll out the dough carefully. To prevent sticking, dust your rolling surface and pin with flour.
- Try to roll to a consistent thickness, about ¼ inch thick.
- If you roll directly onto parchment paper, it will make the task of transferring to a cookie sheet easier.
- Baking the cookies
- If you bake at a lower oven temperature of 325°F for a longer baking time, you will get a firmer and evenly colored cookie.
- Use the recipe’s recommended baking time as a guide, as the actual time may vary depending on the size and thickness of the cookies. You may want to start and bake just one as a test to determine the perfect baking time. A softer, chewier cookie will take less time, whereas a firm, crispy cookie will require longer in the oven. This is particularly true if you are making construction gingerbread. It should dry completely in the oven, yielding a sturdier structure for your house.
- Tips for decorating
- Consider drawing out your design on paper and then practicing it by piping onto parchment or broken cookies.
- Royal icing is the traditional type used for decorating, as it dries hard and has a glossy finish. It is typically made with powdered sugar and egg whites. However, if you are unable to get pasteurized eggs, meringue powder is often recommended.
- Some make a faux royal icing, using powdered sugar, water, and corn syrup.
- The consistency should be thicker for outlining the cookies, as it holds its shape better. This thicker icing is also better for making more intricate details.
- For flooding or filling the cookie, use thinner icing.
- To adjust the thickness, just add powdered sugar to thicken or water to thin the icing.If you are making a gingerbread house, royal icing is also used as your glue. It is stiff and dries quickly and completely.
- One may also use a frosting. Although you could use a glaze made with powdered sugar and water or milk, you will get better results with buttercream. It is creamier and spreads more easily than royal icing. However, it does not harden. Therefore, it is better for simpler decorations.
- For prettier results, use piping bags and tips. Use a small round tip for outlining and details. Larger tips are better for flooding or filling in the cookie.
- Embellish to your heart’s content by using sprinkles and candies.Let the icing dry completely, which may take several hours.
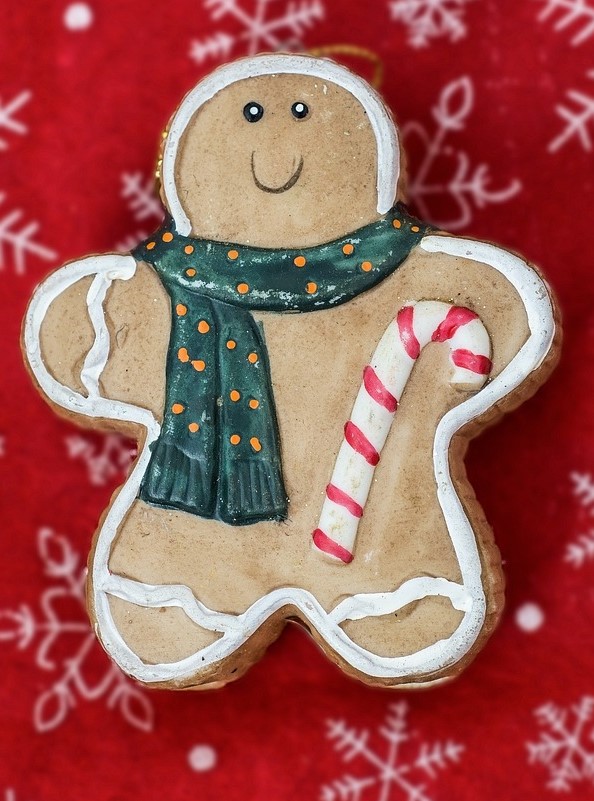
Is make gingerbread cookies or a gingerbread house part of your holiday tradition? With this advice, I hope you will make them the best you have ever done!