When you make a recipe, do you rely on the times listed in the recipe, whether it be prep time, total cooking time or cook time for just one particular step? In my classes, I often find the students religiously using a timer and expecting it to tell them when a specific step is done. That is one thing that can lead to recipe failure in your kitchen. I have been known to take times out of a recipe to force students to rely on their other senses, such as sight, smell, hearing and taste. In this Cooking Tip, I will discuss the dilemma of timing in recipes.
Before we get into the timing issue, let me remind you that not all recipes you will find, especially online, are well-written and accurate. I have written a prior Cooking Tip on Recipe Cautions that you might want to read.
Most recipes list different times—prep time, times for individual steps, and total cooking time. When I read a recipe, I ignore the prep time, as it can be very misleading. I might glance at the total cooking time, but I pay more attention to the timing of different steps. Although they might not be accurate, they give me a better estimate of how much time I will need to prepare a dish.
Let’s discuss why the timing listed in recipes might not be correct and what you should do to be successful. Many variables affect how long it will take you in your kitchen to prepare a dish from start to finish, and those variables often mean your real cooking time is different from the recipe’s.
Organization – what the French call mise en place – is very important to how long it will take you to complete a dish.
- If your kitchen is disorganized, you will spend more time looking for an ingredient, the correct pot/pan, or a kitchen tool. None of that will be included in the recipe’s prep time, as the writer assumes you have all you need readily available.
- How quick and efficient are your knife skills? I do not advocate trying to be a lightning-quick chopper/slicer. However, the more you practice, the quicker you will naturally get. And, the more efficient you become in achieving the proper and similar-sized results, the less additional chopping you will have to do. The recipe writer probably assumes you have good knife skills. If you do not, you will need to add extra time to the recipe.
What is included in the prep time?
- You might think that the estimated prep time includes gathering all your ingredients and preparing them as instructed to get ready for cooking. It certainly doesn’t include the “gathering” stage.
- Some recipes may include all the washing of vegetables, chopping, slicing, peeling, and measuring in the prep time, but others do not. When they do not, I am not sure what they think “prep” involves, but you are going to need to significantly lengthen their estimate for prep. Unfortunately, I have never seen a recipe that states what is and what is not included in prep time.
- If the recipe says to use 4 tablespoons of butter at room temperature, most likely the recipe developer assumes the butter is at room temperature when you start cooking. If it is not, guess what? Your start-to-finish time will be longer as you wait for your butter to come to room temperature. And, yes, those recommendations are generally necessary to the recipe’s success. See this Tip for more explanation.
Equipment
- A good recipe will include the type and size of pot/pan you will need. However, you will probably not have the exact same pot. Using a smaller or larger pot can affect the cooking time. A smaller pot decreases the surface area, and since the liquid in that pot will be deeper, it can take longer to cook. Cooking risotto in a smaller diameter pot will take much longer than if you cook that same risotto in a larger diameter and shallower pot.
- How sharp are your knives? Just as with your knife skills, using a dull knife can increase the prep time, and that does not even talk about the danger of dull knives.
- The oven temperature and its accuracy may greatly affect cooking/baking times. If your times are significantly different from the recipe, you should seriously consider checking the temperature of your oven with an accurate oven thermometer. Even if your oven registers the correct temperature, it may cook/bake differently based on its air circulation and whether you use the convection mode or not.
- Cooktop temperature – low, medium, medium-high, and high on your cooktop can mean different things to different people, and even setting the dial at a similar setting as that recommended in the recipe can produce a different heat output on a different stovetop.
The Cook’s Skill
- You get quicker at an activity whenever you are more skilled at it. Recipe developers are very experienced. Therefore, it probably takes them less time to go from start to finish than you will. It has been shown that cookbook and recipe writers frequently underestimate start-to-finish times.
- This is especially true if you have never made the recipe before. If that is the case, add at least 15 minutes to the recipe’s timing.
Environment
- The ambient temperature of your kitchen might mean it will take you longer than the recipe states. We all probably know that cooler kitchens lead to longer proofing times. However, cooler kitchens also mean your pantry ingredients, such as flour, will be cooler. Therefore, even if you place your item in a temperature-controlled proofer, cooler flour means a longer proofing time. The recipe writer is most likely making time estimates based on his/her environment, which may not match yours.
- Altitude – those who live at a higher altitude know that certain dishes will take longer to cook, especially whole grains and beans. Unless the recipe states it was developed at a high altitude, assume it was not. That means more time for you.
Ingredients
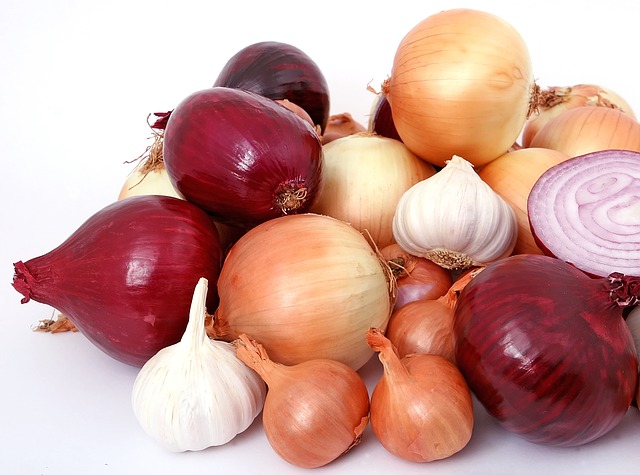
- Besides the ingredients’ temperature, the food’s size will also alter the cooking time. Does diced onion mean the same thing to the recipe writer as it does to you? If the food is larger than the one used in developing the recipe, cooking time can be longer.
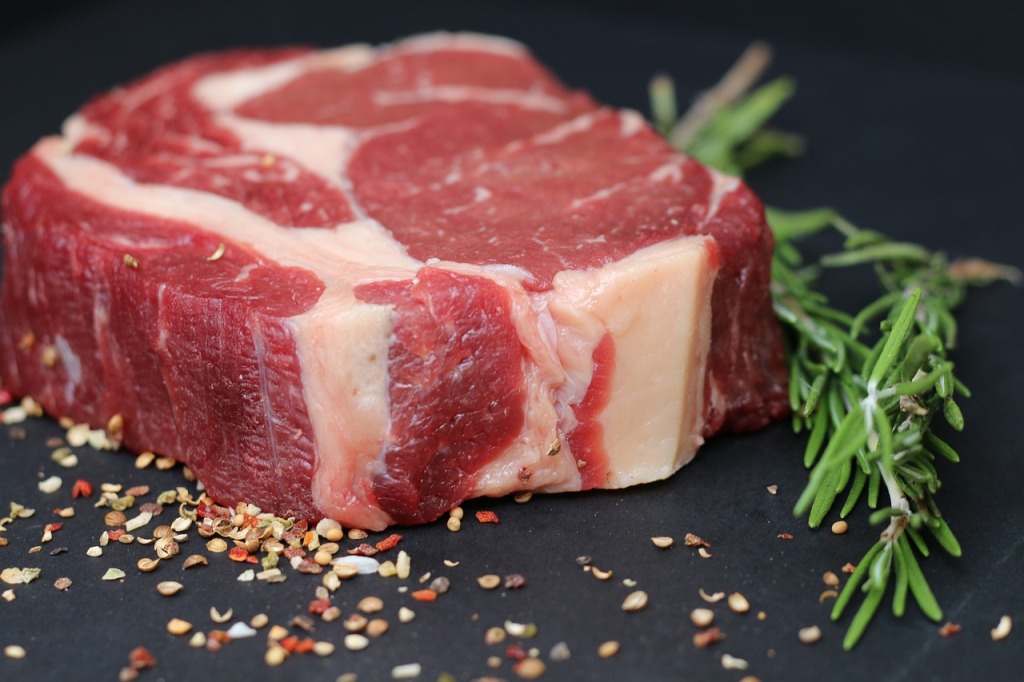
- The thickness of the meat is very important. If your meat cut is thicker than the recipe calls for, it can take much longer to cook.
Follow your senses, not your timer.
- Because of the above, if a recipe says a specific step will take a certain amount of time, do not rely on that time. As Bon Appetit puts it, “When you’re following a recipe at home, cook to the indicator, not to the time.” For example, the recipe might say, “sauté onions for 3-5 minutes or until they are softened and golden.” The indicator after that “or until” is so much more important than the “3-5 minutes.”
- Use your senses to tell when you have completed a particular step. Does your pan and the ingredients look as indicated? Is the aroma as stated? If the recipe says something like “softened,” taste it. There is no better way to determine texture than by tasting.

Timers
- Does that mean you should throw your timers out? No, they have a place, especially when something is in the oven. I always set my timers for less time than the recipe states and then check what I am cooking.
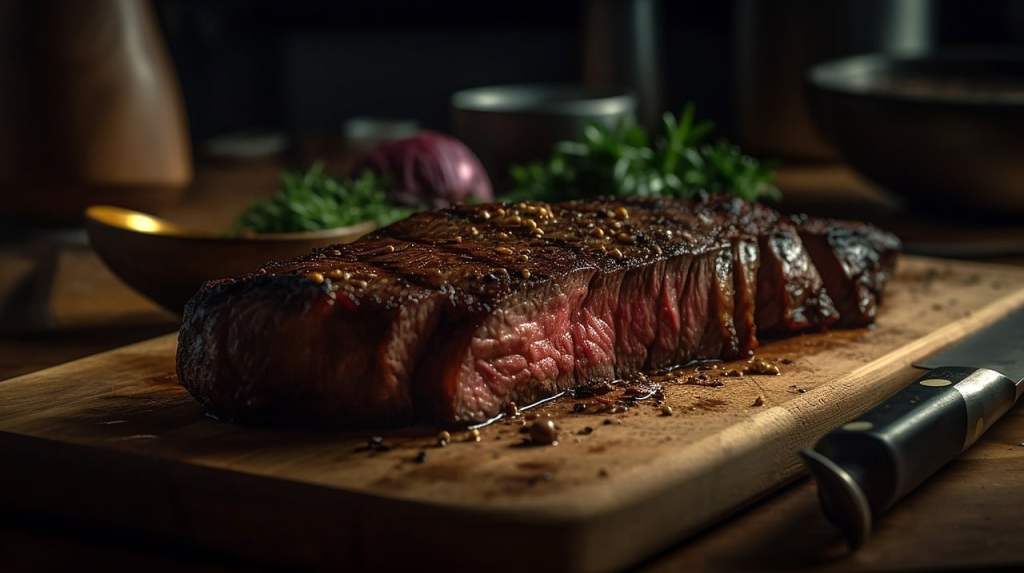
- For meat, invest in a good food thermometer. That is one piece of equipment that is bound to improve your results in the kitchen. It is not just for meat, though. Bread, casseroles, and candy are just some other items that will benefit from cooking to the proper temperature.
- If a timer does nothing else, it will help you not forget that you have something on the stove or oven.
As I mentioned in the Tip on Recipe Cautions, a recipe failure might not be your fault. It might be the fault of the recipe writer. Timing is something over which you have control, and I hope this explanation will help you as you evaluate a recipe and its stated timing. It might not be what you expect!