As we begin a new year, many people like to make resolutions or goals for themselves. I want to turn that a bit and discuss my wishes for you, which I know, if followed, will bring you more success and joy in the kitchen.

Make a commitment to Mise en Place
- Mise en place is a French term that roughly translates to “everything in its place.” In simpler terms, it just means being organized in your kitchen.
- This encompasses so much, such as:
- Reading your recipes thoroughly at least twice before starting to cook. Note the required ingredients, equipment and recommended timing.
- Gathering all your ingredients & equipment as your first step.
- Prepping ingredients (cutting up, grating, measuring, etc.) before commencing the cooking or baking.
Learn to cook with your senses, not the recipe
- Do not be held captive to timing phrases in the recipe.
- Rather, use your senses to know when to move to the next step. For example, when it says to cook your onion for 2-3 minutes or until soft, the time “2-3 minutes” gives you a cue that this step shouldn’t take very long. However, what is much more important is the “or until soft.” Taste the onions to see if they are soft. It doesn’t matter whether that takes 2 minutes or 5 minutes. The end result is what is most important.
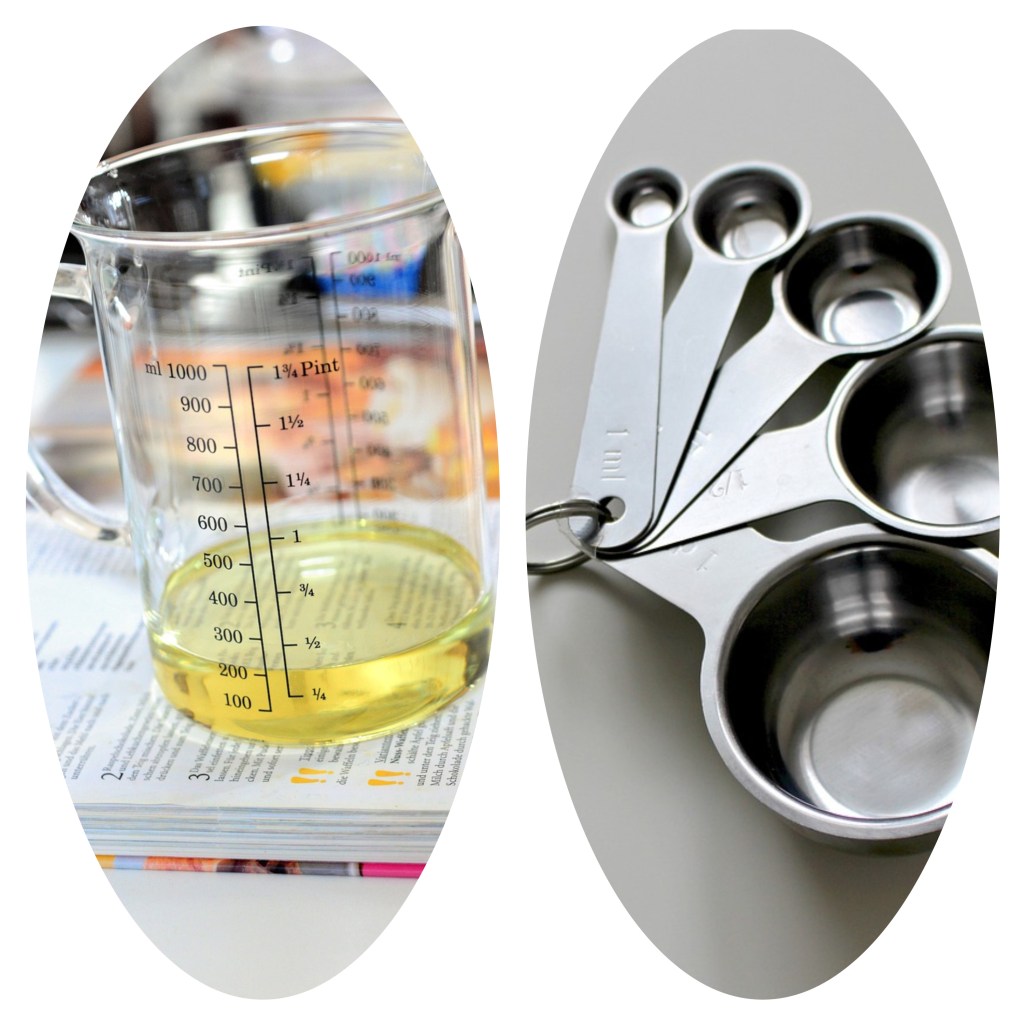
Use the correct measuring vessels
- Use liquid measuring cups for liquids and dry measuring cups for dry ingredients. You may think that is silly, but actual research demonstrates the inaccuracy of measuring when using the wrong type of cup.
- Or, even better, weigh your ingredients, as mentioned in the next point.
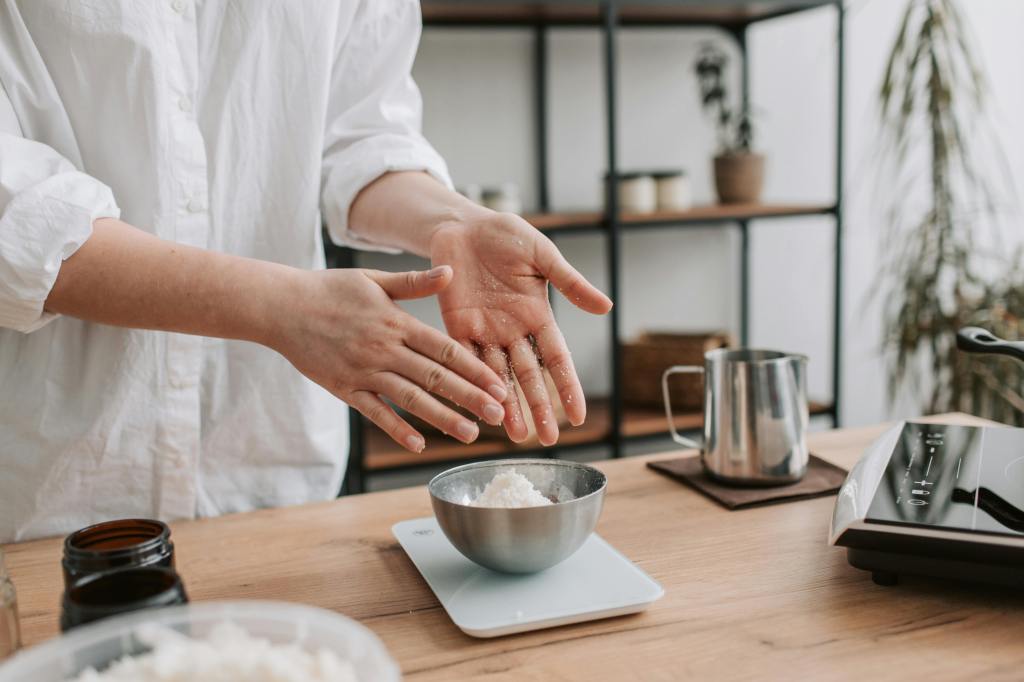
Switch from cup & spoon measurements to weighing ingredients
- This is undoubtedly more important when baking but can also be used in savory cooking. Weighing is much more accurate, is not prone to technique variations, and will lead to better results.
- The problem in the US is that most recipes don’t list weight ingredients. Many better-tested recipes do, and some may even have a converter. European recipes & sources are much more likely to list weights.
- Some trustworthy sources are:
- KingArthurBaking.com
- AmericasTestKitchen.com (a subscriber site)
- SeriousEats.com
- Here are a couple of conversion sites.
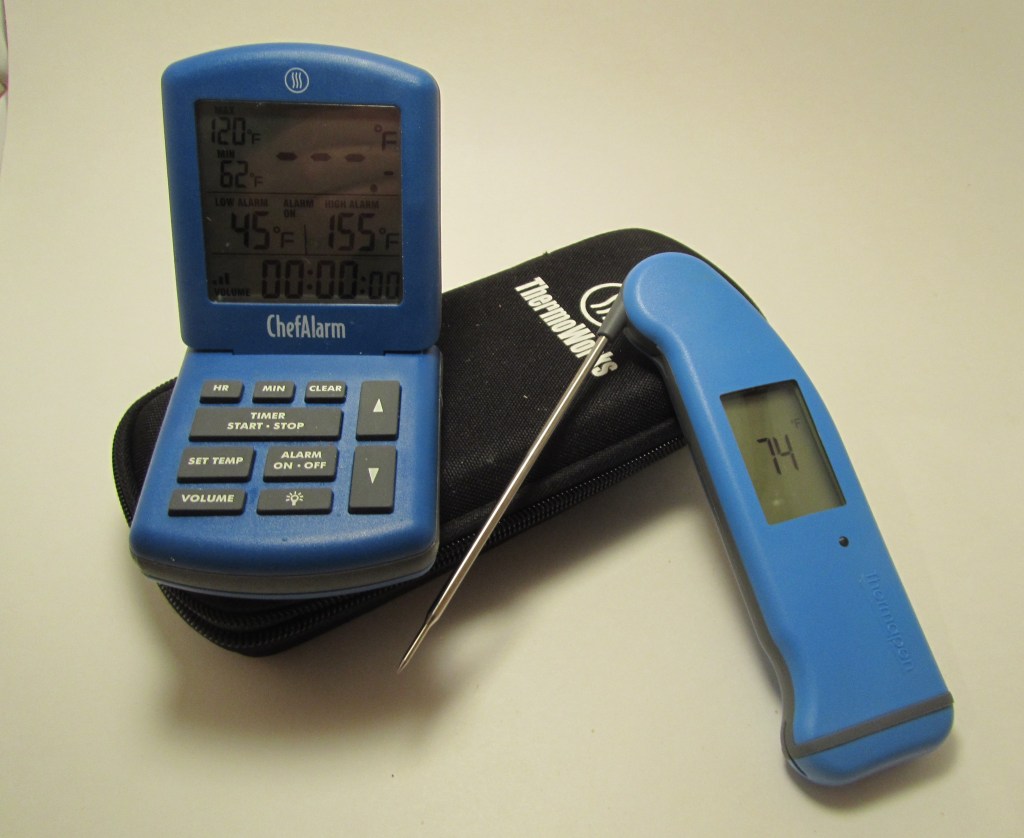
Use an accurate food thermometer
- Checking the internal temperature to find the doneness point is far superior to judging by appearance or feel. This will ensure moister meats while still being safe to eat. It will also help you determine when your bread or custard is properly done.
- Besides the thermometer, you need to know what temperatures you need to achieve. Here is one chart from the FDA and another from Thermoworks that will help you. For a great magnetic chart to stick on your refrigerator, see this one from Thermoworks. (This is an affiliate link and I may earn a commission if you decide to purchase.)
- If you are unsure which thermometer to purchase, check out this Cooking Tip – Instant Read Thermometers.

Taste, taste, taste
- No one wants food that doesn’t taste good – not your guests, not your family, and not you. To ensure your dishes have a great flavor on the plate, get into the habit of tasting your food as you proceed during the cooking process. At an absolute minimum, taste your dish before you put it on the table. That will give you a chance to adjust seasonings before serving.
- All dishes should have a balance of salt, acid and sweet.
- One of the reasons you should taste as you go along is to train yourself in how to taste. Tasting before and after the addition of an ingredient will impress upon you how that ingredient works in the dish.
- You might wonder how to taste dishes when they contain raw ingredients that are not safe to eat in that state. The answer is to remove and cook a small sample in the microwave or stovetop. That way, you can know if it needs adjustment before the final cooking when it might be too late to adjust.

Keep your spices fresh
- Spices enliven our dishes, whether savory or sweet. To ensure they do the job they are meant to do, be sure they are fresh. Go through your spice cabinet and smell them. They will not lend much flavor to the dish if they do not have a great aroma. If that is the case, toss them and buy new ones.
- When you buy spices, try to buy them from reputable sources where you know they are not already old and in the smallest amounts possible.
- For a more detailed discussion, see the Cooking Tip on Spices.
Know when and how to make substitutions
- I always recommend making a recipe as written the first time. If you immediately make substitutions and the dish does not turn out, you do not know if it was the recipe or the substitution.
- Not all substitutions work.
- If your recipe calls for white balsamic vinegar, do not assume you can substitute any white vinegar. Nor will regular balsamic vinegar give you identical results.
- In baking, not all sweeteners can be swapped for each other in equal amounts.
- Don’t substitute dried herbs for fresh ones in equal measure. Dried herbs are better for some applications, whereas fresh are better for others. Try to use what the recipe recommends. If you do decide to substitute, be aware that it is not a 1:1 ratio. If using dried in place of fresh, use only about a third of what is specified for fresh.
- Not all dairy is equal. If a recipe calls for whole milk (or half/half or cream), do not assume you can substitute a lower-fat dairy product. Fat is an important ingredient for the recipe’s success and cannot always be eliminated. The less fat in the dairy, the gentler you need to cook it. You will have less richness. The resulting texture/thickness will not be the same.

Do not trust everything you hear or have been taught
- There are many “Culinary Myths” out there that have been passed down. When put to the test, they do not always stand up. I have written two prior Cooking Tips about some of these myths.
Do not trust every recipe you find, especially from online sources
- We have all made recipes and had it not turned out and then we wonder what we did wrong. Perhaps it wasn’t you, but it was the recipe. As you cook more and more, you can spot which recipes might fall into this category.
- I wrote an entire Cooking Tip on Recipe Cautions.
If you are a long-time reader of these Cooking Tips, I trust you have already fulfilled some of my New Year wishes for you. Pick those you are still not doing and see how they can improve your skills in the kitchen. If you are a new reader or someone who still hasn’t seen the necessity of following this advice, I hope you will pick out a couple and resolve to do better in that aspect of your cooking. You will be rewarded with better results!
Here’s to a wonderful 2025 in the kitchen!