Air Fryer enthusiasts are very passionate about these appliances, bordering on evangelistic. Those who do not have one can’t imagine trying to find counter space for one more piece of kitchen equipment. Which side of this divide are you on? Is this an appliance you should consider, or should you pass on it? That is the subject of this Cooking Tip.
Despite the name, the first thing to know about an air fryer is that it doesn’t fry food. An air fryer is similar to a convection oven. It has a fan that circulates hot air around the food.
Here is what users like about air-frying.
- You can obtain a crispy exterior similar to deep-fat frying.
- The interior of the food stays tender.
- Food cooks quickly, much more quickly than in a conventional oven.
- It minimizes how much oil you need to use. Most users recommend still using a small amount of oil. Depending on the food item, the amount of oil might vary from 1-2 teaspoons per serving of food up to a few tablespoons.
- It can take the place of a toaster oven for small families.
- It takes either no preheating or just a few minutes, saving time and power.
- It does not heat the entire kitchen.
- It is better than the microwave for reheating food to achieve crispy rather than rubbery results.
What’s not to like about them?
- Although you can get close to deep-fat frying quality, it is not the same.
- Many have a small capacity, although this does vary among models.
- They take up counter space.
There are different styles of air fryers.
- Drawer-style – They contain baskets that pull out from the front. Many users feel this style is the best. One caveat is that models with glass drawers may not be the best choice. They claim to be healthier as there are no plastic or nonstick coatings. Reviewers, though, found that the performance was mixed. They were also harder to use, as they were heavier, harder to lift, and the glass could get very hot.
- Flip-top models – These have lids that lift up from the top to reveal the baskets inside. These lids are heavy, and there is a danger of them falling on your arm. Since the heating element is in that lid, this can be very dangerous. Many models were so tall that they would not fit underneath a counter when the lid was open.
- Cube-shaped models – This style features doors that swing open in front and contains multiple racks inside, similar to an oven. Although these can work well, most feel the best results are obtained only when cooking very small amounts of food.
- Air fryer toaster ovens – These appliances combine the functions and size of a toaster oven with the capability of air frying. These can do an excellent job, depending on the brand, but will be significantly more expensive. More on these below.
Air Fryer vs Air Fryer Toaster Oven
Regular air fryer
- Better for smaller spaces.
- They are less expensive than ovens.
- Takes less time to heat.
- They accommodate less food, which may or may not be appropriate for the size of your family.
- Easier to clean than an oven.
Air Fryer Toaster Oven
- Require more counter space.
- They are more expensive.
- They are more challenging to clean.
- They are more versatile as they can work as both a toaster oven and an air fryer. If you want both functions, this one appliance can replace both of the others.
- Can cook larger quantities of food than in a regular air fryer.
- Do require preheating.
What to look for in a traditional air fryer
- A wide cooking space – Air-fried foods cook best when cooked in a single layer. So, the width of the cooking surface matters more than the height. Some people like deep baskets because they can roast a chicken in them. (See caution on this below.) However, a wide, shallow tray allows you to spread out the food, getting more even cooking.
- Nonstick interiors make for easier cleanup.
- Simple controls
- Digital controls are generally better.
- Auto-pause timers – these automatically pause the oven timer when you open the door and automatically restart when it is started. Since the food needs to be flipped, turned or shaken, requiring the opening of the door, this feature is very helpful.
- Automatic shut-off – A control that automatically turns off the oven at the end of the programmed cycle helps prevent overcooking, food burning, and saves energy.
- Windows that allow you to view the interior are nice to have.
What to look for in air fryer toaster ovens
- The air frying function should produce food that is nicely browned and evenly cooked, with a crispy exterior.
- Since this appliance is designed to replace both a toaster oven and an air fryer, it should perform the non-air frying functions well, such as producing great toast and functioning effectively when roasting, baking, and broiling. For the latter, ensure that the top rack is not too low to ensure good broiling.
- Easy-to-use controls, preferably digital.
- It should have ample cooking space.
- Large viewing windows are nice to have.
- Auto-pause timers and auto shut off are helpful, just as with regular air fryers.
- Smart technology may be helpful for some, but others found this only moderately convenient and not always reliable.
Reviews
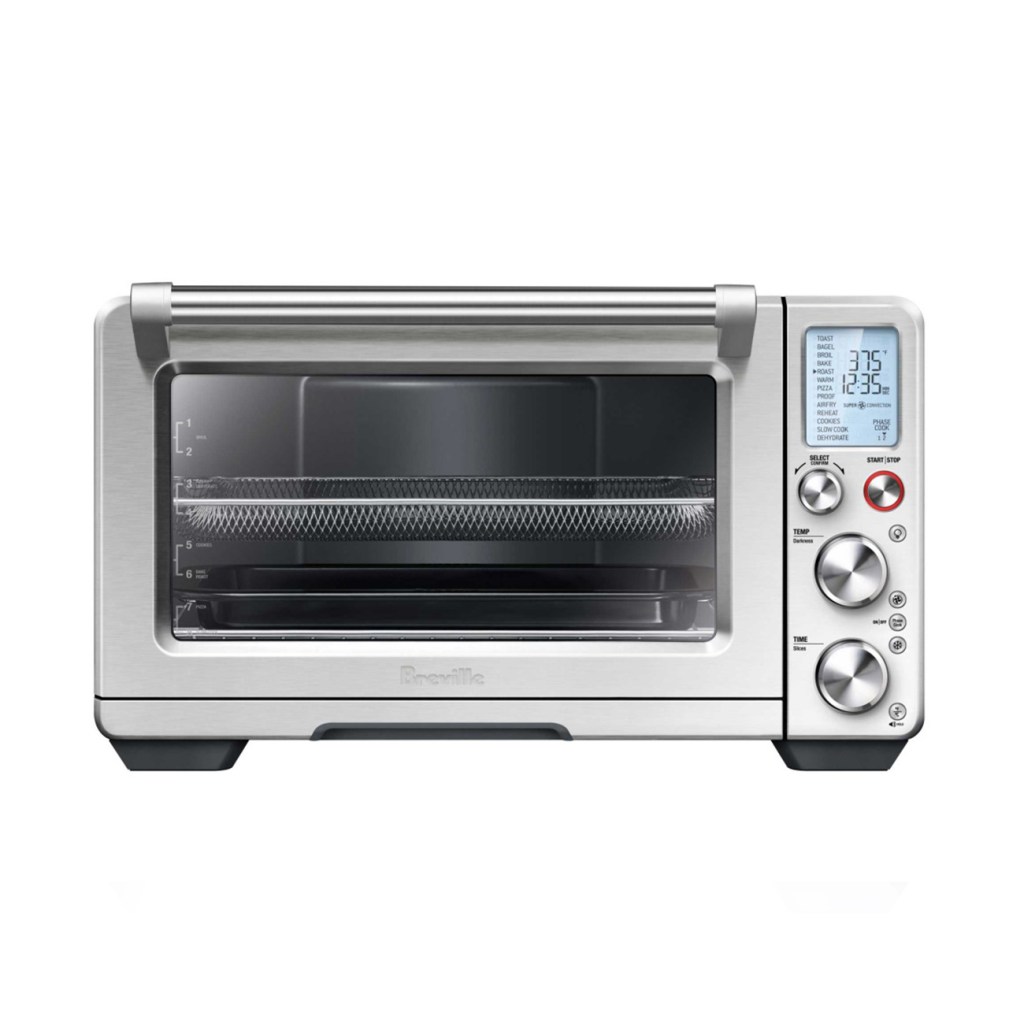
Researching reviews of regular air fryers led to mixed recommendations. They all did, however agree on the best air fryer toaster oven. That is the Breville Smart Oven Air Fryer.
Here are a number of recommendations from reviews from different sites.
America’s Test Kitchen
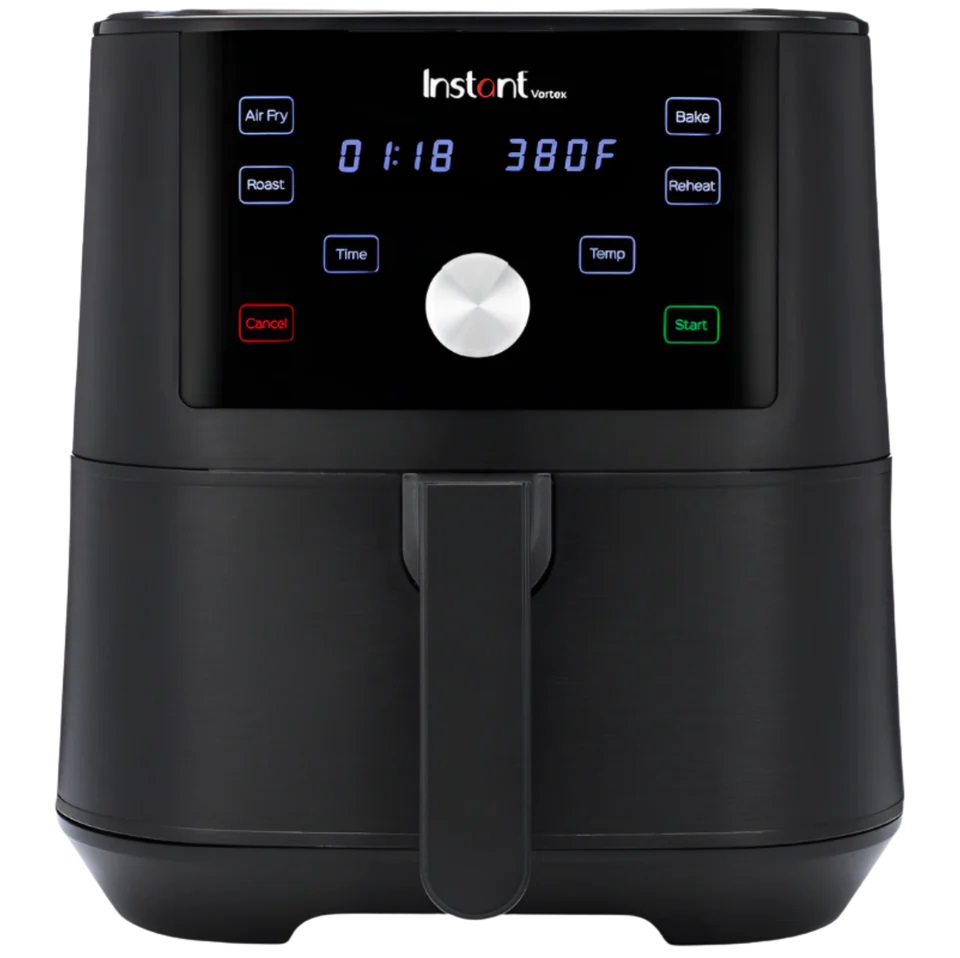
- Top choice – The Instant Vortex Plus 6-quart Air Fryer
- Upgrade choice – The Instant Vortex Plus 6-quart Air Fryer with ClearCook and OdorErase
The Spruce Eats ranked products in different categories.
- Best Overall – Cosori Pro LE Air Fryer
- Best Runner-up – Ninja 4-quart air fryer
- Best large capacity – Instant Pot Vortex Plus 10-quart air fryer
- Best budget – Dash Compact Air Fryer
TheKitchn
- Their top recommendation was for the Philips Digital Twin TurboStar Airfryer XXL
Wirecutter
- They rated the Philips 3000 Series L, but noted in their May 2025 review that it had been discontinued and they were busy testing other models.
- Their budget pick was the Instant Mini Vortex 4-in-1.
Food Network
- Instant Vortex Plus 6-Quart Air Fryer
Usage advice
- Preheating – Most models do not require preheating, and for those that do, only a few minutes are needed. Even if preheating is not necessary, completing this step will yield the crispiest results.
- Avoid overcrowding by arranging food in a single layer; cook in batches if necessary.
- Food needs to be flipped, turned or shaken to ensure even cooking.
- To prevent food from sticking to the air fryer basket, try the following advice.
- A nonstick surface helps with this.
- Use a small amount of oil. Not only does fat promote browning and crispiness, but it also lessens sticking. Rub or spray the food with oil before cooking.
- Make a foil sling and cook the food on top of it.
- Mix dry seasonings with oil before adding them to the food. Otherwise, the mixture is likely to be blown off by the fan.
- Spray with oil halfway through cooking if the food is looking dry. Will get the best, most even crisp.
- Ensure the unit has sufficient space to allow airflow around it, with at least 5 inches on each side.
- Do not cut the veg so small that they fall through the holes in the basket.
- Clean the unit after every use. Although it may not appear dirty, food residue is often left behind and can promote bacterial growth. Therefore, clean it thoroughly every time you use it. Some parts may be labeled as dishwasher safe, but you can never go wrong with washing by hand with soap and hot water. TheKitchn.com recommends adding two tablespoons of baking soda, two tablespoons of hydrogen peroxide, and two sprays of Dawn Powerwash directly into the fryer basket to create a paste. Use this paste to clean with a soft toothbrush for about two minutes. A nonabrasive sponge is good to remove the paste as the part is rinsed with water.
- Never submerge the main body in water. Avoid getting the heating element wet.
Foods not to air fry
- Fresh greens – These can get blown around by the fan, resulting in uneven cooking and possible burning.
- Wet-battered items – The coating will not adhere to the food long enough for it to cook properly.
- Heavily oiled food – Although a small amount of oil is recommended, too much oil will drip, smoke and give a charred flavor.
- Popcorn – Air fryers don’t get hot enough for popcorn.
- Bacon – You will end up with bacon fat all over the inside of the air fryer.
- Large, whole chickens – Although some will state that these can be cooked in an air fryer, there is the risk of uneven cooking if using a standard air fryer.
- Raw grains – Again, these will not cook evenly.
- Hard-boiled eggs – You will likely end up with a rubbery egg.
I must admit that I have not jumped on the air fryer bandwagon. What about you? Are you an enthusiast?