Do you own a crock pot? How about a slow cooker? Wait – aren’t they the same thing? That is just one of the facts we will explore in this Cooking Tip on Slow Cookers.
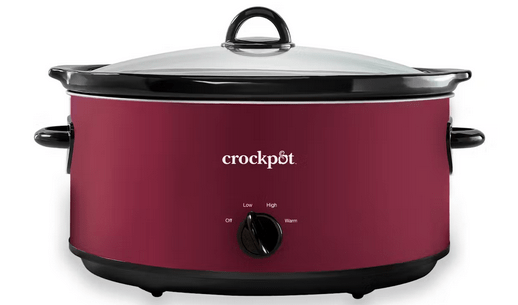
First, what about that name? A slow cooker is a small kitchen appliance. There are many brands, and Crock Pot is just one of them. It is the brand, though, that first popularized this appliance when it brought out its version in the 1970s. Today, there are a myriad of different brands.
I must admit that I rarely use my slow cooker. There are others who probably use theirs every week, but most others undoubtedly fall in the middle in terms of frequency of usage. Let’s look at the types, why people like them, and how to use them to get the best results.
Types of Slow Cookers
Traditional—The cooking vessel is ceramic, and it heats due to a heating element strip made of nickel and chromium that wraps around it.
- Pros
- They are thick and have excellent heat retention.
- They absorb and transmit heat gradually.
- Cons
- They are heavy and can crack if dropped.
- You cannot sauté in the crock. Instead, you must brown the meat in a skillet and transfer it to the cooker.
Other models – The cooking vessel is usually a nonstick-coated metal, usually aluminum. It sits on an electric heating element in the base, acting like a burner.
- Pros
- They are lightweight and durable.
- They allow you to sauté and brown food in the crock rather than in a separate skillet.
- They cook much faster than ceramic models.
- Cons
- Because they cook faster, your food can overcook if you are not paying attention.
- Most recipes are developed for ceramic cookers; therefore, the time given in the recipe may be too long.
Benefits of a Slow Cooker
Convenience
- This is the most common reason I hear for using a slow cooker: Just throw the ingredients in, turn it on and forget (or almost forget) it. At the end, voila, you have dinner. While much of this is true, there are certainly some precautions to take to ensure that dinner is something you wish to eat, which I will discuss.
- Using a slow cooker frees up your oven and stovetop for other dishes, making it nice for the holidays or large gatherings.
Heat
- Because you are not turning on the oven, you are not heating the house.
Energy efficiency
- It uses very little energy, less than your cooktop or oven would use
Tenderizing
- One of the great advantages of a slow cooker is that you can take tough (often cheaper) cuts of meat and turn them into tender mouthfuls.
Flavor
- The extended cooking time can allow better distribution of flavors.
Travel
- A slow cooker can be taken from your kitchen to the office or a party.
How best to use your slow cooker
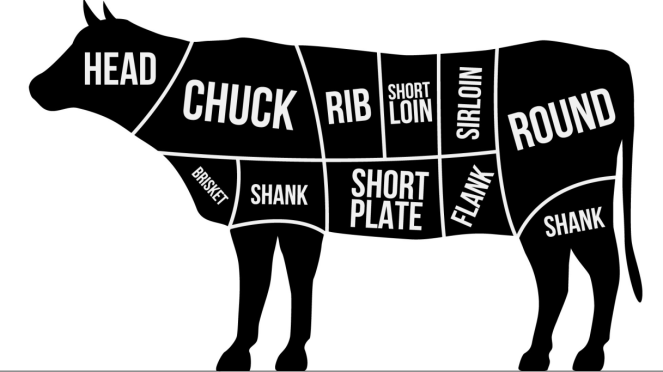
- Slow cookers are great for tougher cuts of meat, which are often less expensive. In fact, you do not want to use leaner cuts of meat, such as chicken breasts or pork tenderloin. If the meat is lean, it tends to get tough and stringy with the prolonged cooking. Using fattier and tougher cuts, including chuck roasts, short ribs, pork shoulder and lamb shank, is better. Whereas chicken breasts do not turn out ideal in a slow cooker, dark meat chicken is a good choice.
- Trim the fat from the meat before cooking. As the meat cooks, it will release fat. If you are cooking stovetop, you can drain it off. This is not possible with a slow cooker. This can result in the cooking liquid becoming oily and greasy. For this same reason, most also recommend removing the skin from the chicken before cooking.
- For the most flavor, sear your meat first in a skillet. Some slow cooker models allow for searing in the cooking vessel, thus eliminating the need for a separate skillet.
- Cut the food into uniform sizes for even cooking and avoid over-crowding.
- Layer the food properly. Put firm slow-cooking root veggies at the bottom and then the meat on top. If you want your veggies to have crunch, you may add them later in the cooking process.
- Do not take the lid off until the dish is done. When you open the lid, heat is lost and takes time to recover. It can add 15-20 minutes to the cooking time. Also, the lid is very important in initially bringing the cooker up to a suitable temperature.
- Fresh veggies are better to use than canned or frozen as the latter can cook too quickly.
- To keep the freshness, wait to add delicate herbs until the end. Similarly, add your acid, such as citrus, at the end.
- Tender foods such as pasta, squash, asparagus or peas should be added in the last hour of cooking.
- Seafood such as shrimp, scallops, and fish should be added in the last 15-30 minutes of cooking.
- Add any dairy at the last minute to prevent curdling.
- Submerge the food in liquid while cooking. For increased flavor, use broth instead of water.
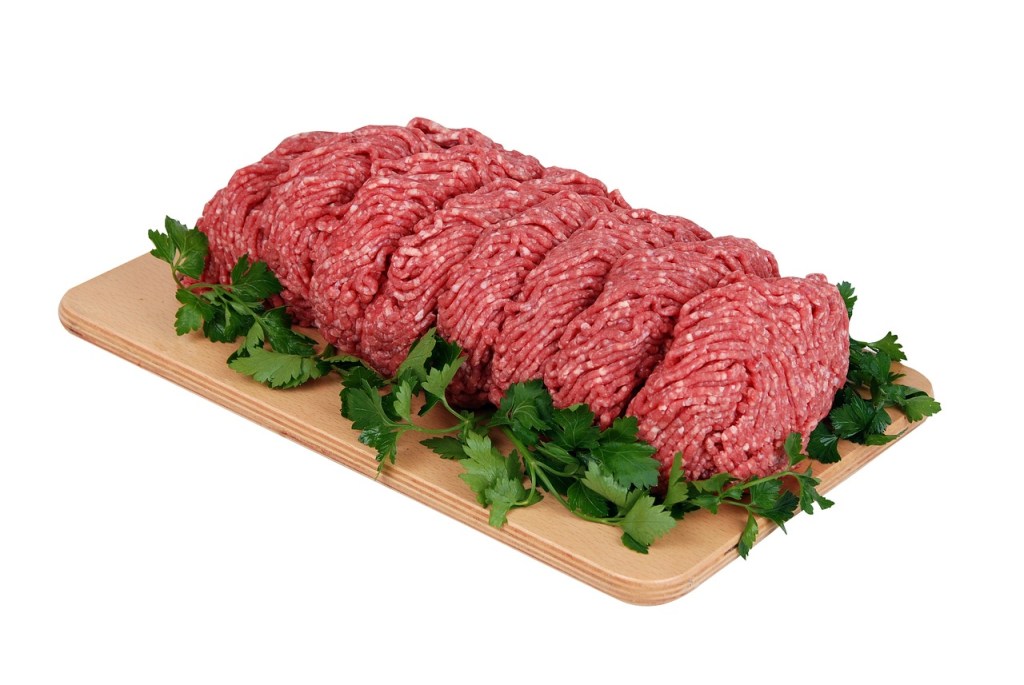
- Although some do not agree, it is generally recommended that ground beef be cooked and drained of fat before adding to the vessel. With ground beef, it is also possible that it won’t cook evenly and thoroughly, leading to the risk of undercooked beef or being in the danger zone (40°F–140°F) for too long.
- Because the cooking vessels take some time to heat up, some recommend preheating for about 10 minutes before adding the food.
Safety Advice
- To remove food from the danger zone more quickly, start the cooker on high for an hour before lowering the heat setting.
- Thaw foods first. The USDA says that since the cookers start at such a low temperature at the beginning of the cycle, the pathogens are not killed but remain in the meat and can stay in that danger zone for too long.
- Are slow cookers safe to use overnight or unattended? Hamilton Beach says they are since they work on low wattage, only as much as 1½ 100-watt light bulbs. However, they do list the following cautions.
- Follow the directions for your specific slow cooker.
- Supervise children around the appliance.
- Remind yourself that the outside will get hot. Only touch the handles.
- Keep away from water.
- Unplug when finished cooking.
- Look the appliance over and do not use if you see any damage to the cord or the unit itself.
- If leaving the house, ensure the appliance is set to low, placed away from the walls, and on a heatproof surface.
Purchasing a Slow Cooker
If you are looking to purchase a slow cooker, here is some advice from America’s Test Kitchen (ATK).
- Look for one that is easy to use without overcomplicated displays.
- Get one with a glass lid so you can see the progress without opening the cooker, which allows heat to escape and slows cooking.
- Oval/rectangular shapes are more versatile. They accommodate large roasts, and the large surface area is better for cooking grains/beans.
- Better quality cookers have internal temperature sensors and controls. This means they cook more gently and successfully than those without temperature controls. Cookers with sensors keep food at a braising temperature, just below boiling. Cookers without sensors will just keep fully heating to the boiling point, and you are more likely to get an overcooked result. The problem for the consumer is that you most likely won’t see this listed as a feature on the box. ATK used temperature probes to confirm this feature, and their recommendations are below.
- Large, stay-cool handles are preferred.
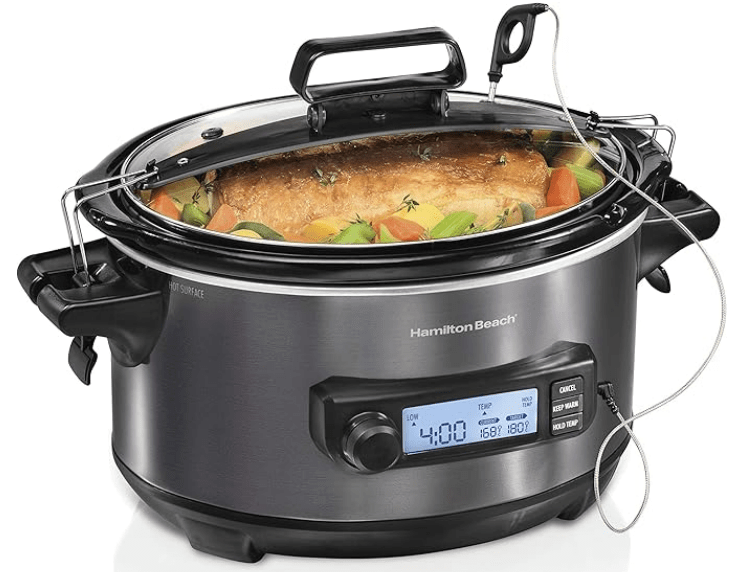
- An attached temperature probe is nice to have as you do not have to open the lid to check on doneness.
- Latching lids with silicone gaskets are also great if you transport food in the cooker.
- A hold-temperature feature will keep food at a desired temperature for up to 24 hours. This allows you to reheat food, use it as a fondue pot or make yogurt.
- ATK prefers digital over analog controls. Although the latter are simple to use, they do not indicate cooking progress and will not switch to keep warm when cooking is done. They keep cooking until you turn it off.
ATK Ratings
ATK tested and rated the following as the best slow cookers as of August 2024.
- KitchenAid 6-Quart Slow Cooker (Although ATK just published this review recently, it is no longer on the KitchenAid website.)
- Hamilton Beach Temp Tracker 6-quart Slow Cooker
- The best slow cooker with searing capabilities was the Cuisinart 6-quart 3-in-1 Cook Central.
Here are their recommendations for smaller slow cookers.
- Cuisinart 4-quart Cook Central 3-in-1 Multicooker
- Hamilton Beach 4 Quart Programmable Slow Cooker
Recipe Conversion
- As with many things, using recipes developed for the slow cooker will give you the best results. However, if you wish to try converting recipes, here are some tips.
- You will have the best result with soups, stews, braises and roasts.
- Reduce the liquid in the non-slow cooker recipe by 20-30%. The liquid won’t evaporate in a slow cooker, as the lid should be tightly sealed. Only use enough liquid to cover the meat and vegetables.
- Ideally, only fill the cooker half to ⅔ full and never more than ¾ full.
- Since the liquid doesn’t reduce by evaporation, it won’t thicken to a sauce-like consistency. So, dip your meat in a small amount of flour before cooking. You can also make a cornstarch slurry (water/cornstarch), stir it in, and allow it to simmer until it becomes thick. Alternatively, put the liquid in a saucepan on the stovetop and use the cornstarch slurry to thicken.
- Slow cookers can amplify cayenne or other spicy ingredients. So, reduce the amount called for.
- Onions and garlic can intensify in the slow cooker. So, use less than called for, or finish the dish with chopped green onions or chives.
- Timing
- The Spruce Eats lists conversion cooking time recommendations in this article.
- BBC Good Food recommendations
| Regular Recipe Time | Slow Cooker Time |
| 15-30 minutes | 2 hours on High or 4-6 hours on Low |
| 30 minutes – 1 hour | 2-3 hours on High or 5-7 hours on Low |
| 1-2 hours | 3-4 hours on High or 6-8 hours on Low |
| 2-4 hours | 4-6 hours on High or 8-12 hours on Low |
Cleaning
- Most slow cookers are easy to clean, and many have dishwasher-safe cooking vessels. You can help by using a non-stick cooking spray or rubbing oil inside the slow cooker before you begin the recipe.
- Some like to use slow cooker liners, although they can be pricey. There is also the consideration of cooking your food in plastic.
- If you do have food stuck on the inside of your slow cookers, here is some advice for clean-up.
- Fill the cooker to the top with water. Turn it on to low and allow it to set for several hours. This should allow the food to loosen.
- Some like to add a few tablespoons of baking soda and a few drops of dish soap and proceed as above.
- If you have white mineral stains on the inside, fill the cooker with water and 1 cup of vinegar. Allow to set overnight and wash and dry as usual.
High Altitude
- A final piece of advice for those of you who live at higher elevations like me. You already know that water boils at a lower temperature, and food takes longer to cook. You may wonder if that could affect how you use your slow cooker.
- Colorado State University warns that there is more of a risk that your food will stay in the danger zone for too long. To counter this, they recommend setting your cooker to maintain a temperature of at least 200°F. Start the food on high for the first hour. After that, you can either continue cooking on high or turn to low at that time. You may also expect that the food will take longer to cook. Some experts suggest that you will need to add 30 minutes for each hour of time specified. Legumes can take twice as long.
Are you a slow cooker user? Are you considering buying one? I hope this Tip will help you choose the right one and use it to obtain the best results.