When we hear the word “frying,” we probably think of French fries, fried chicken, or some similar type of food. These foods are undoubtedly delicious but they are also something that we limit our consumption to a few times a year. They are all made through the process of deep-fat frying. What that is and how to perfect your technique is the subject of this Cooking Tip. This post may contain affiliate links and I may earn a commission if you purchase.
There are different types of frying, some of which we use much more often than others.
- Pan frying is a method of cooking food where the bottom of the pan is only lightly coated with oil. This is what you are doing when you are sauteing your chicken.
- Shallow frying is when a small amount of oil is added to the pan so that it is about half of the thickness of the food. The food remains in contact with the bottom of the pan throughout the cooking process. This is the process you would use when making chicken parmesan or schnitzel.
- Deep frying involves a level of oil that allows the food to be submerged such that it floats in the oil. This is what is done to produce those delectable French fries or fried chicken.
Some experts say that deep frying may not be as unhealthy as you think. They claim that it depends on whether the frying process is done at the correct temperature. This argument says that as the food is cooked, the water that is inside the food turns to steam. This not only cooks the interior of the food, but as it is expelled out of the food, it prevents excessive absorption of oil into the interior of the food. Although this is commonly voiced by chefs and proponents of deep frying, some disagree.
Since many of us feel that eating deep-fried foods is an indulgence, we want to make sure they are done as well as possible. Here are tips that will help you do just that.
EQUIPMENT
Frying vessel
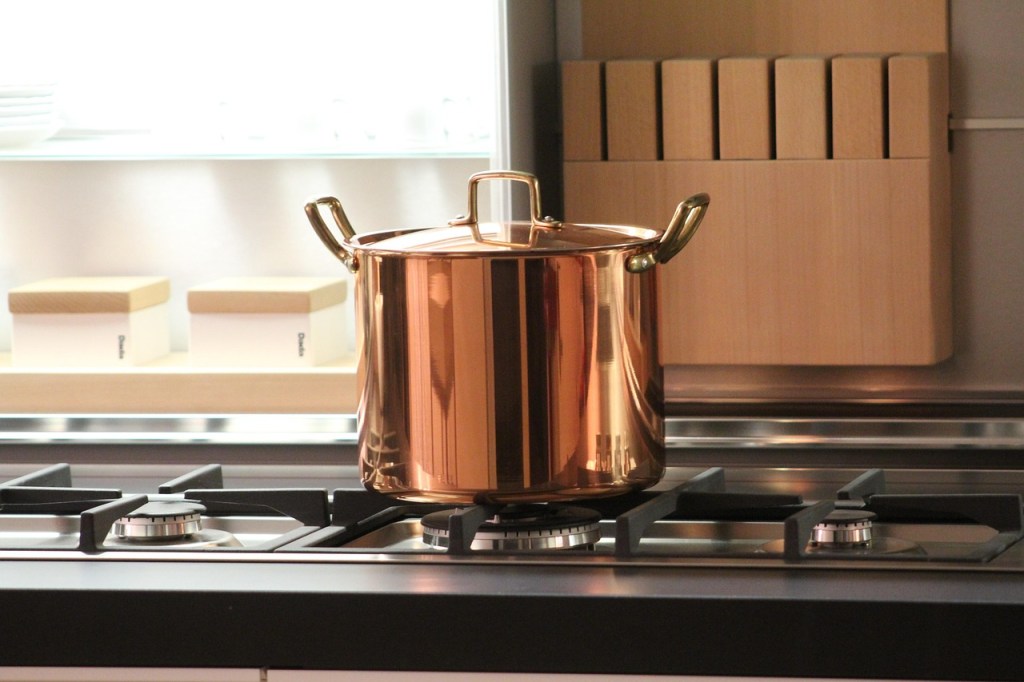
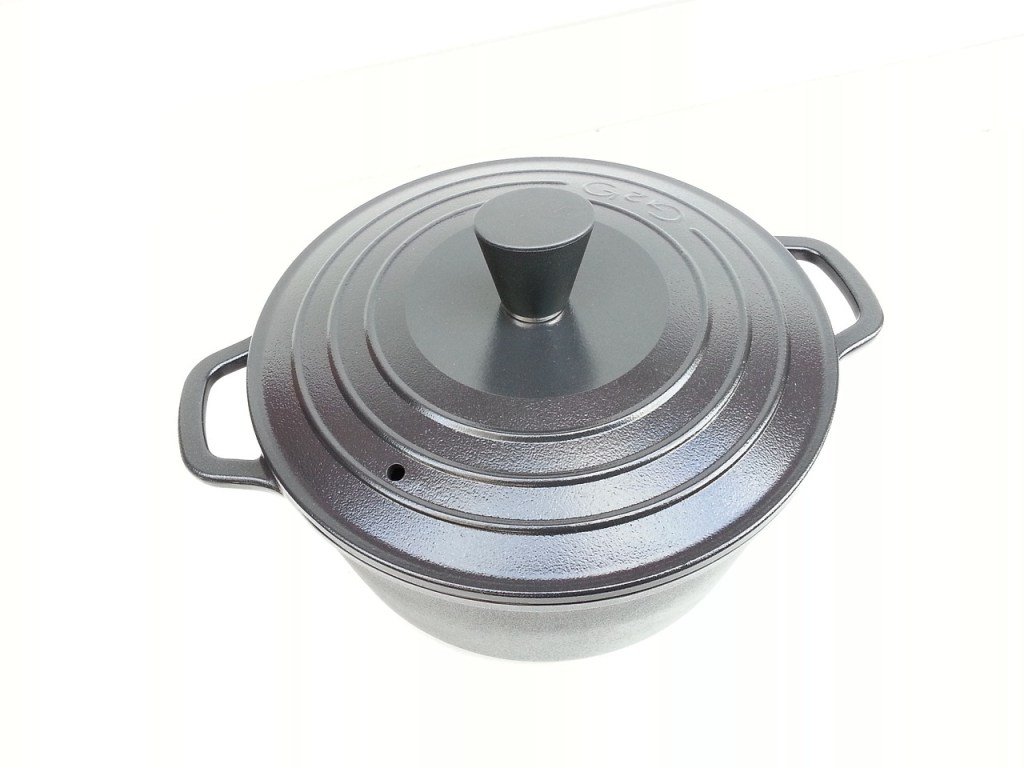
Although some own a countertop fryer, it is not necessary. You may use a heavy-bottomed pot such as a Dutch oven. You want one that is large enough to accommodate the oil, tall enough to minimize oil splatter, and with a broad diameter that allows you to cook food in fewer batches. A good quality pot that heats up evenly and is easily maintained at a relatively constant temperature is preferred.
Some like to use a wok as the sloped sides and shallow depth make it easy to put the food into the oil and retrieve it. It also uses less oil than a Dutch oven. However, it is not suitable for heavier foods such as chicken. Those foods will sink to the bottom of the wok, which is narrower and has less room for proper frying. It is also not as stable as a Dutch oven. A final criticism is that sweet items could pick up savory flavors from the wok.
Tongs
A long pair of tongs allow you to carefully add the food to the hot oil.
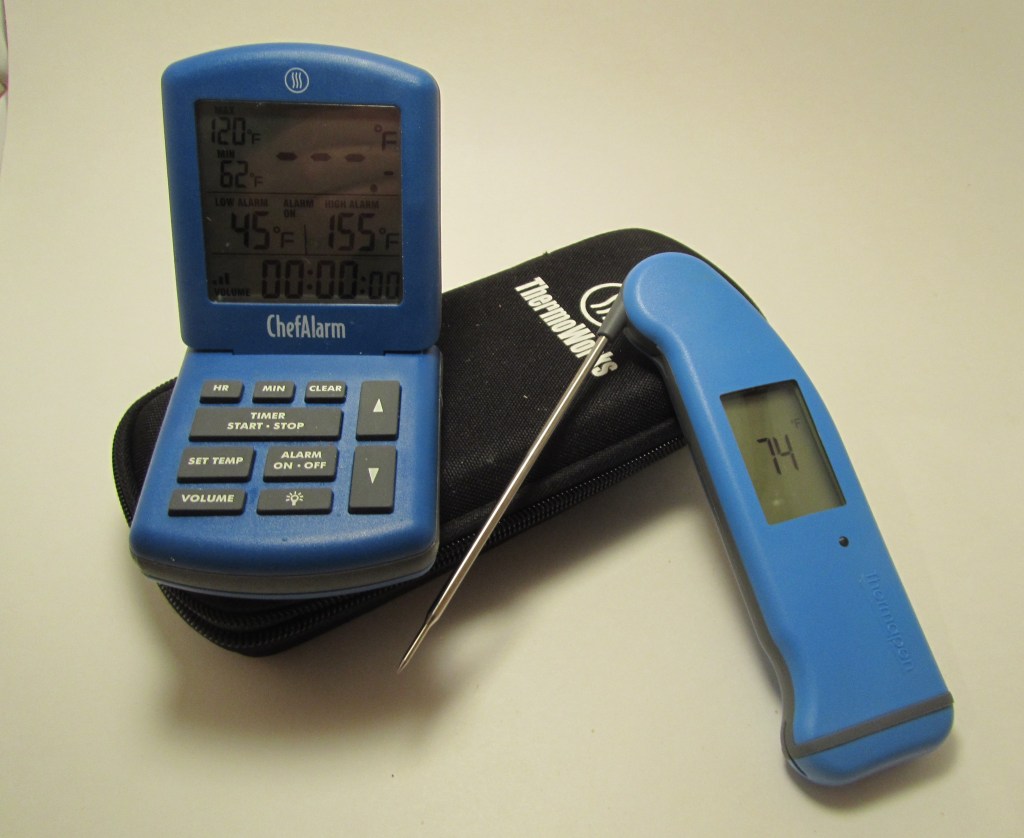
Thermometer
This is used to monitor the oil temperature. Although you can use a hand-held one, one with a probe connected to a temperature display that can be placed aside from the pot is very nice. I use this one from Thermoworks.
Cooling rack
A cooling rack on which to place the fried foods will allow the air to circulate below the food, helping to prevent sogginess from developing.
Baking sheet
A baking sheet into which you place the cooling rack with enough space to drain the fried food in a single layer is very helpful.
Spider/slotted spoon
Although the tongs are great for placing the foods in the hot oil, a spider or slotted spoon is better for removing batches of food when done, allowing the oil to drain back into the pot.
Paper towels
These will wick the oil away from the fried food. Place two or three layers on the cooling rack, which is placed inside the baking sheet.
Splatter screen
This is an optional but nice addition to your frying station. When placed on top of the pot, it helps keep the splatter in the pot and off yourself, your stove and countertops.
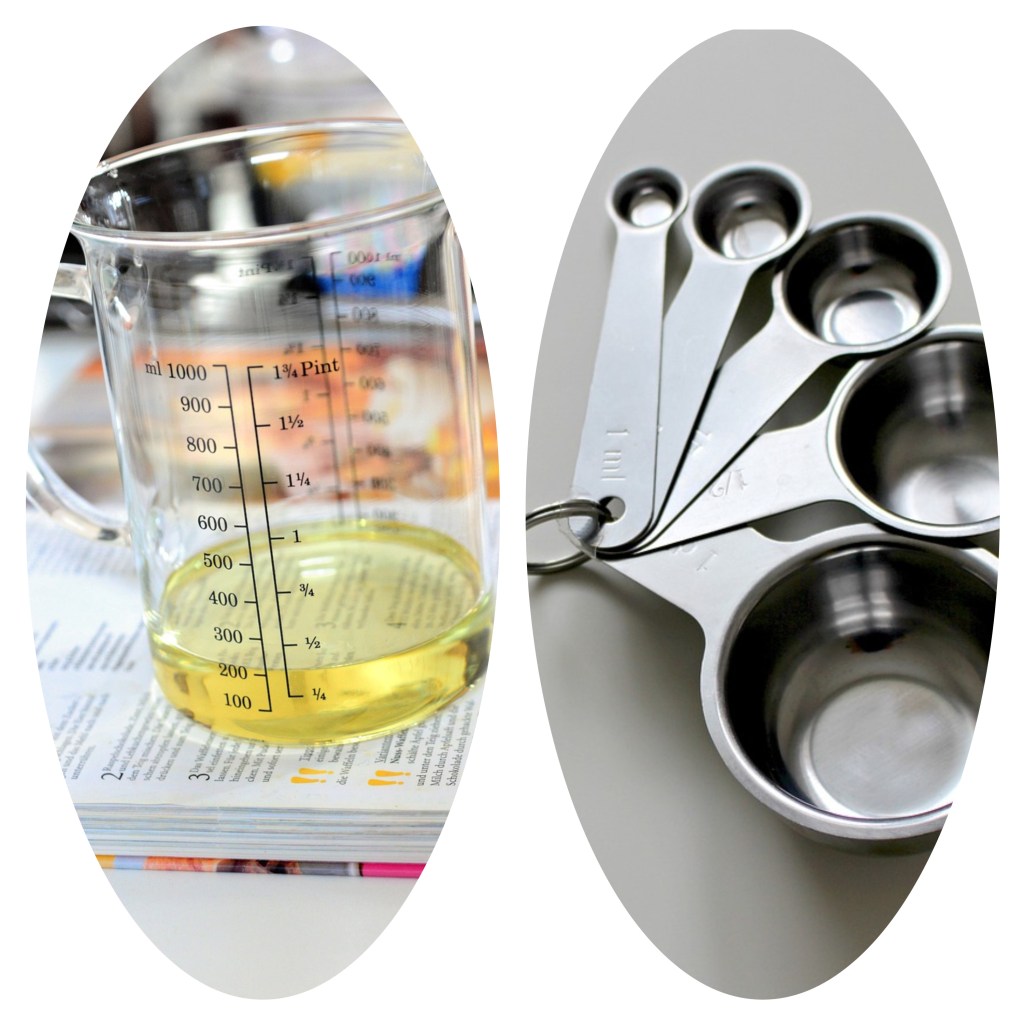
FRYING OIL
Type of oil
It is essential to use a proper type of oil. This means an oil with a higher smoke point and a neutral flavor. Most refined vegetable oils work well. Examples are vegetable, corn, peanut, safflower, canola, soybean, and avocado. Lard is another choice.
America’s Test Kitchen cautions against canola and soybean. They explain that the high heat can alter the flavor compounds and make them taste fishy (canola) and metallic (soybean).
The price point of these oils also varies, playing into your ultimate choice.
Reusing oil
The oil can be used more than once. It does need to be cleaned and stored properly. Allow the oil to cool to room temperature before cleaning. The most common method is to pour the oil through a fine-mesh strainer lined with a coffee filter, muslin or cheesecloth.
Another method is using a cornstarch slurry made by whisking 1 tablespoon of cornstarch into ¼ cup of water and adding to the cooled oil. Return the pot to the stove and place over very low heat while stirring constantly. This starch mixture will begin to solidify in about 10-12 minutes. At that point, remove the oil from heat and strain it through a fine-mesh strainer or use a slotted spoon to remove the mixture, which can be placed into the trash.
How many uses you can get depends on the foods you fry; some foods will degrade the oil faster than others. In general terms, the oil can be used at least 3 times, perhaps a few more.
When storing the used oil, be sure to minimize exposure to air and light. These will hasten the degradation of the oil, creating off-flavors and odors.
Disposing of oil
Once you are ready to dispose of the oil, the main thing is to not pour it down the drain. Most people will just put it into a container and into the trash. Some like to use a waste cooking oil powder, a plant-based ingredient that binds the liquid into a solid disk. This can be easily removed from the pot and disposed of in the trash.
TIPS FOR SUCCESS
Proper oil temperature
Most deep-frying should happen between 350°F and 375°F. This is why you want to use a thermometer. As you place food in the hot oil, the temperature of that oil will drop. Adjust the heat to keep the oil within 5-10 degrees of your target temperature. This will require that you allow the temperature to recover before adding additional batches of food. This will help you avoid greasy and soggy results. As one expert puts it, “The real secret to becoming master of the deep fryer is to be vigilant about oil temperature.”
Don’t crowd the pan.
Part of maintaining the proper temperature is to fry in batches rather than all at once. This is so the food cooks evenly, and it is easier to maintain the oil’s temperature. It also prevents the items from sticking together. For this reason, it is also good to stir the items in the oil to separate them.
Season the food as it comes out of the fryer.
Whether you are just using salt or additional seasonings, they will stick better with hot food. So, season immediately after removing the food from the oil.
Drain well
Put the fried foods on a rack in a rimmed baking sheet lined with multiple layers of paper towels to prevent sogginess from developing.
Flip the food
Occasionally flip the food in the oil to ensure even cooking.
Coatings
Not all fried foods have a coating but many will. I will not be discussing the different types of coating and their uses. Rather, I will refer you to this excellent article from Serious Eats.
- If you do use a coating, shake off any excess before placing it into the oil. This will help prevent too much contamination of the oil.
- America’s Test Kitchen likes to briefly rest the dredged foods. They say a 10-minute rest allows the coating to hydrate so it doesn’t leave a residue on the surface.
- Coatings can leave debris in the oil. Remove any debris between batches. Otherwise, it might burn and give the oil a bitter flavor.
Keep warm
As you will be frying in batches, the finished items can be placed in a 200°F oven to keep them hot and crispy while frying other batches.
Be safe
Deep frying can be a bit scary, and there is good reason for that as if it is not done safely and properly, it can lead to horrible burns and even a fire. Prevent those from happening with the following advice.
- Use a large pan. You want the oil to be at least a few inches below the top of the pan.
- Place the pot and its handle out of the way so people do not accidentally bump it.
- Keep children and pets away from the kitchen while you are frying.
- Let the oil cool completely before discarding or straining it for another use.
- Keep a well-fitting lid nearby so that if it does catch fire, you can place the lid over the pot and smother the flames.
- It is always good practice to have a fire extinguisher available.
I have only deep fried items a handful of times. What about you? Do you crave that fried chicken and wish you could make it in your own kitchen? I hope the above advice will help you do just that!