Pork is one of my favorite proteins. I find it delicious and easy to cook. I will always prefer a tender pork chop or pork tenderloin to any cut of beef. As with beef, different cuts of pork require different cooking methods and have different applications. This Cooking Tip will give you what you need to know about all the cuts of pork.
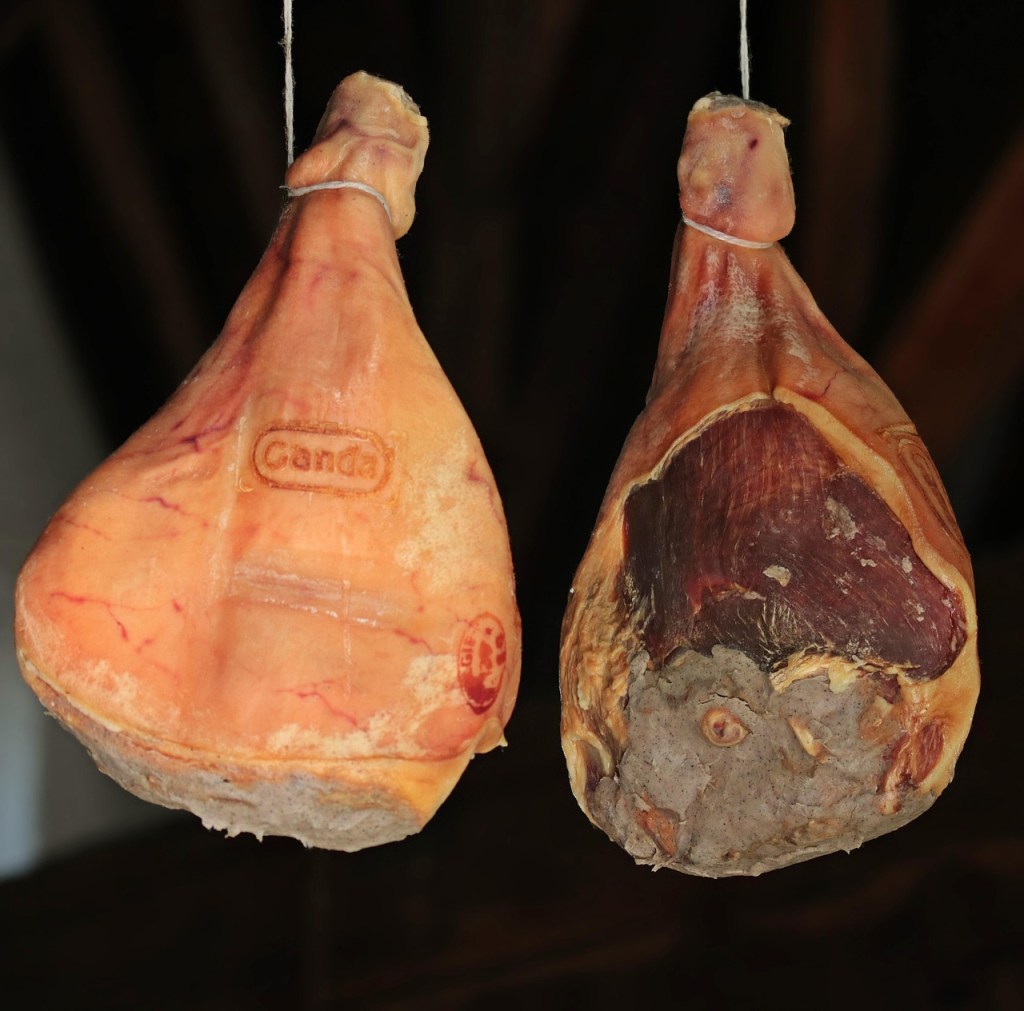
For your reference, I have written four other Cooking Tips on a variety of pork products. This Tip only references raw pork products.
Not all pork tastes the same, even if cooked perfectly. One difference is the breed of pig from which the pork came. It is uncommon for supermarket packets to list the breed. However, a few years ago, Duroc pork became popular, and one can still see this listed on the package for marketing purposes.
The main eight pig breeds are:
- Berkshire
- Chester White
- Duroc
- Hampshire
- Landrace
- Poland China
- Spotted
- Yorkshire
Another difference is in the cut of pork. As with Beef, the different cuts come from different anatomical regions. Here is a chart courtesy of Pleasant Grove Homestead that shows where we get each cut.
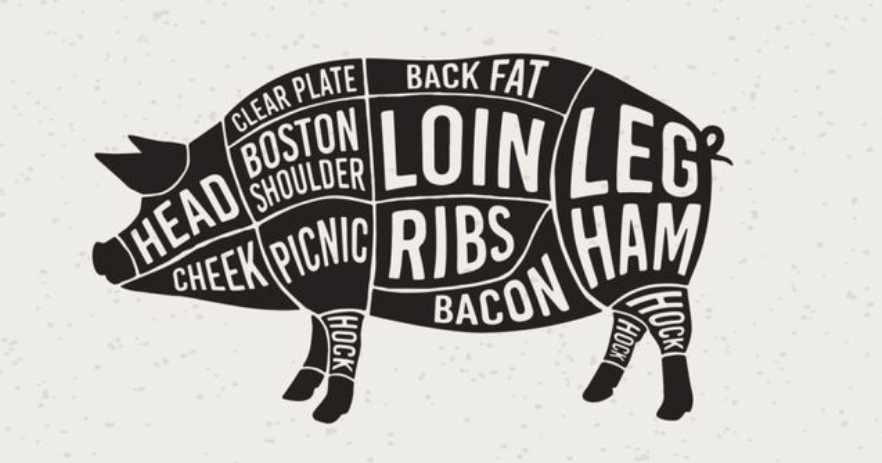
When pork is cut from the carcass, it is first divided into what are called “Primal Cuts.” For pork, most butchers will define four primal cuts – Shoulder, Loin, Leg, and Side. As these are further cut down, they are called sub-primal cuts. From these, we get the names we are most likely to see in the supermarket. The USDA uses the following nomenclature for these smaller cuts. You may or may not care about the names, but knowing the origin of the pork cut will give you an idea of the fat content, the texture, and therefore the best cooking method.
Shoulder
- Shoulder Butt, Roast or Steak
- Blade Steak
- Boneless Blade Boston Roast
- Smoked Arm Picnic
- Smoked Hock
- Ground Pork for Sausage
Loin
- Boneless Whole Loin (Butterfly Chop)
- Loin Roast
- Tenderloin
- Sirloin Roast
- Country Style Ribs
- Chops
Side
- Spare Ribs/Back Ribs
- Bacon
Leg
- Ham; Fresh or Smoked and Cured.
Now, let’s look a little deeper into these different cuts.
Shoulder
- Pork shoulder can have different names, such as pork butt, Boston butt, or Boston shoulder. The name “pork butt” can be confusing, as it does not refer to the anatomical region from which we get this cut. Instead, it refers to the barrels (known as butts) in which the meat was historically stored.
- This cut actually comes from the upper part of the pig’s front leg/shoulder.
- The picnic shoulder comes from the lower section of the front leg.
- See the next section for a discussion of pork chops that are cut from the shoulder.
- Both types of shoulder have a higher fat content than other pork cuts, but the picnic shoulder has slightly less fat, making it tougher and somewhat less flavorful.
- Culinary uses – Because of the higher fat content, shoulder is ideal for a slow-cooking method.
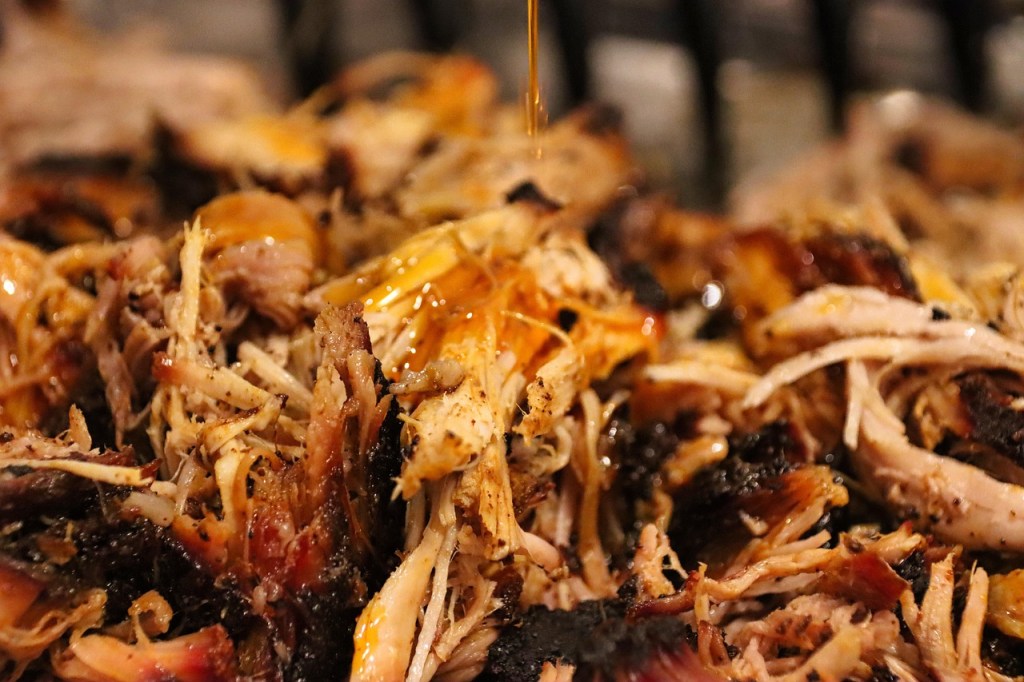
- Great uses for pork shoulder are pulled pork, carnitas, stews, braises, smoking, and roasting. It is also often ground and used to make sausages.
- It should not be used in preparations where there is not enough cooking time to tenderize the meat, such as stir-fries or quick sautés.
- To enhance the flavor, sear the meat to get a crust before continuing with your cooking method.
Loin
- This is a large, relatively lean cut that is cut from the back of the pig and has a thick fat cap.
- From the loin, we get ribs, roasts, and chops.
- Most cuts are sold both bone-in and boneless. Many prefer bone-in cuts because they claim they have more flavor. However, the more evenly shaped boneless cuts cook more easily and more evenly.
- The fat content can vary depending on where the chops or roasts come from, although the loin is generally considered a leaner cut.
- Pork loin is known for its tenderness and mild flavor.
- Culinary uses
- A pork loin can be cooked whole as a pork roast or cut into smaller pieces, such as chops or medallions.
- The smaller the cut, the faster it will cook and the greater the risk of overcooking.
- Culinary uses
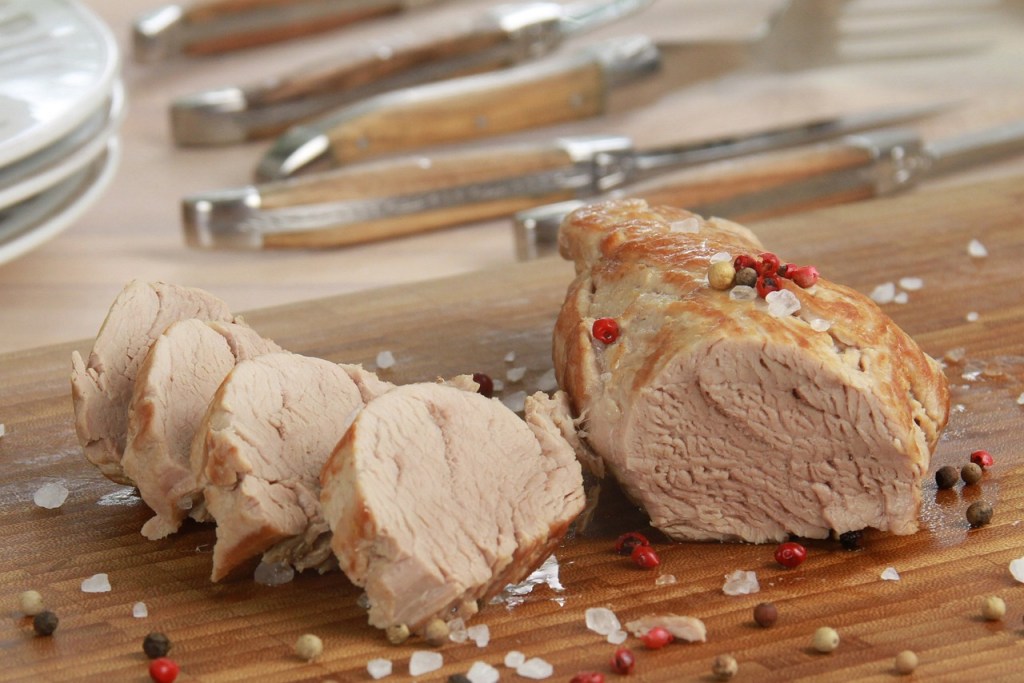
- Pork tenderloin
- The leanest cut of pork with a fat content not much more than a skinless chicken breast.
- Culinary uses
- As it is so lean, care must be taken not to overcook.
- They do well roasted in the oven, or, if cut into smaller pieces, they can easily be cooked on the stovetop.
- Pork chops
- Most pork chops come from the loin, except for blade (or shoulder) chops. Even among those from the loin, the chop will vary depending on the exact location from which they were cut.
- Shoulder/Blade chops
- As the name implies, this comes from the shoulder. Can also be called shoulder or blade steaks. Because they come from the shoulder, they have a significant fat content. They also have a good amount of connective tissue and gristle.
- These chops will benefit from a longer cooking method, such as braising or a slow cooker, that allows the connective tissue to break down and the meat to become more tender.
- Other names are center-cut rib chop, pork chop end cut, pork rib cut chop, rib end cut, and rib pork chop. These chops are taken from the rib section of the loin that goes from the shoulder to the middle of the loin. There is no tenderloin attached. These chops are very tender with a mild flavor. Can be sold bone-in or boneless, but the bone-in are generally fattier.
- With a lower fat content than the shoulder chops (but more fat than other cuts), these chops do better with grilling, broiling or searing than longer cooking methods. Many recommend a brine to enhance the moistness and tenderness.
- Also known as center loin chop, center-cut loin chop, loin pork chop, pork loin end chop, porterhouse, or top-loin chop. These are taken from the hip and loin towards the back end of the animal. Depending on the precise location from which they were cut, they may have a small piece of tenderloin attached. These chops are very lean and mild in flavor.
- These do best with a quicker cooking method such as grilling, broiling, or searing. If the particular chop has tenderloin attached, it can be tricky to cook, as the tenderloin part will cook faster. Brining is sometimes recommended.
- Baby back ribs are leaner and shorter than other rib cuts.They are extremely tender. Culinary uses include roasting, smoking and barbecuing.
- As the name implies, this comes from the shoulder. Can also be called shoulder or blade steaks. Because they come from the shoulder, they have a significant fat content. They also have a good amount of connective tissue and gristle.
Leg
- Ham
- This is cut from the hind leg of the pig.It is known for its rich, savory flavor and firm texture.It is often cured and smoked.Ham may be found bone-in or boneless. Many feel the bone-in ham has more flavor, but the boneless is easier to slice.
- Country ham is dry-cured and fairly salty.
- Pork shank
- This is cut from the shin of the front forearm.It can be sold with or without skin. The texture is very tough.
- Culinary uses
- Because of its toughness, it requires a long, slow cooking method.
- It does lend itself well to braising and roasting.
- It is also used to add body and flavor to soups, stocks and sauces.
- Pork hock
- This is the joint of the pig’s leg, where the leg meets the foot.It contains much fat, connective tissue, skin, and bone. Hocks can be found smoked and unsmoked.
- Culinary uses
- Hocks are mainly used in sauces, soups, and braises to add flavor and richness.
Side
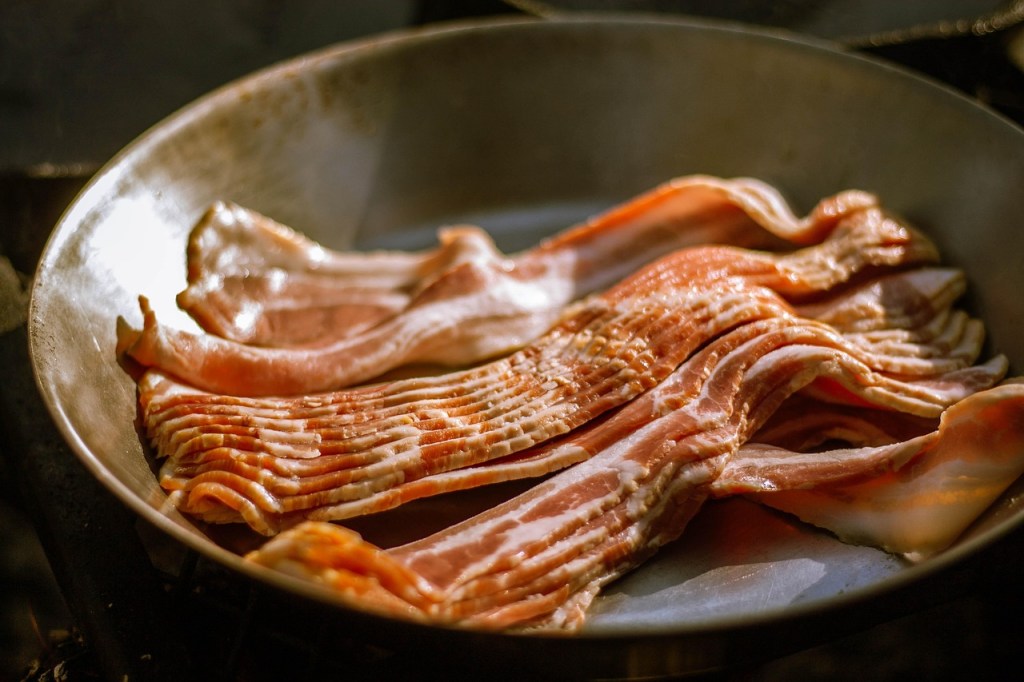
- Sub-primal cuts from the side will have a higher fat content.
- Pork Belly is the main cut from the side.
- It is a boneless cut from the flesh surrounding the stomach. It is sold both with and without the skin.
- Culinary uses
- Pork belly is best slow-roasted, braised or cured and smoked into bacon.
- Spareribs
- These are also known as St. Louis ribs or St. Louis-style ribs. They are meaty ribs that are cut from the belly. St. Louis-style means the meat is cut away from the breastbone to form a rectangular slab.
- They are great for slow-cooking, barbequing, smoking, or oven-roasting.
Cooking pork
- The main problem with cooking pork is overcooking. That is because today’s pork is about 75% leaner than in the 1950s.
- According to the FDA, pork should be cooked to 145°F followed by a three-minute rest. Here is a link to the FDA’s Safe Cooking Chart if you want more details.
- Ground pork should be cooked to 160°F, as with all ground meat.
- It is important to know that pork can still be pink even after reaching the proper internal temperature. Rely on the thermometer, not the color.
Health & Safety Concerns
Pork is somewhat misunderstood both in terms of its healthfulness and food safety.
Health Aspects
- Despite the advertising campaign of a few years ago that pork is “the other white meat, it is classified as a red meat. The color of the meat depends on the amount of myoglobin in the meat. Myoglobin is the protein that holds the oxygen in the muscle. Pork contains more myoglobin than chicken or fish.
- One of the main health concerns of past generations was the parasite that causes the disease Trichinosis. In the past, one could contract it by eating undercooked pork. This led people to cook pork to much higher temperatures than necessary, resulting in a dry, tasteless piece of meat. The incidence of trichinosis has declined markedly since the 1950s. Although the disease has not been eliminated, it is now almost exclusively transmitted through wild game. Also, the parasite is killed at 137°F, which is well below the recommended cooking temperature of 145°F.
- Nutrition-wise, pork is an excellent source of protein and many vitamins and minerals.
- Although it is a red meat, several cuts of pork meet the USDA guidelines for being considered “lean.” This is defined as having less than 10 g of fat, 4.5 g of saturated fat, and 95 mg of cholesterol per 3-ounce cooked serving.
Food Safety Aspects
According to the FDA, the following are true about pork.
- No hormones are used in the raising of hogs.
- Antibiotics may be given to prevent or treat disease. However, a withdrawal period is required between the time antibiotics are administered and the time of slaughter. The Food Safety and Inspection Service (FSIS) of the USDA randomly samples pork at the time of slaughter and tests for antibiotic residues. Their data shows “a very low percentage of residual violations.”
- Pork inspection is mandatory. All pork sold in retail stores is either inspected by the USDA or by the states, which have standards equivalent to or higher than those of the federal government. The inspections ensure the pork is wholesome and free from disease.
- Pork grading for quality is voluntary, and the pork producer pays for the costs of it. There are only two grades – Acceptable and Utility. The former is the only one sold in supermarkets. The latter is used mainly in processed products and is not available for consumer purchase.
- All fresh pork is considered “natural.” This means that it cannot contain any artificial flavor, colors, chemical preservatives, or other artificial ingredients. There should be only minimal processing. If the package is labeled “natural, it should also have a statement explaining what they mean by natural.
- Federal regulations do not require product dating. Many stores or processors may choose to include it. If so, use or freeze within 3-5 days of a “sell-by” date.
I hope this will demystify things just a bit when you go to the store looking for a pork product. The name will help you determine how lean or fatty it is and, thus, which cooking method is best for that cut. Although, as with so many things, moderation is the key, a delicious dish of pork can be part of a healthful diet.