In our continuing series on ingredients used in Asian cuisine, we now turn to Coconut Milk. This ingredient is probably more commonly found in our pantries, but just what is it, how should we use it, and are some better than others? We will delve into those topics in this Cooking Tip.
How it is made
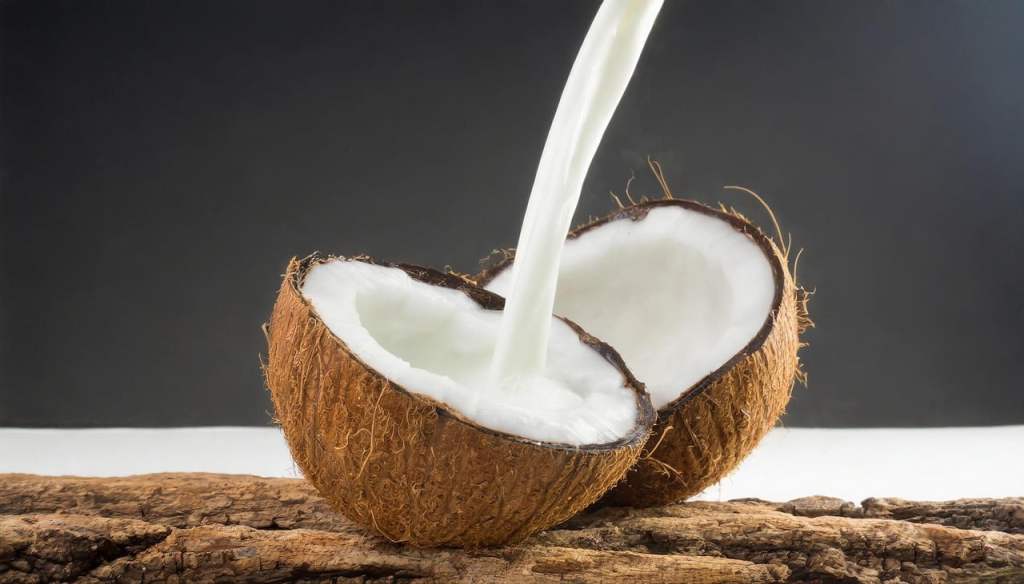
If you were to open a fresh coconut, you would see the tough outer husk, layers of white coconut flesh (sometimes called coconut meat) and a clearer liquid in the middle. Coconut milk is made by shredding and pureeing the fresh coconut meat and pressing it to extract the liquid, sometimes adding water to aid the process.
According to Thai chefs, there is “First Press” (hua gati) and “Second Press” (hang gati) coconut milk. The first is just what it sounds like, the product that results from pressing fresh coconut flesh with little or no water. This results in a rich, flavorful liquid and is the type that is sold in stores. To make the second press, producers take the already-pressed coconut meat, add more hot water and press again. It has a more diluted flavor and is not sold commercially.
Coconut milk is composed of coconut oil (fat), coconut protein and water. The oil solidifies into coconut cream at room temperature. When you open a can of coconut milk, you see two layers. There will be thicker white cream at the top and liquid water at the bottom. Different brands will have varying amounts as well as varying thickness of the cream layer.
Types of coconut products
In our stores, we might see various coconut products such as coconut water, cream of coconut, coconut cream and coconut milk.
- Coconut milk—This product is produced as described above, and is a mixture of oil, protein and water.
- Coconut water–This is meant to be used as a beverage, not in cooking.
- Coconut cream—A can of this contains just the thick cream part with much less water.
- Cream of coconut—This is also made from pureed coconut meat but blended with sugar. It is meant for drinks.
- Lite coconut milk—As implied by the name, lite coconut milk contains less fat than regular coconut milk. It is more watery as most of the cream is eliminated. Companies often add stabilizers and other ingredients to compensate for the lack of fat, which can contribute to unpleasant flavors. Also, since the coconut flavor comes from the fat, when you eliminate that, you eliminate flavor.
What to look for

- Packaging–What we will mostly see in our stores are cans of coconut milk, which are perfectly acceptable. Hot Thai Kitchen prefers using coconut milk packaged in UHT cartons. They explain that the cartons have been heat treated for a shorter time than cans, leading to better flavor. Although they say that one may not notice a difference in most savory dishes, the better flavor shines through in desserts. They go on to state that in Thailand, the cartons are what are mostly sold. Cans are preferred for export as they are more durable for shipping. I will warn you that the coconut milk sold in the dairy aisle is not the same thing. Those items have a much longer ingredient list and much less fat than those sold in the cans or the UHT cartons. They are meant to be used as a dairy milk substitute, not as a coconut milk substitute.
- Ingredients–Look for a short ingredient list, preferably only coconut and water. Some labels might list coconut extract instead of coconut milk. According to America’s Test Kitchen research, these indicate the same thing. Some companies will add a preservative and may add guar gum, which serves as a thickener and prevents separating. If you read Thai recipes that start with coconut milk, they will often direct you to cook it until the oil begins to separate out. As I can attest by personal experience, this is much harder to do with a product that contains guar gum. This is understandable as preventing separation is the function of that ingredient.
- No added sugar–It is best to buy unsweetened so you can control the amount of sugar in your dish.
- Fat content—Look at the label to see the fat content. Generally, the higher the fat content, the better since the fat is where the flavor resides. Those products will have a much thicker cream layer as compared to the water. I looked at a number of different brands of coconut milk, and they ranged from a low of 9 grams for Goya up to 17 grams for Aroy-D.
Brands
As with so many Asian ingredients, your choice of brands will be more limited in a general supermarket than in an Asian market. However, you can find acceptable products in both. I looked at taste tests from America’s Test Kitchen, Bon Appetit, Eater, and Epicurious. Here are some brands that rise to the top.

- Aroy-D
- Roland
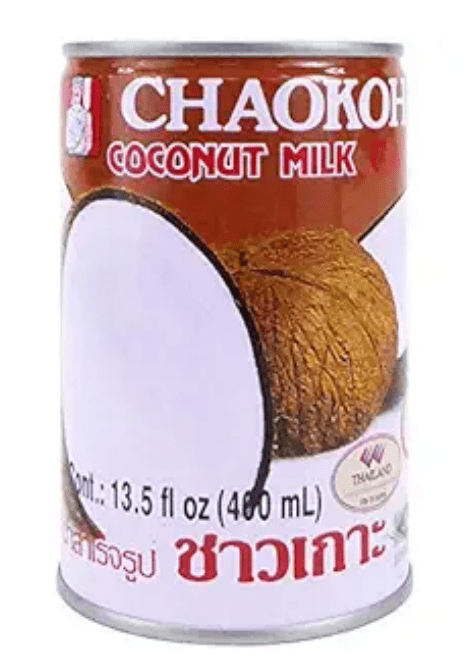
- Chaokoh
- Thai Kitchen
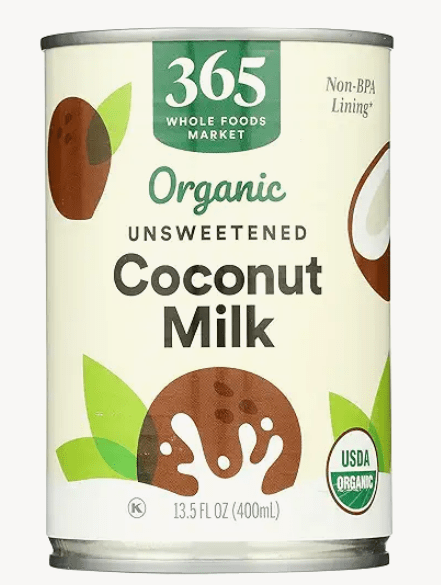
- Whole Foods 365
- Trader Joe’s
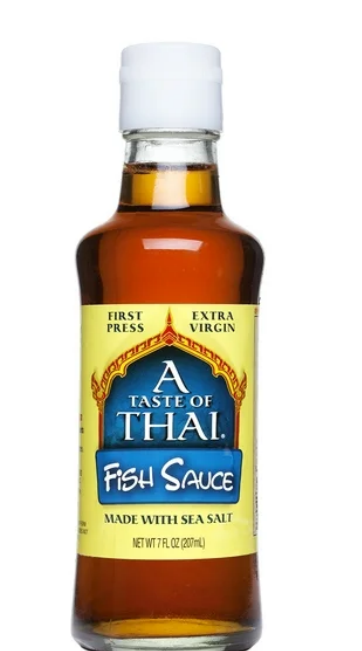
- A Taste of Thai was not recommended.
Although impractical, you can make your own by opening a coconut, scraping out the meat, and processing it in a blender with some of the coconut water and regular water. It then needs to be strained through cheesecloth. This is much more work than purchasing a can, but some swear by it for the fresh flavor. Others will start with a package of unsweetened shredded coconut. Combine it with hot water, blend and strain.
Uses
Coconut milk can be used in both sweet and savory applications. Here are some ideas.
- Sauces
- Stews
- Soups
- Curries
- Rice
- Puddings
- Baked goods
- Non-dairy whipped cream. This can be done by chilling the coconut milk, scooping out the fat and whipping. It won’t taste like regular whipped cream because of the strong coconut flavor, but it will have a similar texture and creaminess.
Storage
After opening, store any unused coconut milk in the refrigerator for up to a week. It is possible to freeze coconut milk, but it will alter the texture and be grainy when it is thawed. This should not be a problem when making something like a curry but would not be acceptable in a dessert where you want a creamy texture. Do not store it in the can; it can pick up a metallic flavor.
I always have coconut milk on hand, partly because we love Thai food, especially curries. However, its use is not limited to those dishes. Give it a try and see what you think!