What is the least-used baking pan in your kitchen? For some of us, it might be our muffin/cupcake pans. I only use mine a couple of times a year. If you use yours more frequently or are considering buying one, this Cooking Tip about cupcake/muffin pans is for you.
Do you call these pans cupcake pans or muffin pans? Either name is fine. They both mean the same thing. What you bake in them, though, cupcakes or muffins, is slightly different. See this Cooking Tip for an explanation: Is It a Muffin or a Cupcake?
What should you look for in a good muffin pan?
Material—These pans can be made of different materials. The highest-rated ones are made of aluminized steel. They are not only sturdy, but this material heats well and evenly.
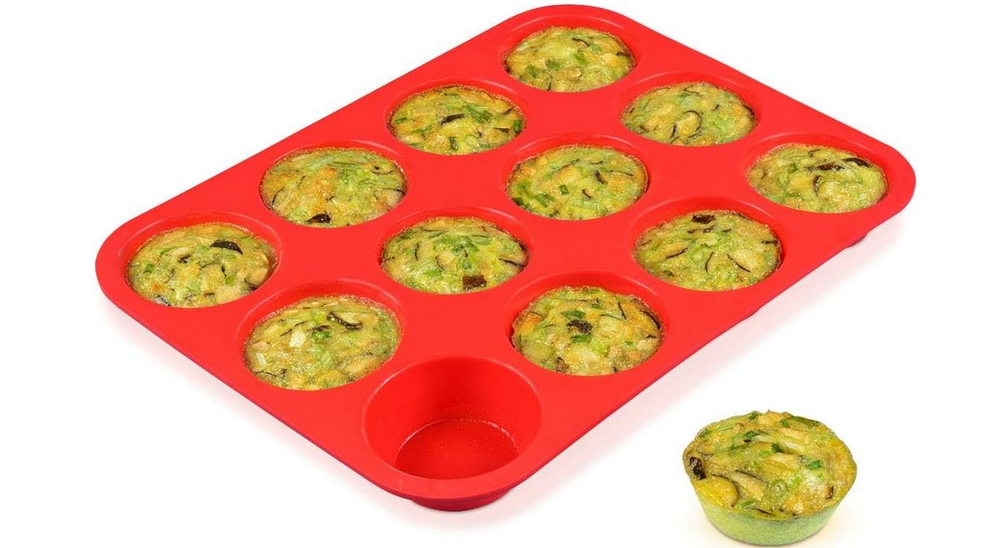
Many home cooks tend to look at silicone pans, but these are not highly rated. First, they are flimsy, and unless placed on a sheet pan, it is tough to maneuver them in/out of the oven or to rotate them in the oven. They also do not conduct heat in the same way as aluminized steel. Serious Eats found that baked goods came out pale and underdone in silicone pans. They also did not like using a baking sheet for a couple of reasons. First, you are using an extra pan that will need to be washed. Also, they found that the muffins browned too much on the bottom where the silicone was setting on the metal.
Rim—Chefs prefer that these pans have a wide rim, at least one inch, that allows you to grab them without putting your oven mitt into the batter.
Color—Very dark pans tend to produce overly dark baked goods and can also lead to misshapen muffins. As these pans conduct heat more quickly, the sides of the baked good set faster than the rest of the item. This can lead to more of a conical or spherical shape rather than a nice muffin shape.
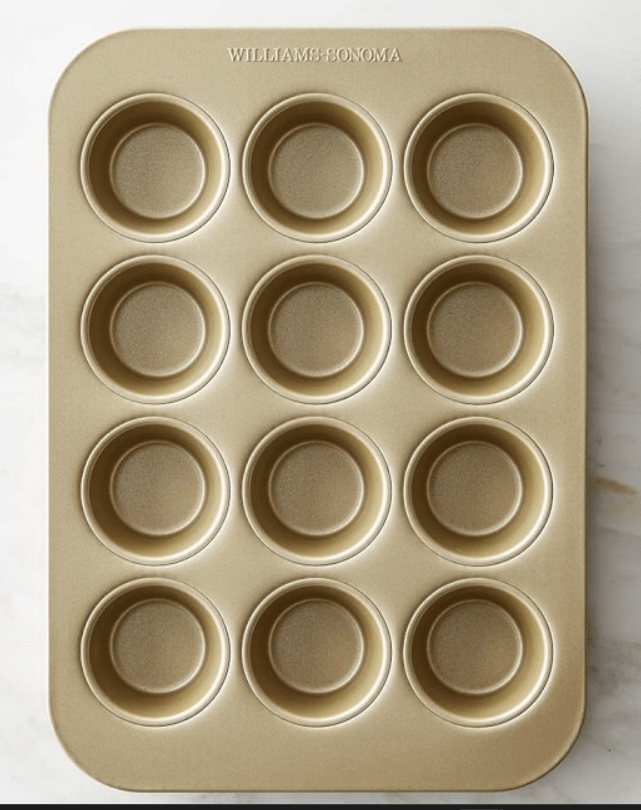
The new trend towards gold or bronze pans, though, earns high marks for even baking. Both light and medium-colored tins produce more appealing and even shapes.
Pan Size
Regular or standard muffin pans have 12 cavities in which you place your batter. The cups will vary in size in different brands but are usually about 2” X 1.25”.
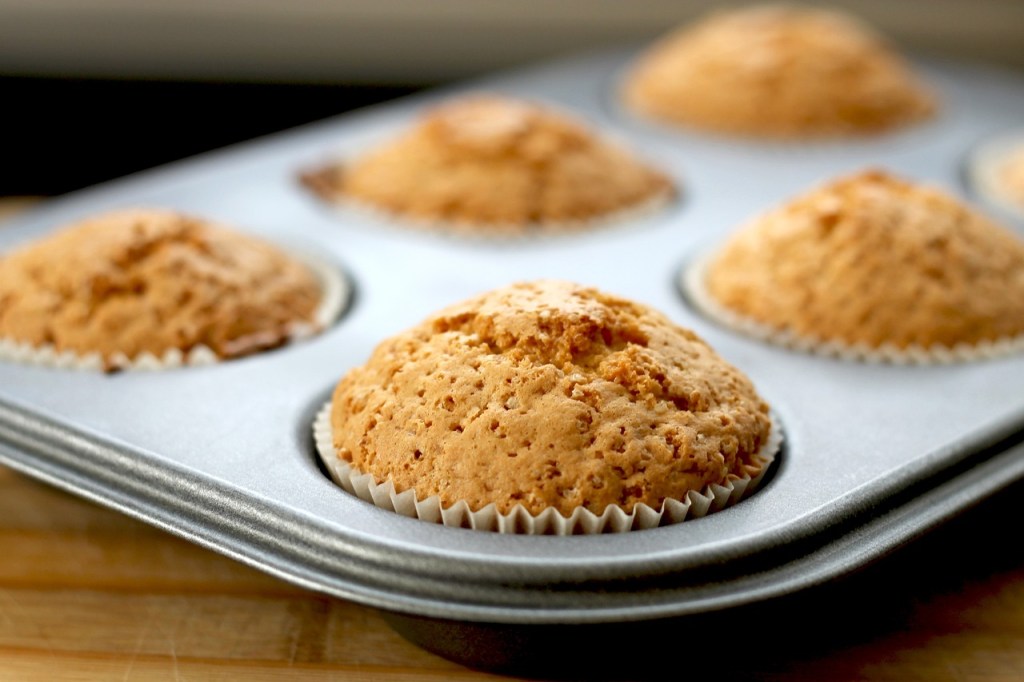
There are also 6 cavity ones, but you need to be careful about what you buy. Some will have a similar cup size as a standard 12-cup pan, but they will often have larger cavities than the standard pan. Bakers use these larger ones for cinnamon rolls, popovers or oversized muffins. One nice thing about a smaller-sized pan is that it is easier to put into a toaster oven.
You can also buy mini muffin pans, which usually have 24 cavities. Each cavity is about 1” X 1.25”. You can also purchase mini muffin pans with only 12 cups. I have two of those.
Cavity size—If you have a muffin tin with cavities that are too large, it will lead to squat and unattractive muffins or cupcakes. Cavities that were narrower at the base than the top were more likely to result in the classic muffin shape with a bit of spilling over the top. With mini muffin pans, try to get one with at least an inch between cavities. Less than this and you might end up with fused muffins.
Coating—Many good muffin pans have a nonstick coating. This coating makes it easy to remove the baked item and leads to easier clean-up.
Tips on using a muffin/cupcake pan
Brands—Two brands consistently rose to the top of the ranking: Williams Sonoma Goldtouch nonstick pans and USA nonstick pans. Some also highly rated the OXO version. If price were not an issue, most testers would have preferred Williams Sonoma. However, they are also the most expensive of these pans.
- Only fill the cavities about ⅔ (no more than ¾) full.
- Wipe off any spills from the surface before baking. It will be much easier to clean than after it has baked on.
- If using the mini-muffin size, avoid large add-ins such as fresh fruit. The muffins are not large enough to accommodate this. On the other hand, add-ins that you can chop to a small size, such as chocolate chips, dried fruit, and nuts, are fine. Items that can be swirled in, such as Nutella or jam, are also good options. Since you still want loads of flavor in these small bites, add flavor punches such as citrus zest or amp up the spices.
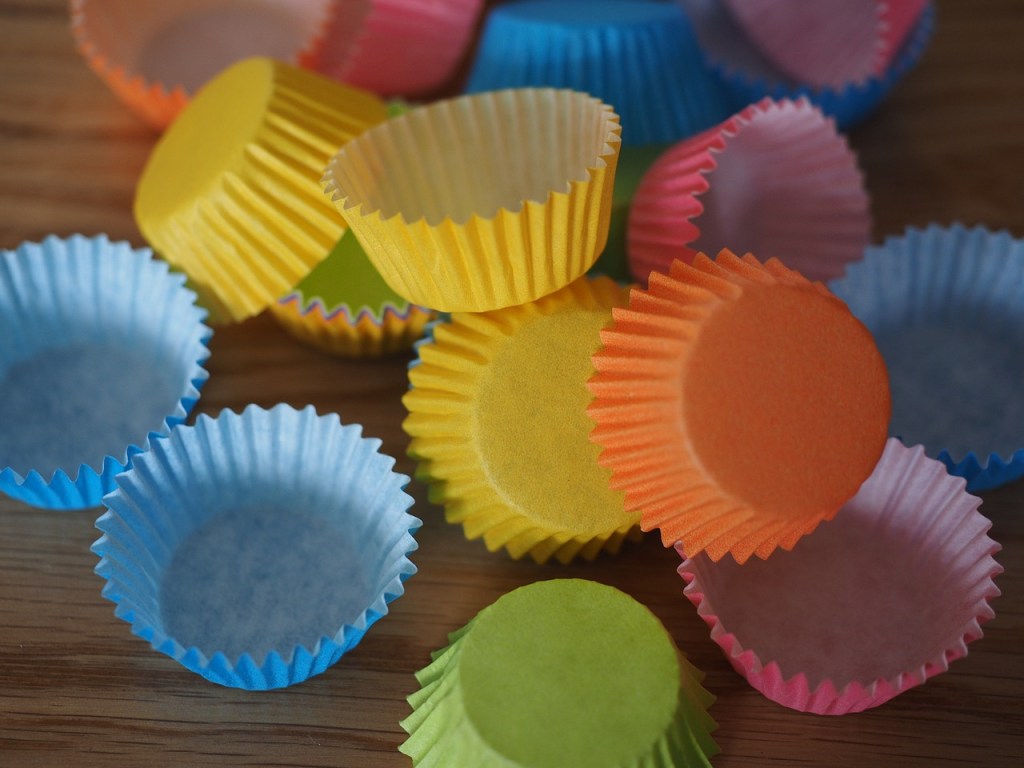
- Choosing a pan with a nonstick coating makes removing from the pan easier. For extra protection, using baking liners can be helpful. Even with the nonstick coating and even if you use baking liners, most pros still apply a nonstick spray. If you have ever wondered about the different types of baking liners, see this Cooking Tip: Cupcake Pan Liners.
- Converting recipes
- Many wonder if they can take a recipe meant for a standard-sized pan and use it in a mini muffin-sized pan. Yes, but you do need to take some precautions. The most obvious is that you will use less batter in the mini-sized pan. Most standard-sized pans hold about ¼ cup of batter, whereas mini pans use only 1 to 1½ tablespoons in each cavity. You will need to do a bit of trial and error to get the best result.
- On average, you will get between 32 & 48 mini muffins from a recipe that gives you 12 regular size muffins.
- Bake at the same temperature, but the smaller items will take less time to bake. Be sure to check their progress before the time indicated on the recipe.
- If you are only baking a partial batch of muffins or cupcakes, some will tell you to fill the empty cups with water to ensure a better result. Cook’s Illustrated tested this practice and found that it did not matter if you left the cups empty.
- In addition to the typical muffin or cupcake, these pans can also be used for single-serve frittatas or quiches, single-serve meatloaves, and stuffed tomatoes or peppers.
- Alternatives to a muffin pan – Here are some alternatives if you do not have a muffin pan.
- Place mason jar rings on a baking sheet and put liners in them. Pour the batter in and bake as usual.
- Use foil cupcake liners or double or triple up on paper liners. These will now stand on their own on a baking sheet, but the end shape might not be as pretty as if you had used a muffin pan.
- Parchment – Cut parchment into 5-6 inch squares. Place over the holes in the muffin tin. Press down into the cavity with a small glass. You may also want to use your hands to form the parchment around the glass. If you make them double-layered, they might stand on their own.
If you already own a muffin pan, I hope these tips will help you succeed in making your muffins or cupcakes. If you are in the market for a new one or wish to gift one to someone, remember these recommendations to get the best pan you can.
